Fishing in Street Photography
There are many ways to find subjects and get good street photographs. I once heard a talk from Matt Stuart (check him out, he’s awesome) and he mentioned the FFF acronym to describe the three main ways to find a shot in Street Photography:
Fishing
Following
F**k!
I think this is a genius and funny way of summarising our art!
I am going to use these three Fs to write a brief guide about how to look for your perfect shot on the streets.
Let’s start with Fishing.
What do we mean by fishing? It’s actually very simple: you find a scene, light quality, background that is interesting and just misses a subject or that little more.
You set yourself up in that spot, find your framing, and wait for your subject/extra element to walk/happen in your frame. And you capture it.
Sounds simple? It does indeed, but it isn’t that straightforward.
First, what is a good background? It might be a clean and geometric building, wall or panel, an advertising billboard, a sooty street sidewalk, a market stall, anything that can complement the subject or be brought to life by the right subject/gesture/extra element.
What is good light? If you need to wonder that you might be just starting photography, but we are not just talking about golden light. A stark midday light projecting sharp shadows and creating a design on the scene, reflected sunlight from a window or a glass building, sunrays through a hazy morning or steam/smoke. The list can go on for another page. You just recognise it: if it draws your eye it is likely to be good light.
What is the right subject? That really depends. An interesting looking person is a start, but it is also a simple, minimalistic way of shooting. Two interesting people are better, or a small group interacting, a particular gesture or expression. If the subject is doing something peculiar, his clothing or hairdo are very interesting, or it just complements or is in contrast with the background colours or shapes we are getting closer. Or you just get the right silhouette. The possibilities are endless.
The next part is timing the shot properly. The stride, expression, gesture, position in the frame, relationship with the background, position in relation to other people/objects in the frame, everything is important. In a single word: microcomposition.
Of course getting the exposure and focus right are a given. It’s quite unforgivable if you get it wrong: you have all the time you want to set up the shot!
You might now be thinking: well, frame set up, exposure and focus set, just wait for the right thing to happen or subject to appear and off you go! Done and dusted!
You wish…
Even if all you want is a silhouette in the right place you might be in a deserted area and be waiting for a looong time for someone to walk by. And often they walk on the wrong side of the road, or if you need them to walk in a certain direction most of the time they all walk exactly the opposite way. You have to deal with Murphy’s Law a lot of the time! And this is when you want a simple shot.
When you want more than une subject, a group, an interaction, a gesture things really get complicated. Microcompostion gets really tough, but that is what will make a picture great instead of just ok or good. It isn’t always possible to get it perfectly right, but the key is keeping up and sticking with it.
That’s right: stick with it!
Persevering is so important. Don’t shoot it once or twice and walk away. work at it and improve it, see if the framing could be improved, if it works in landscape or portrait orientation. Are you placing the subject in the most effective space? Looking in the right direction? Is it worth waiting for the right colour combination? Again, the shot could always improve.
Are you guaranteed a good shot if you stick with it? Nope. But your chances are much higher.
“…street photography is 99.9% about failure” - Alex Webb. He is absolutely right. Persevering and pushing yourself forward is the key.
The above picture of a colourful lady in the railway community took me 15 minutes to get. I was quite lucky and I really like the shot.
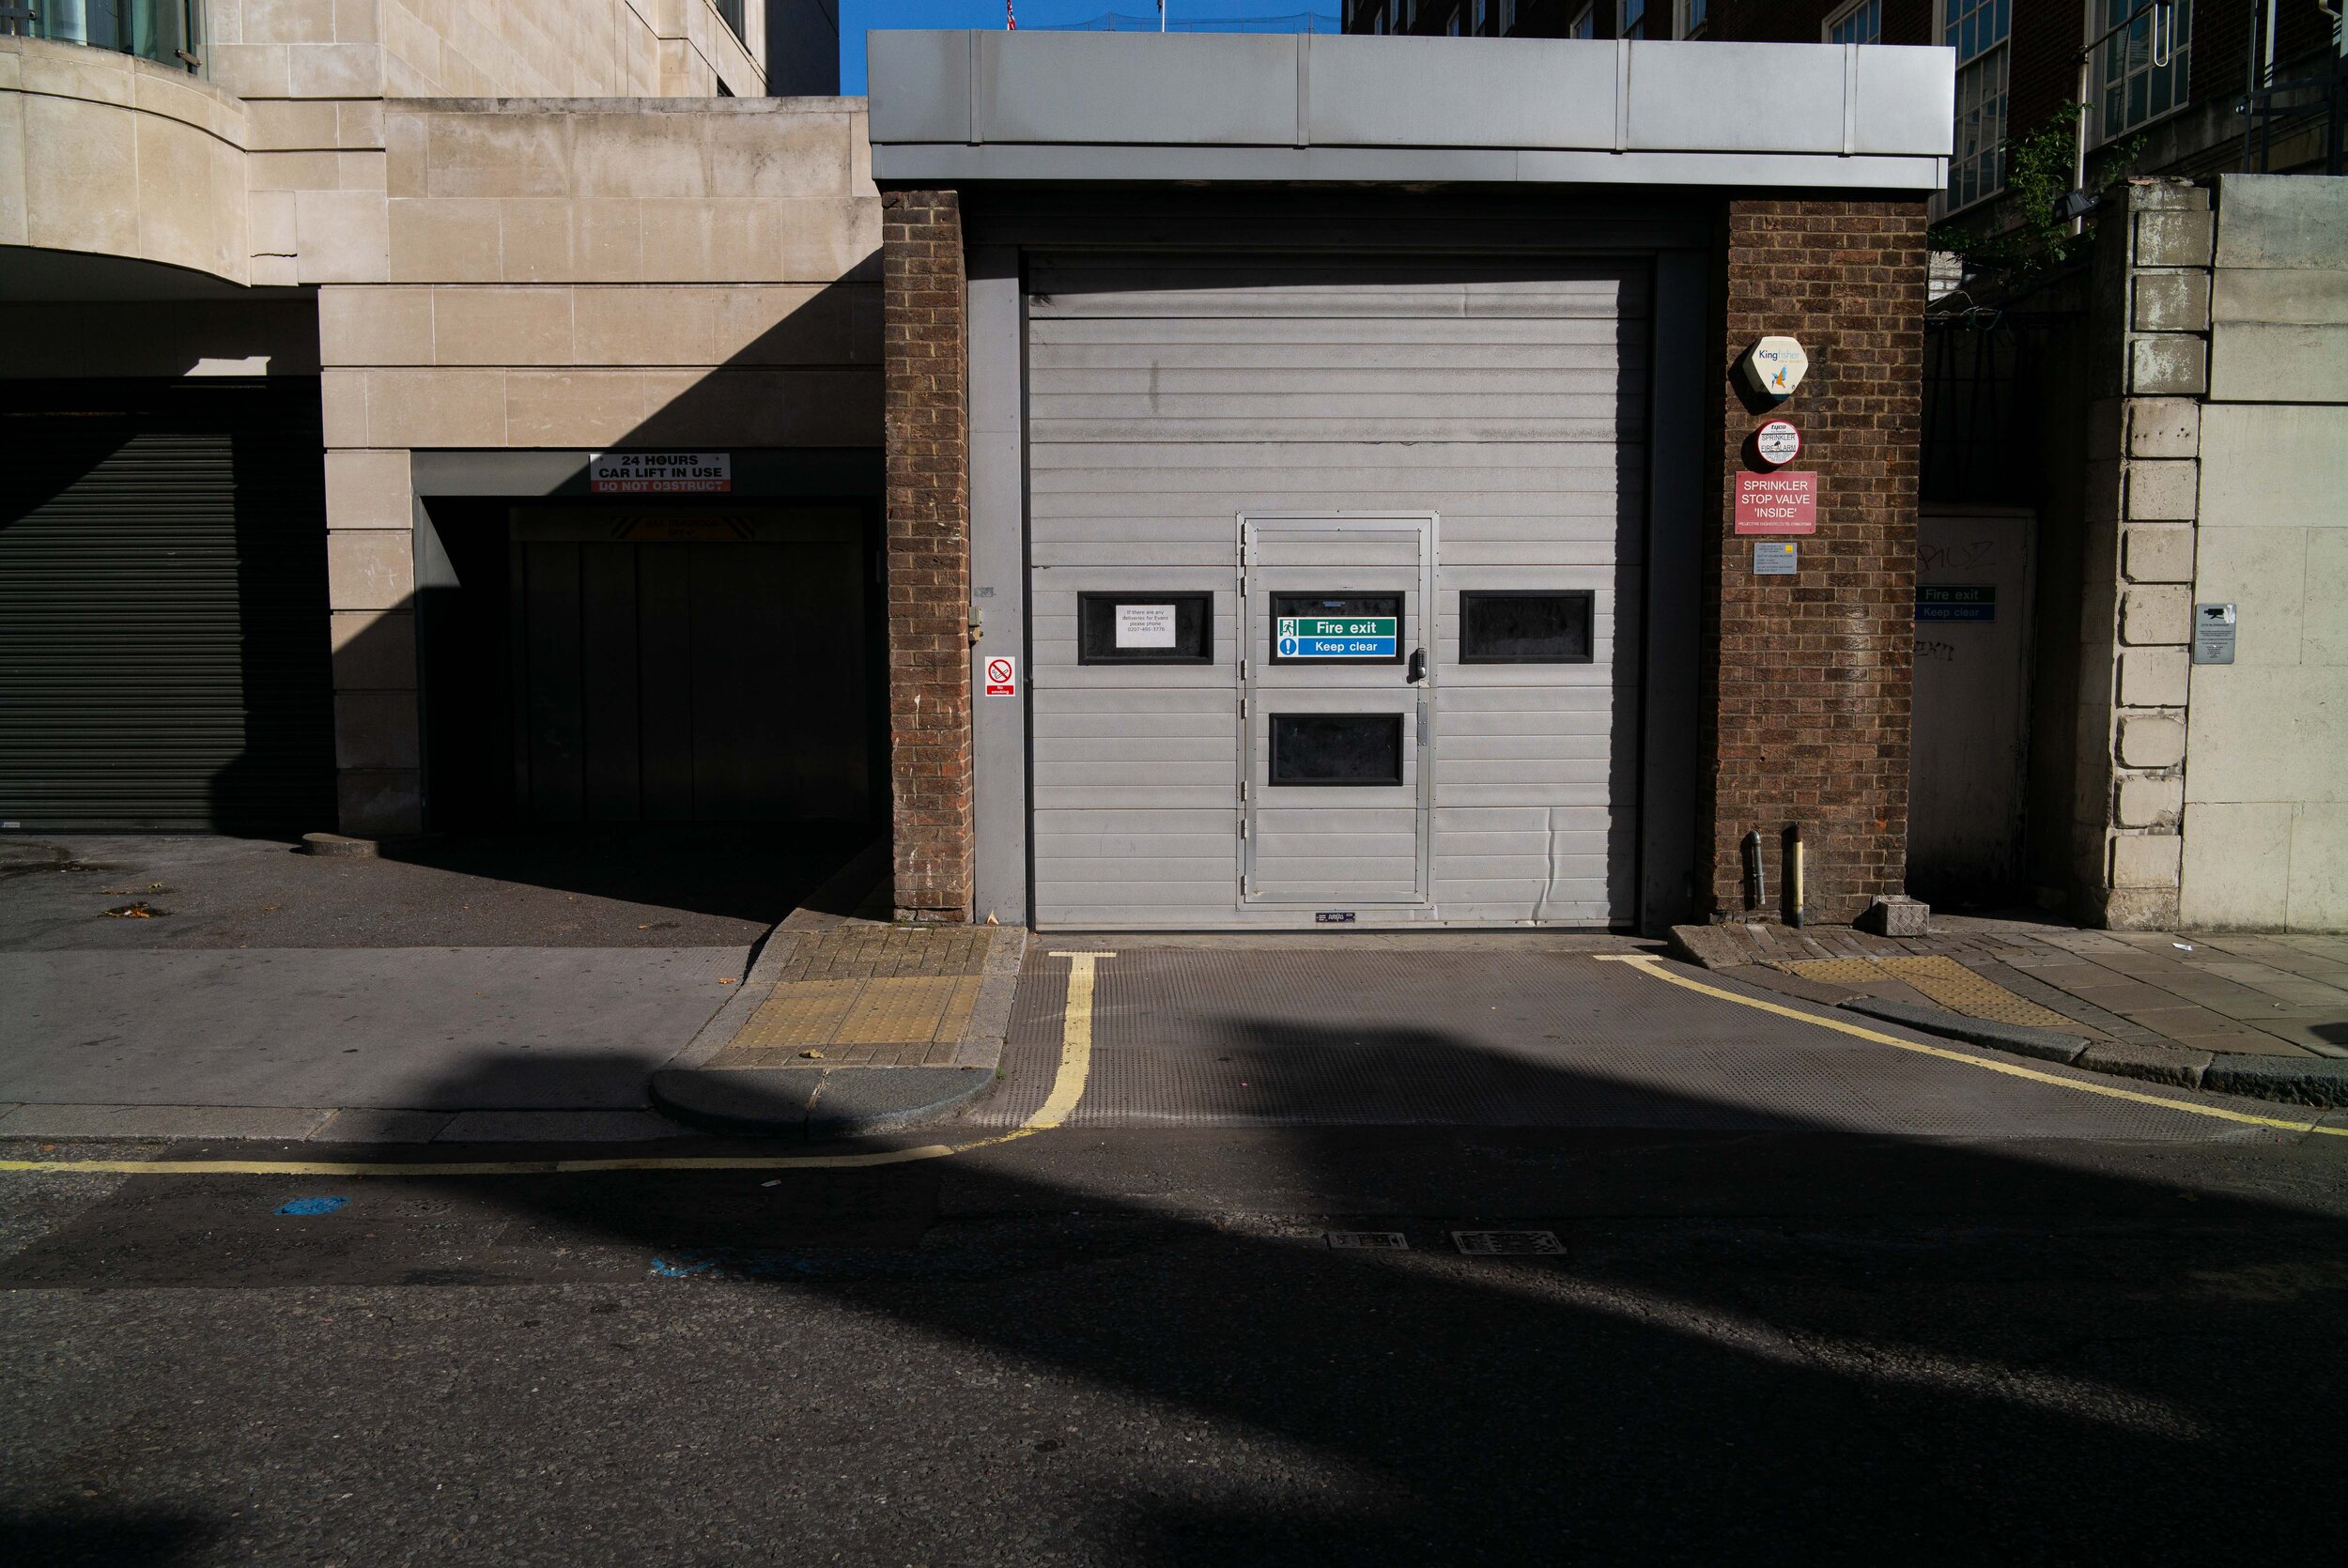
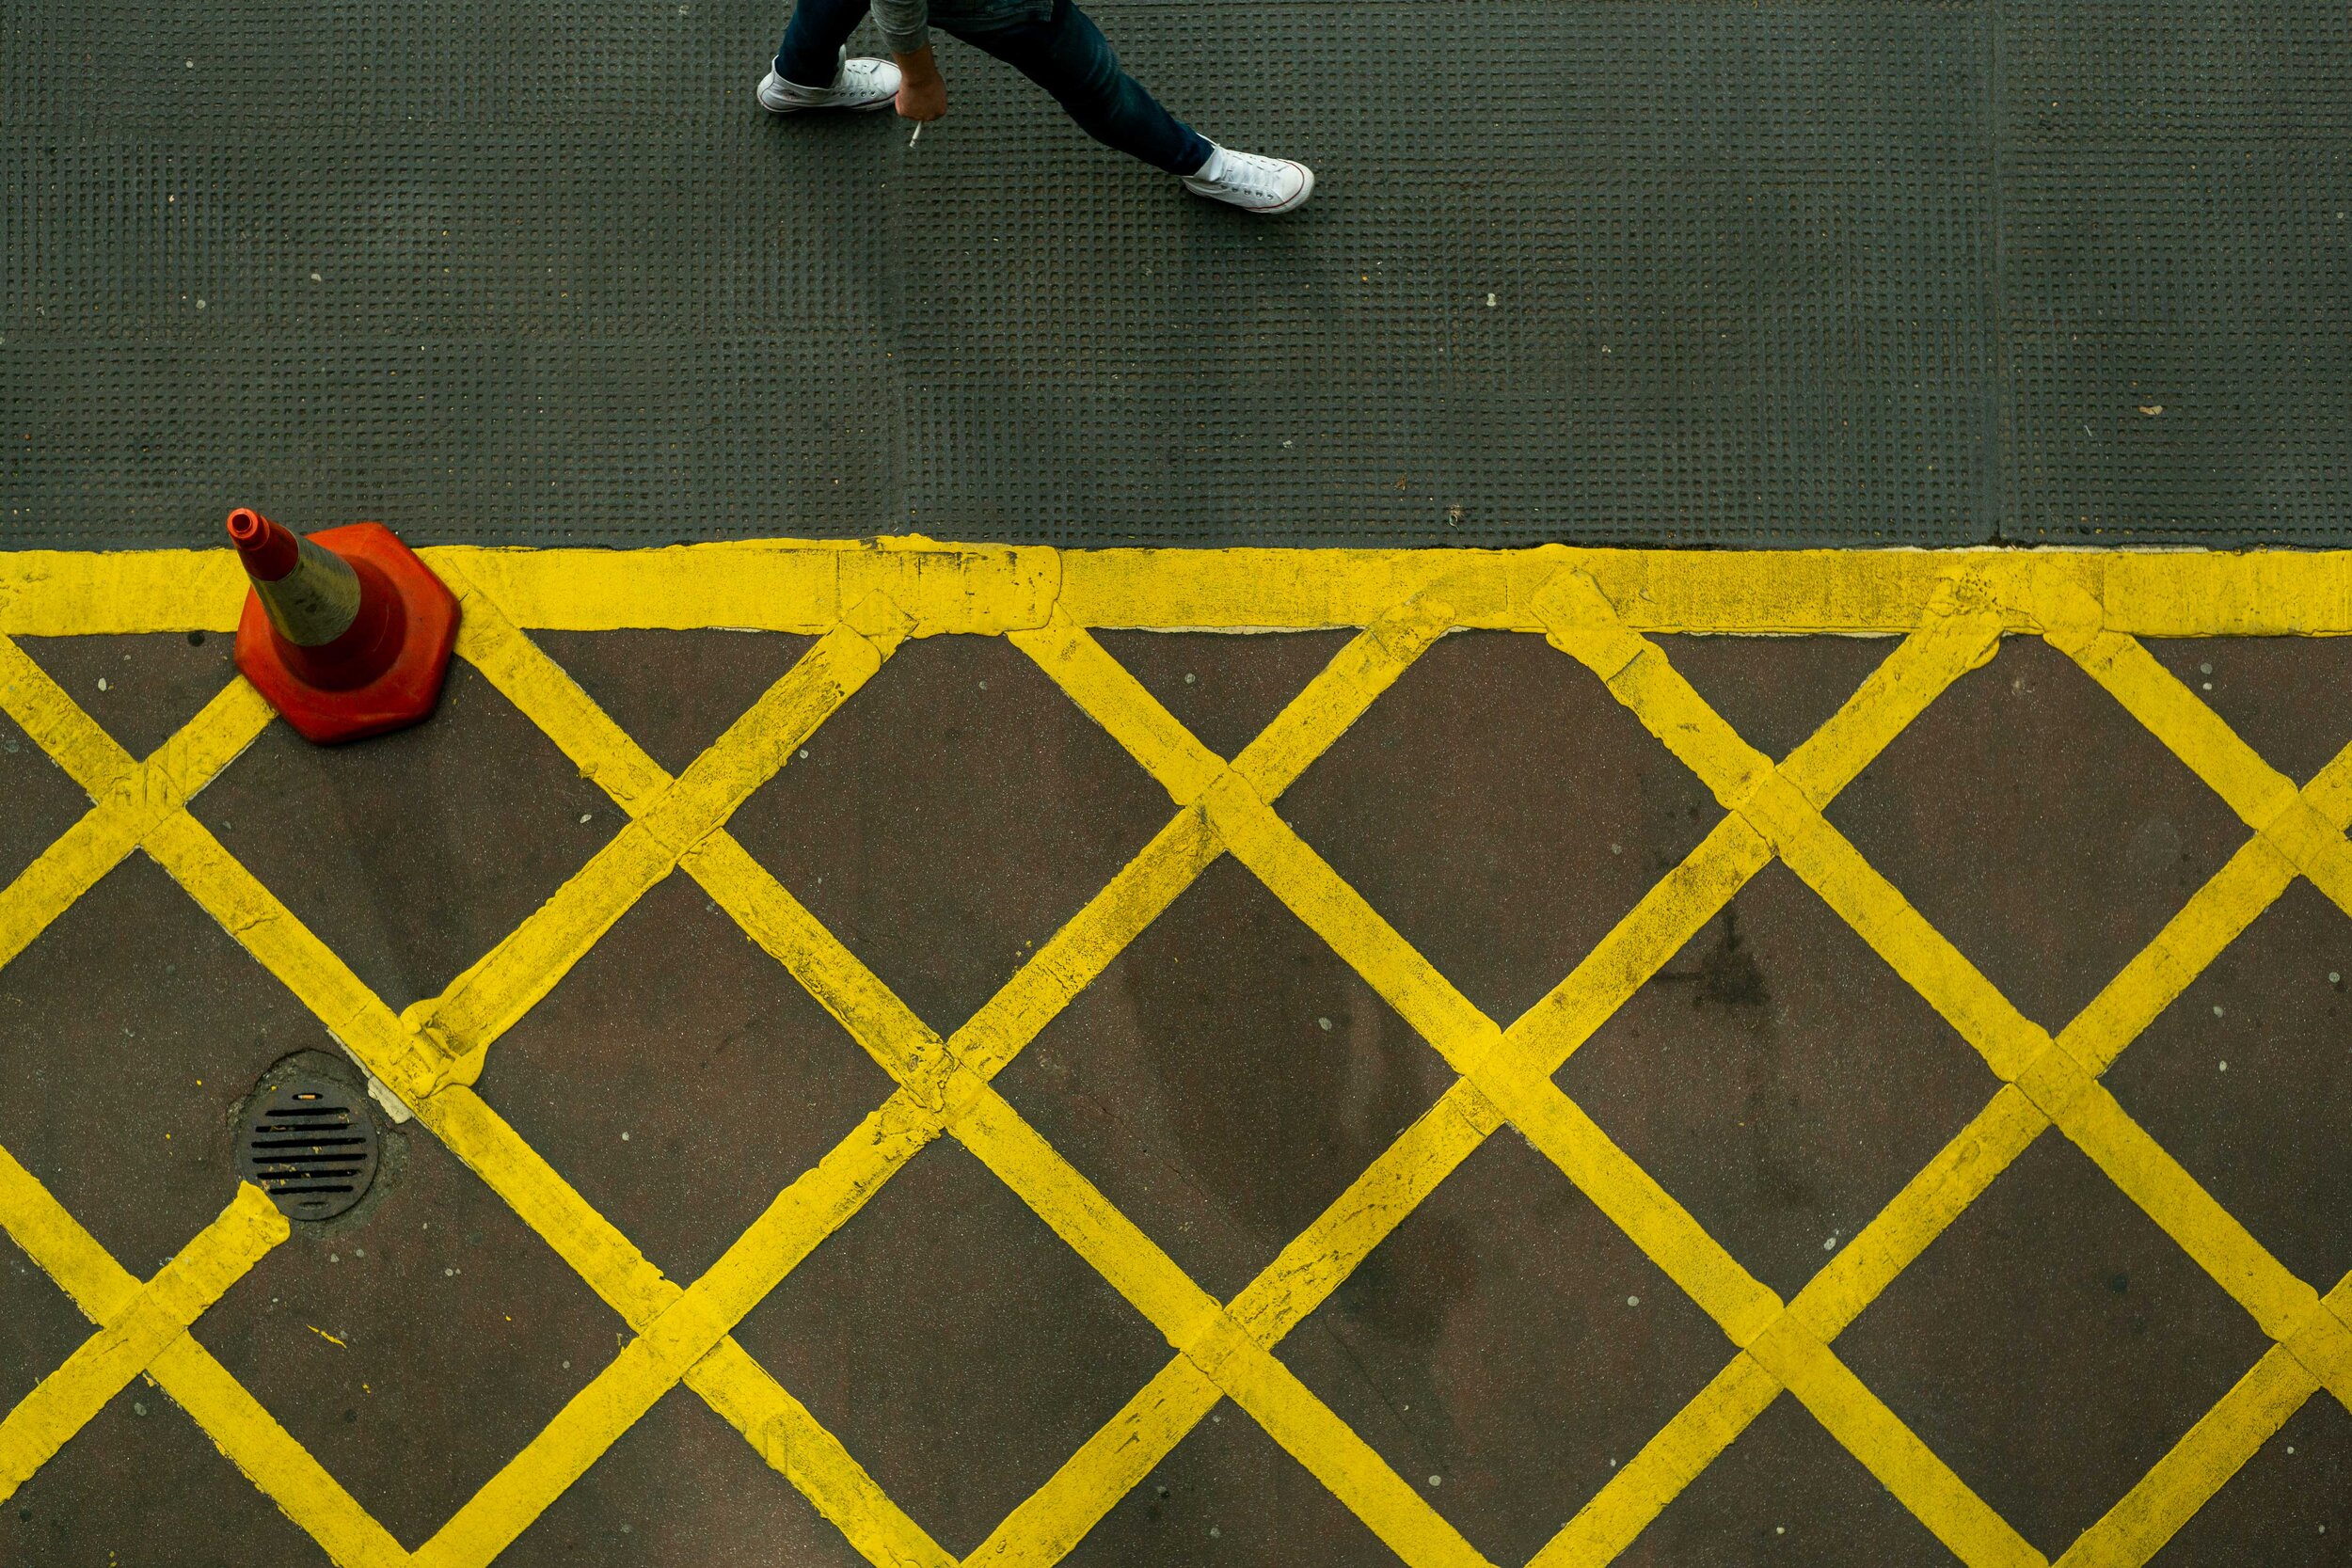
On the other hand take this other place I liked as a background: I spent 52 minutes and shot 231 frames to come up more or less empty. You read that correctly, 52 minutes standing in the same place, trying a few different angles but mainly just looking for the right person, gesture, group or situation to develop in front of me, putting all the elements together a little at a time. I certainly had no success, but I’ll be back there and try again. Here are a few of the shots:

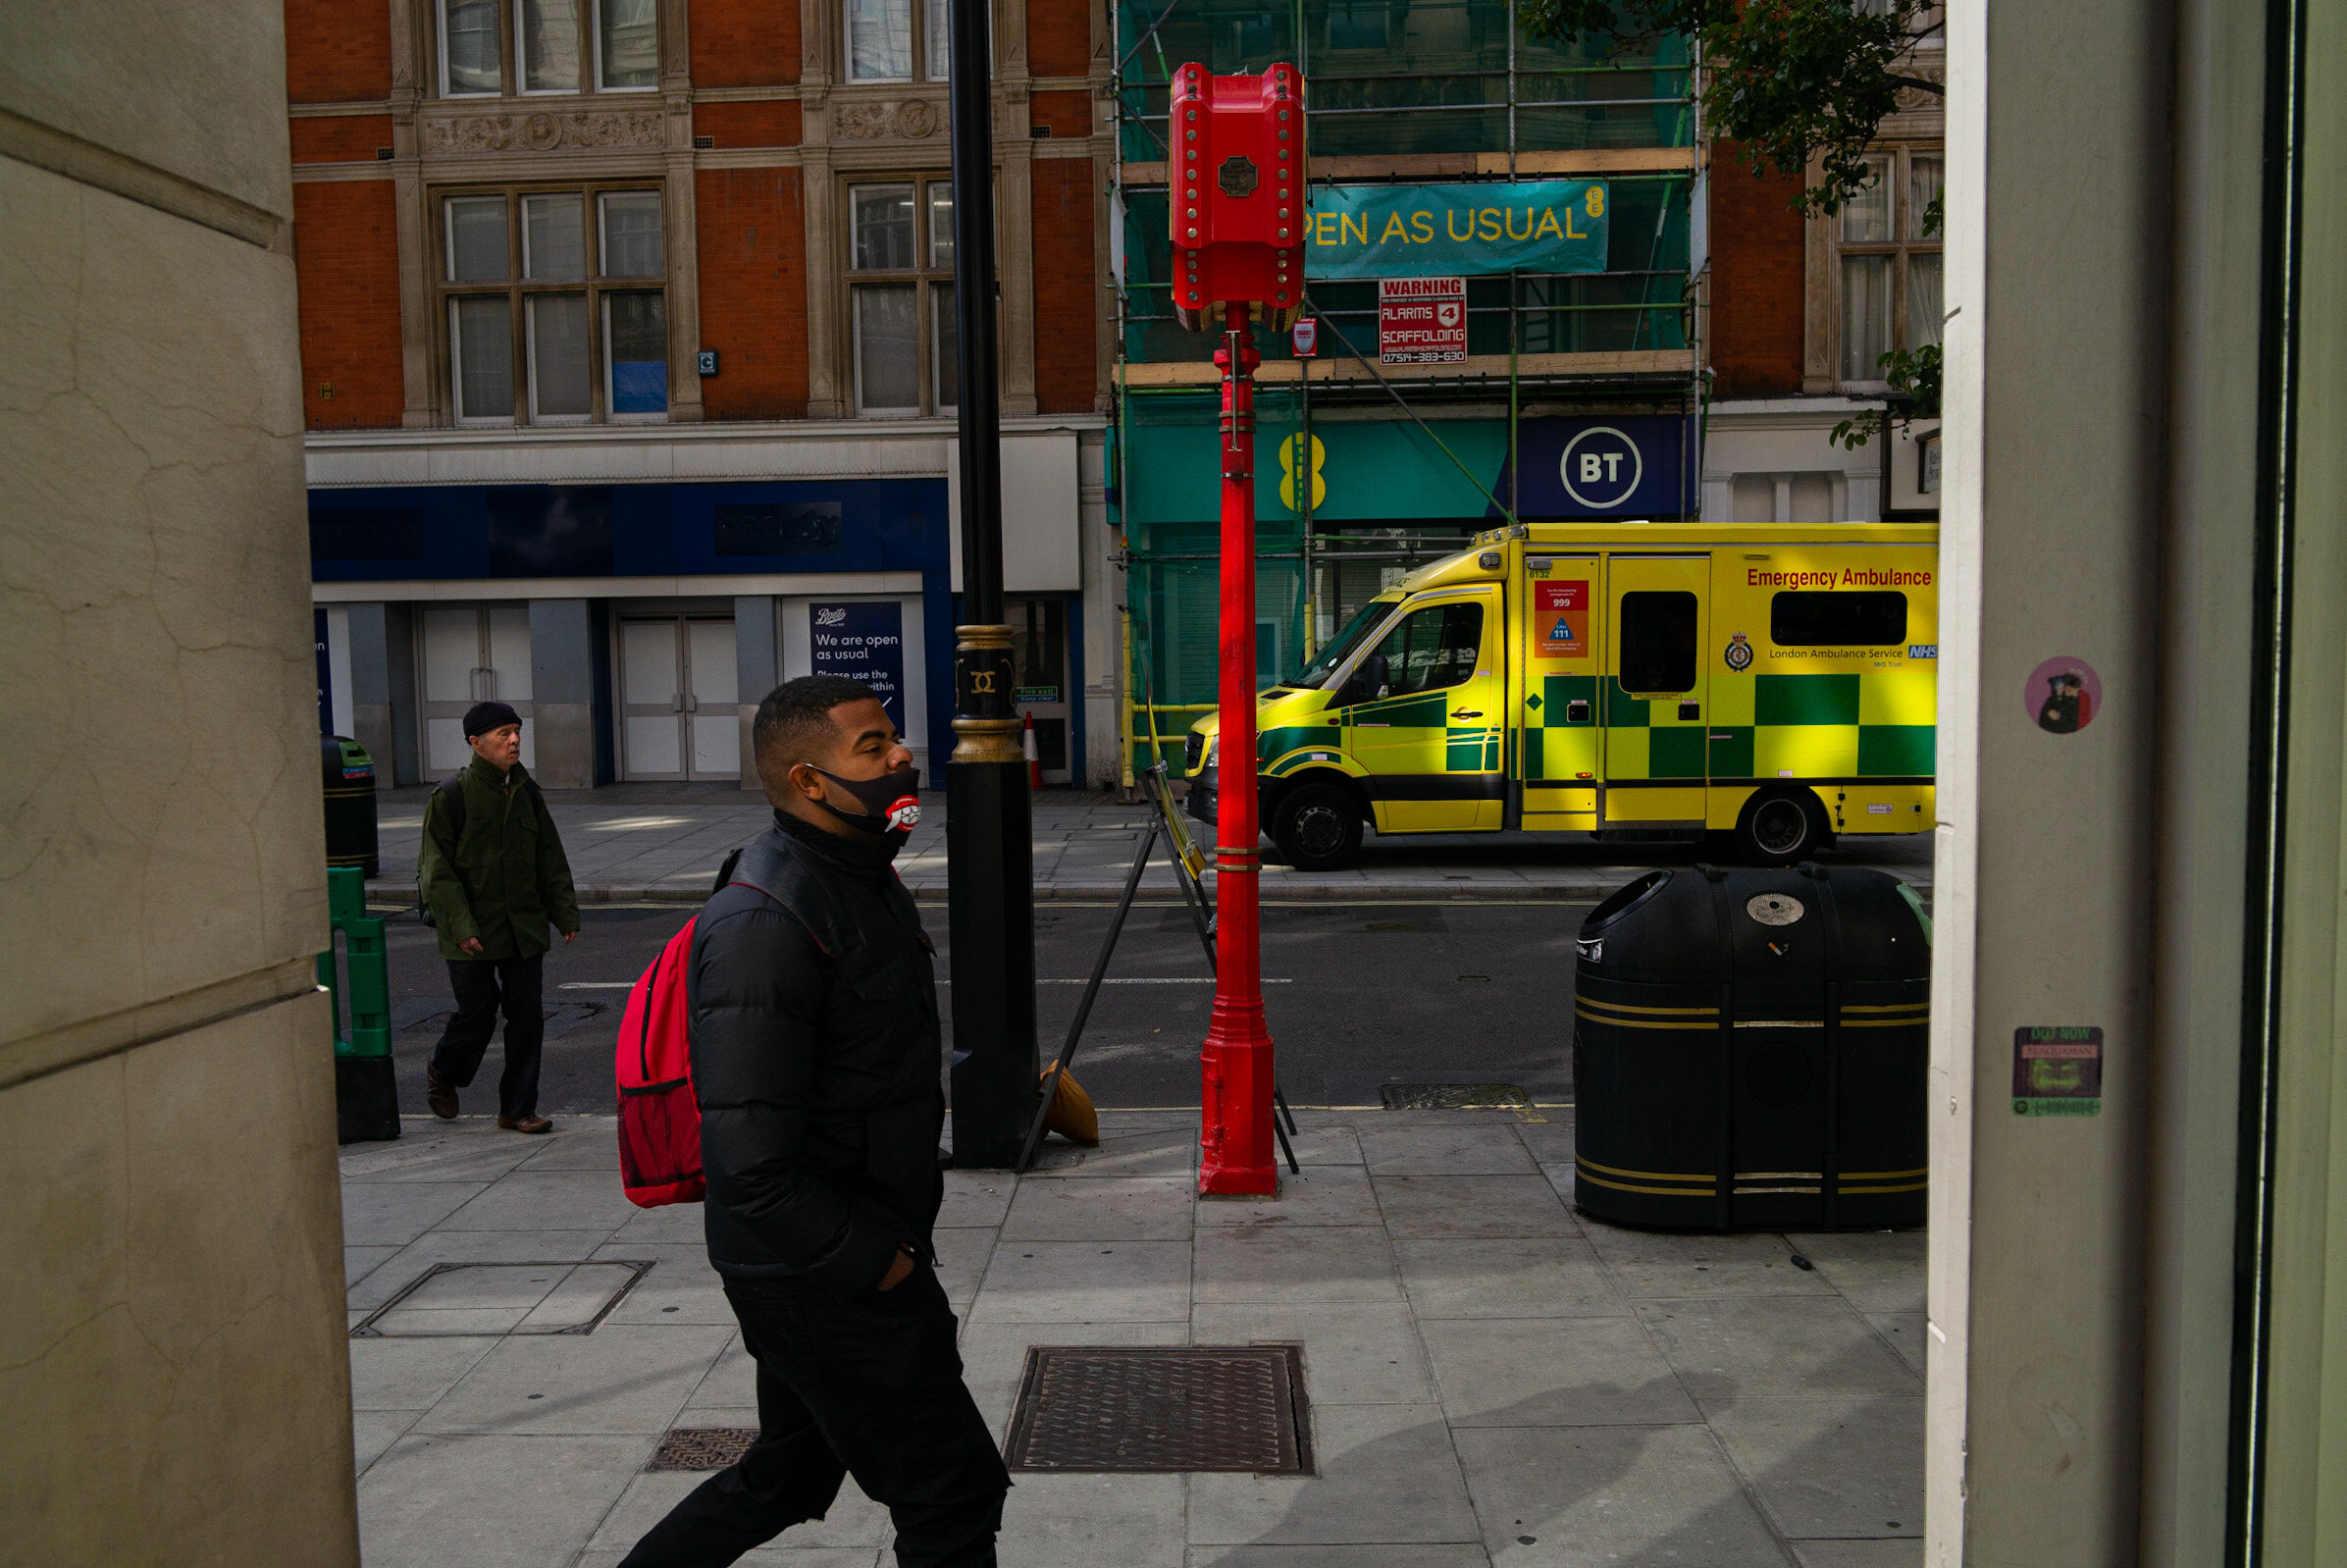
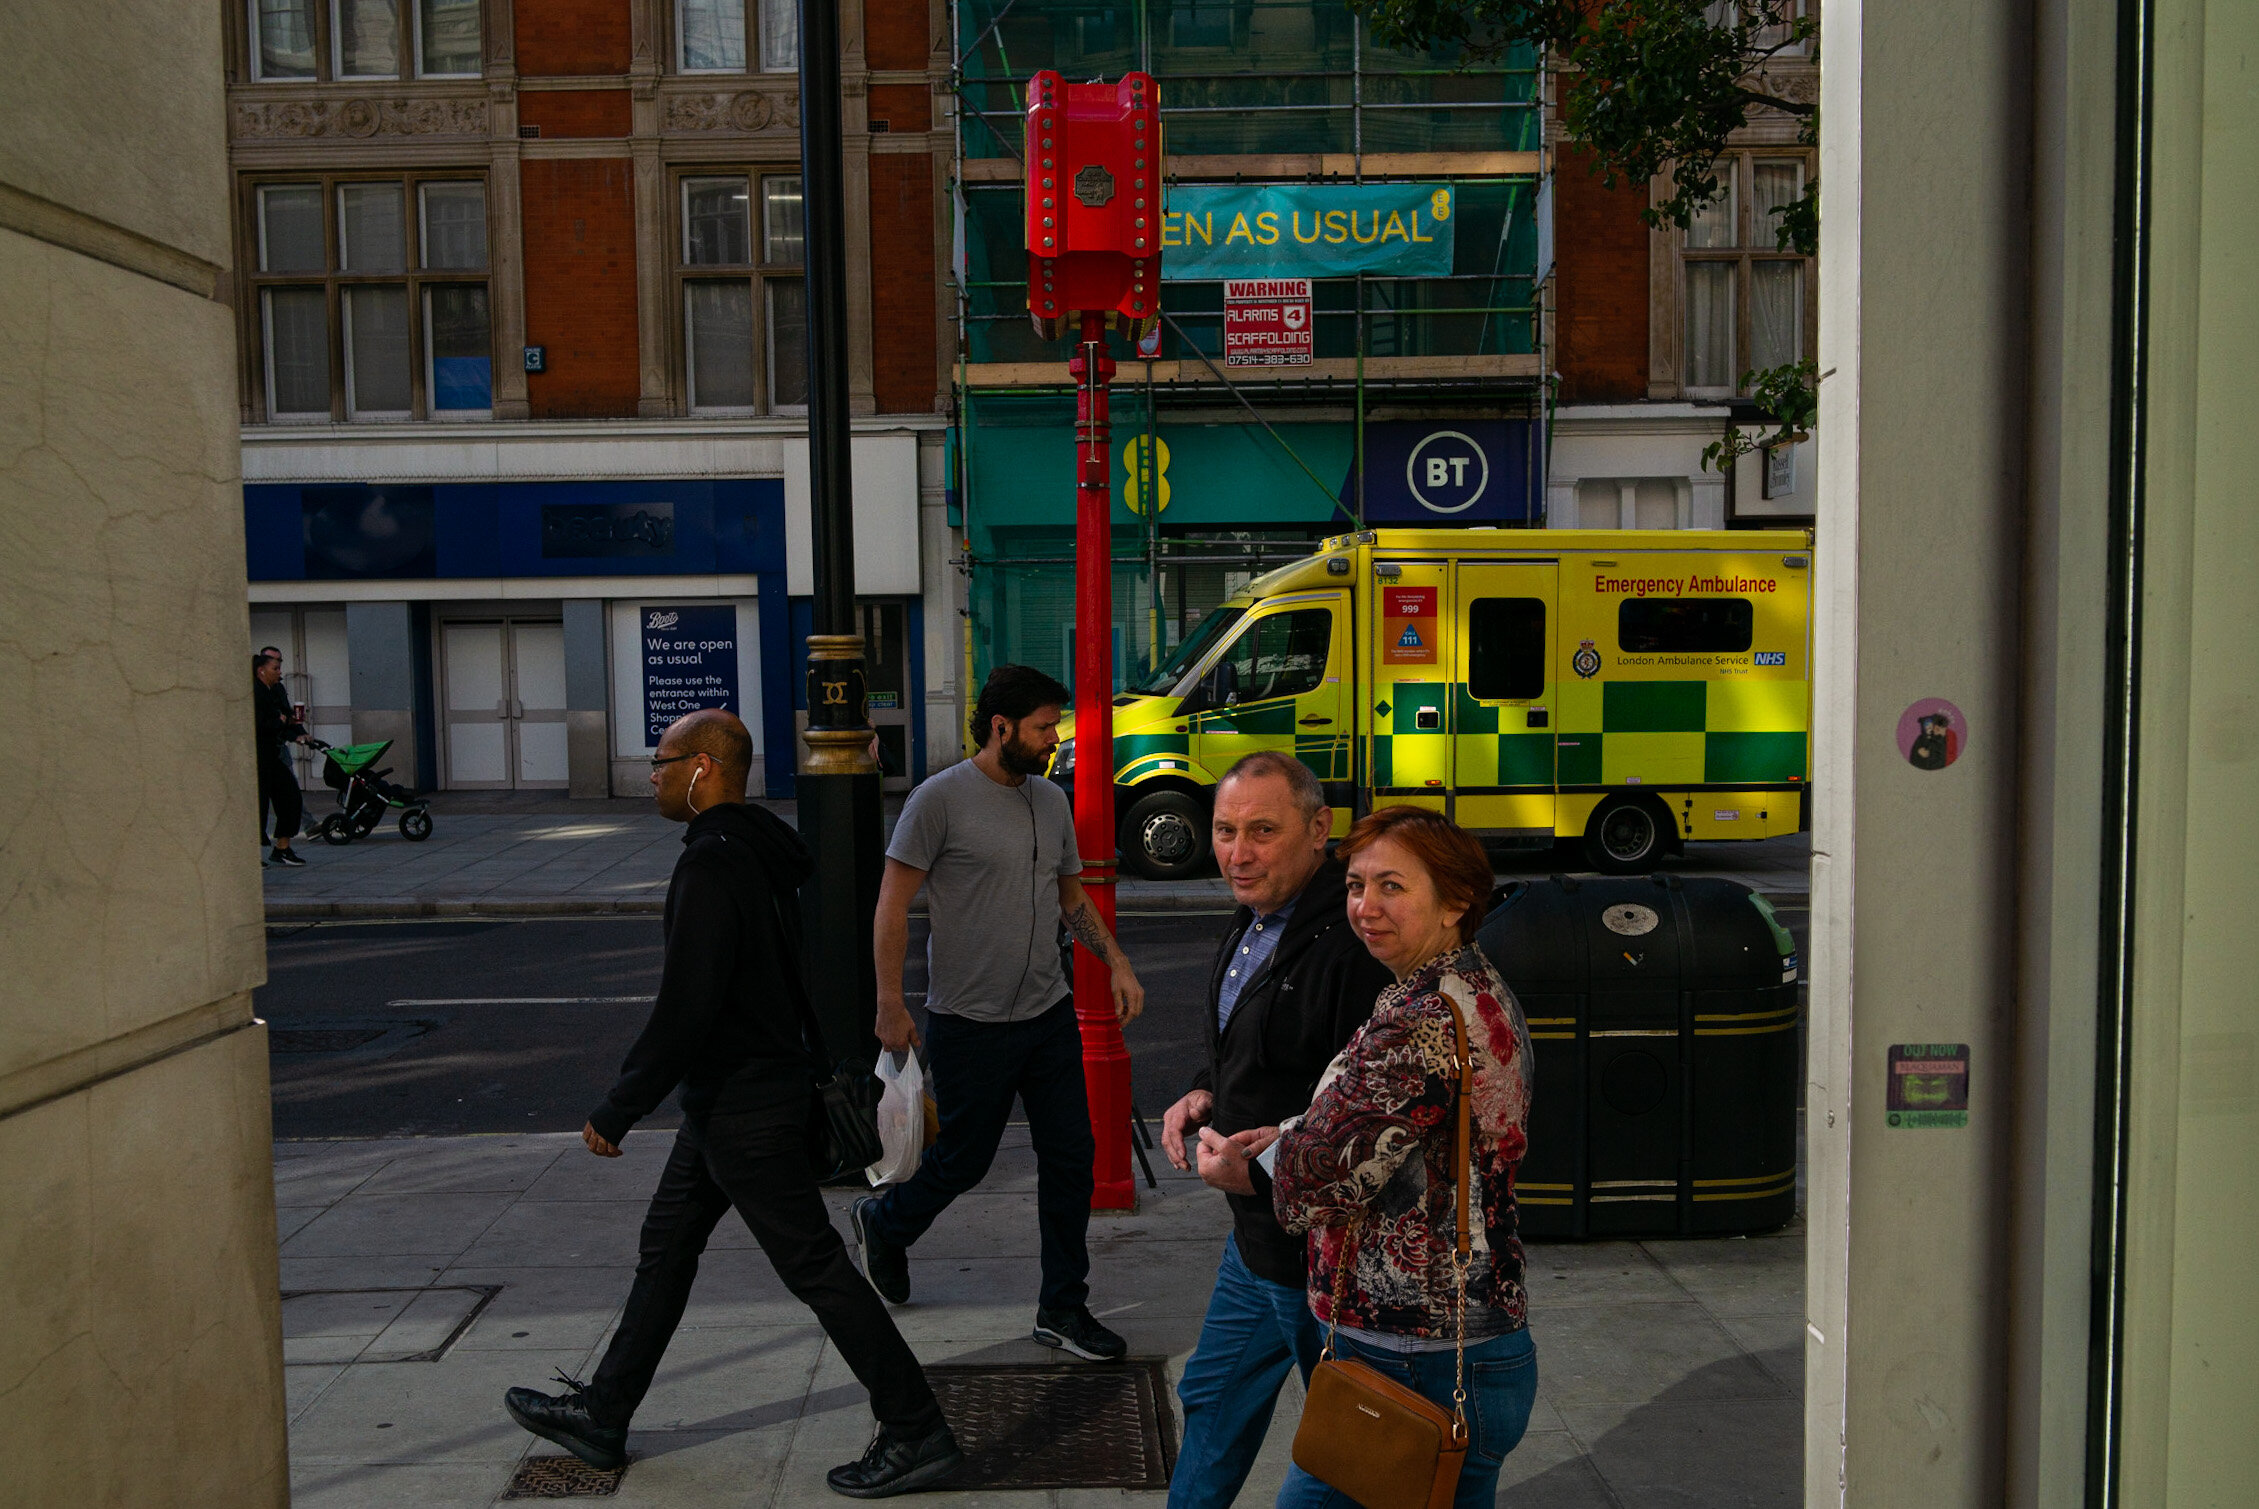
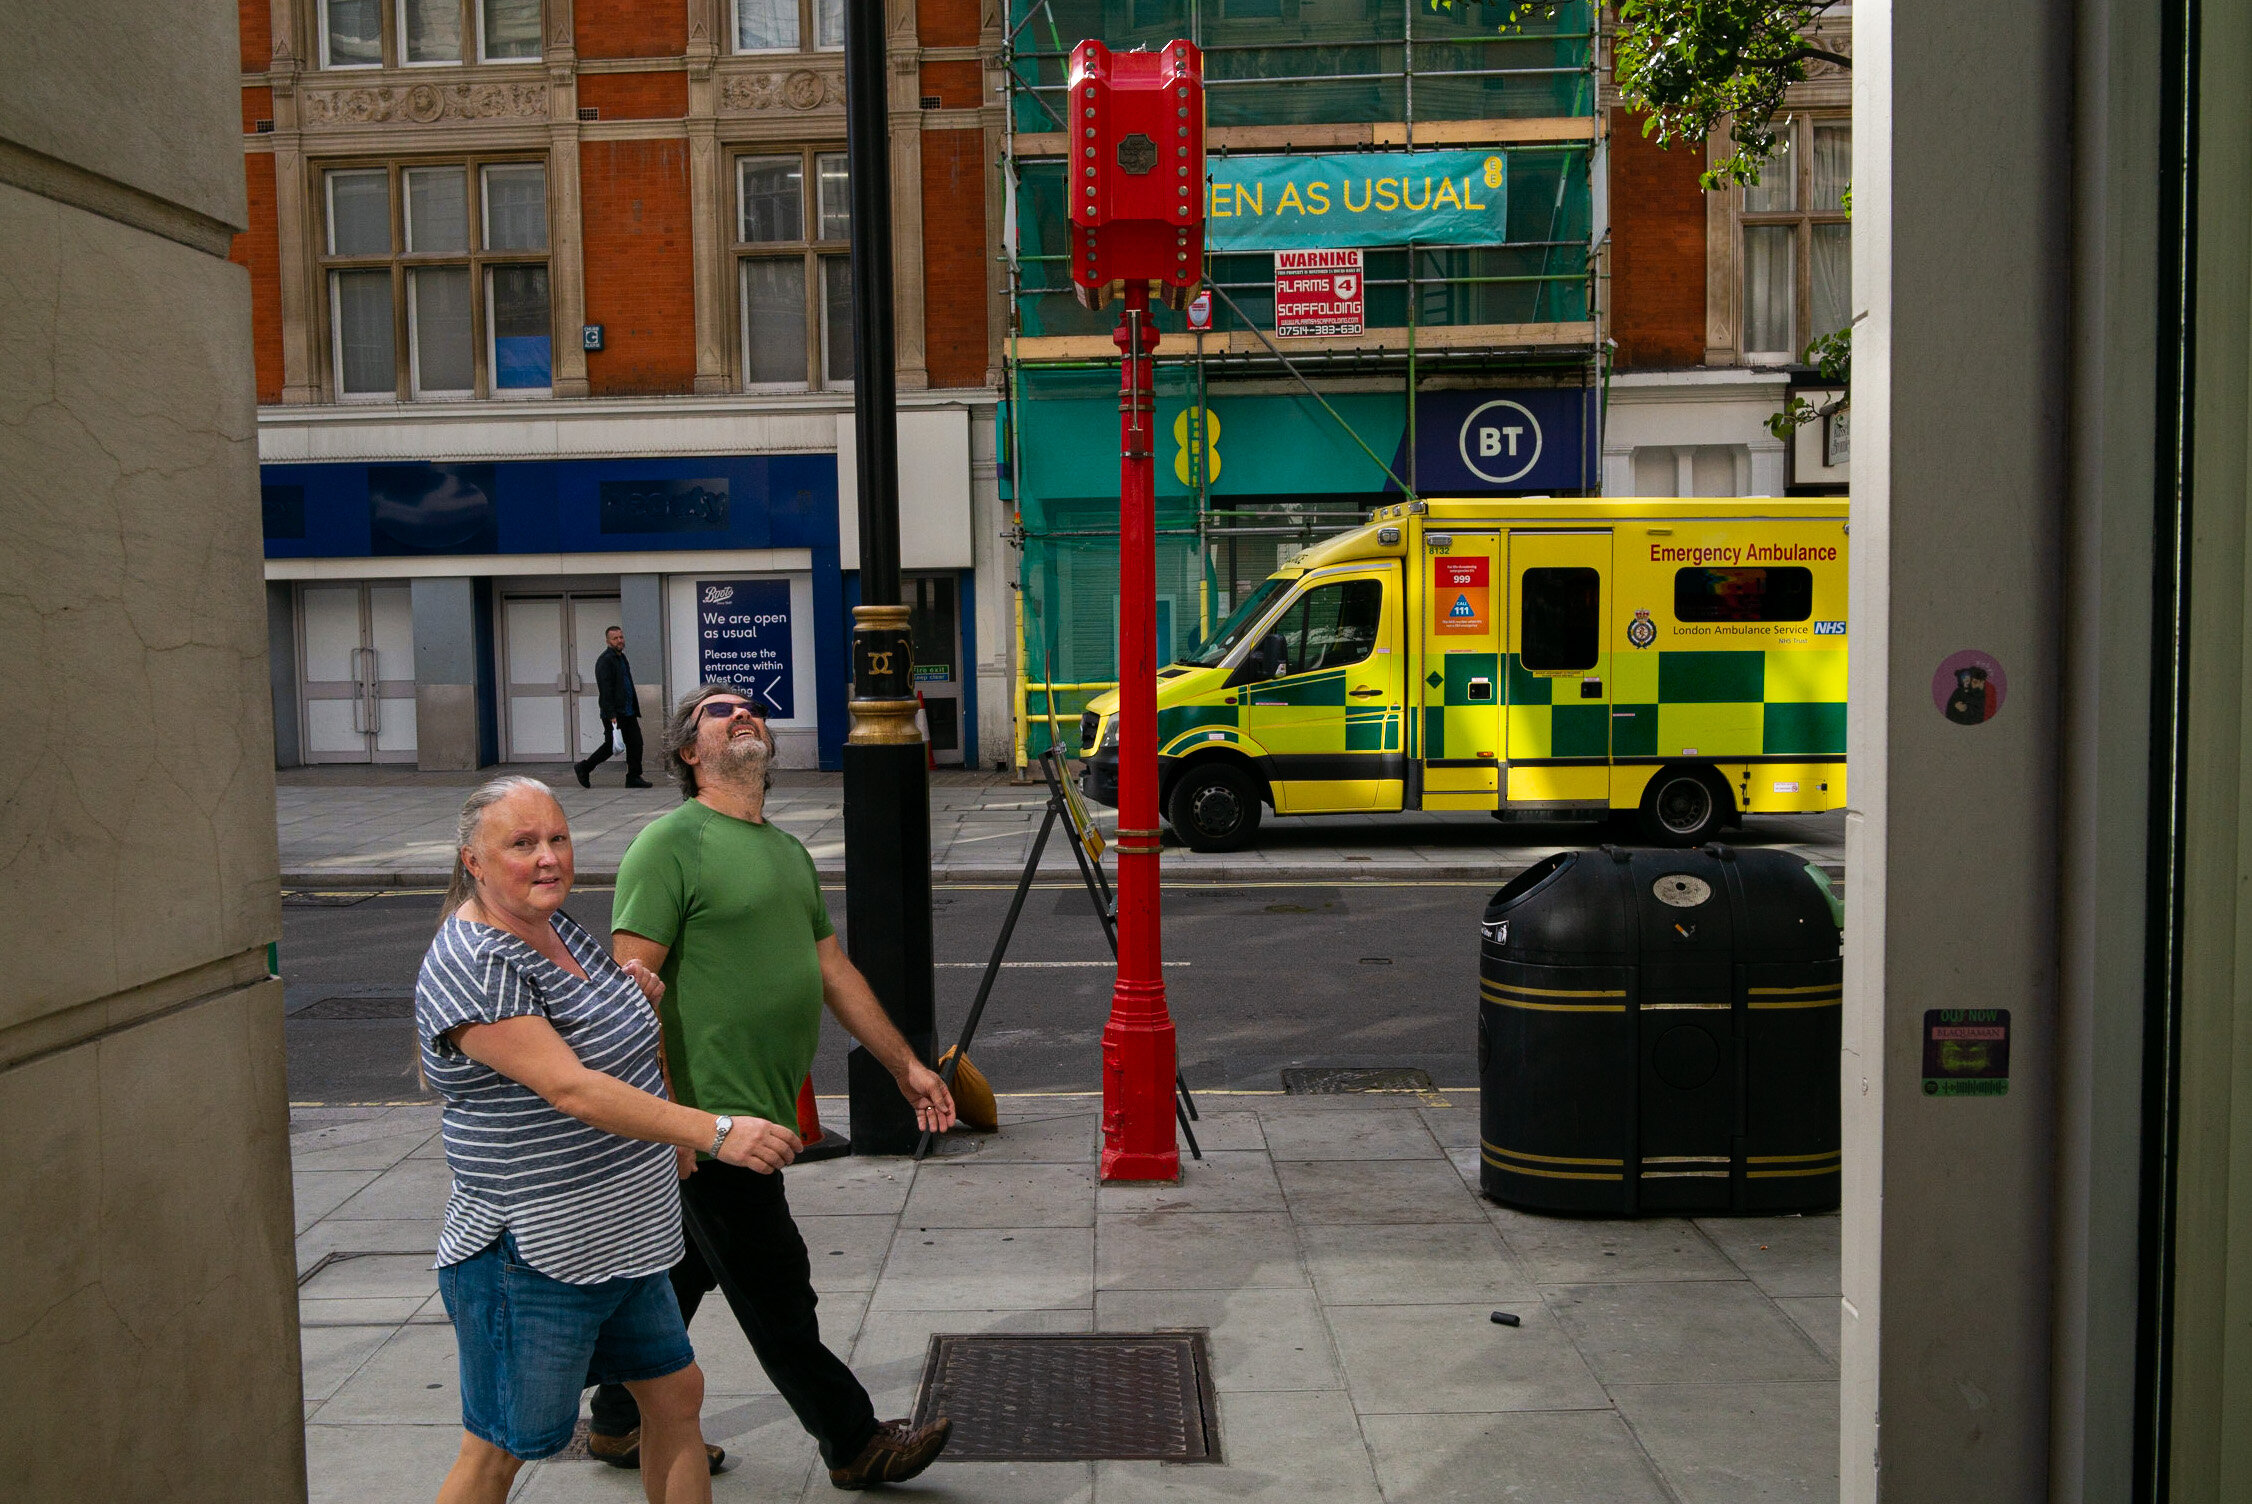
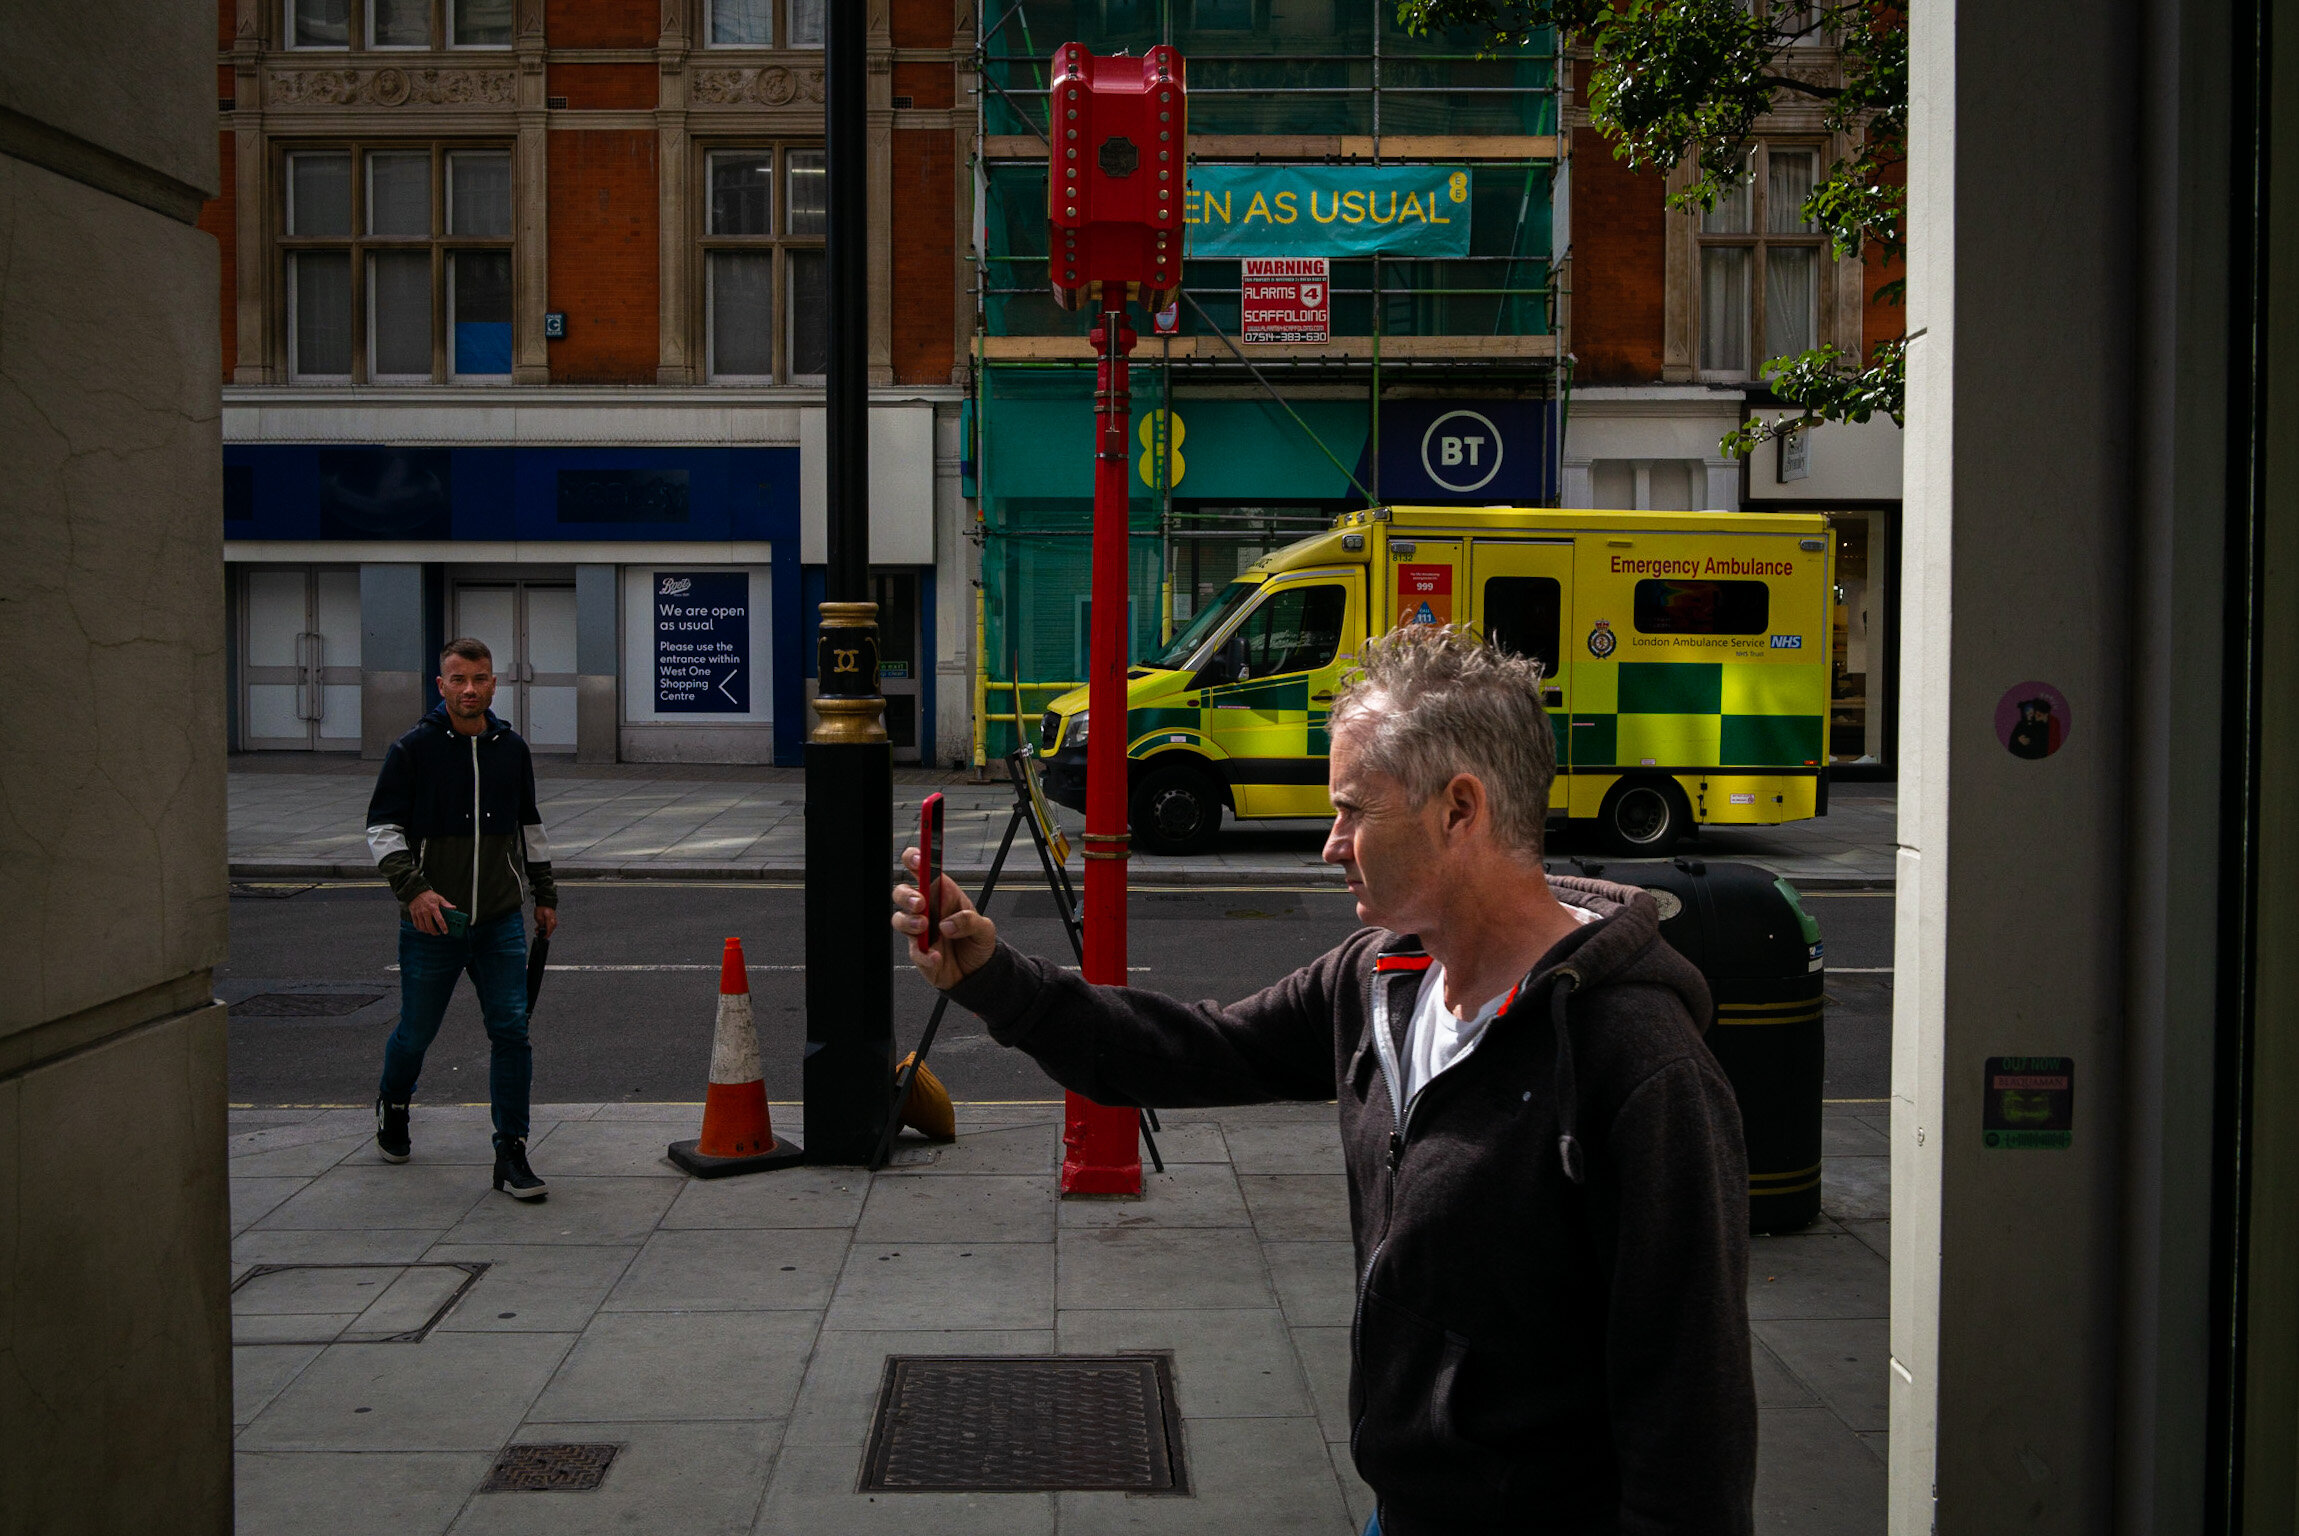
Nothing special as you can see, but I think there might be potential there and that it will be worth the effort to get back and try different framing and work the image more.
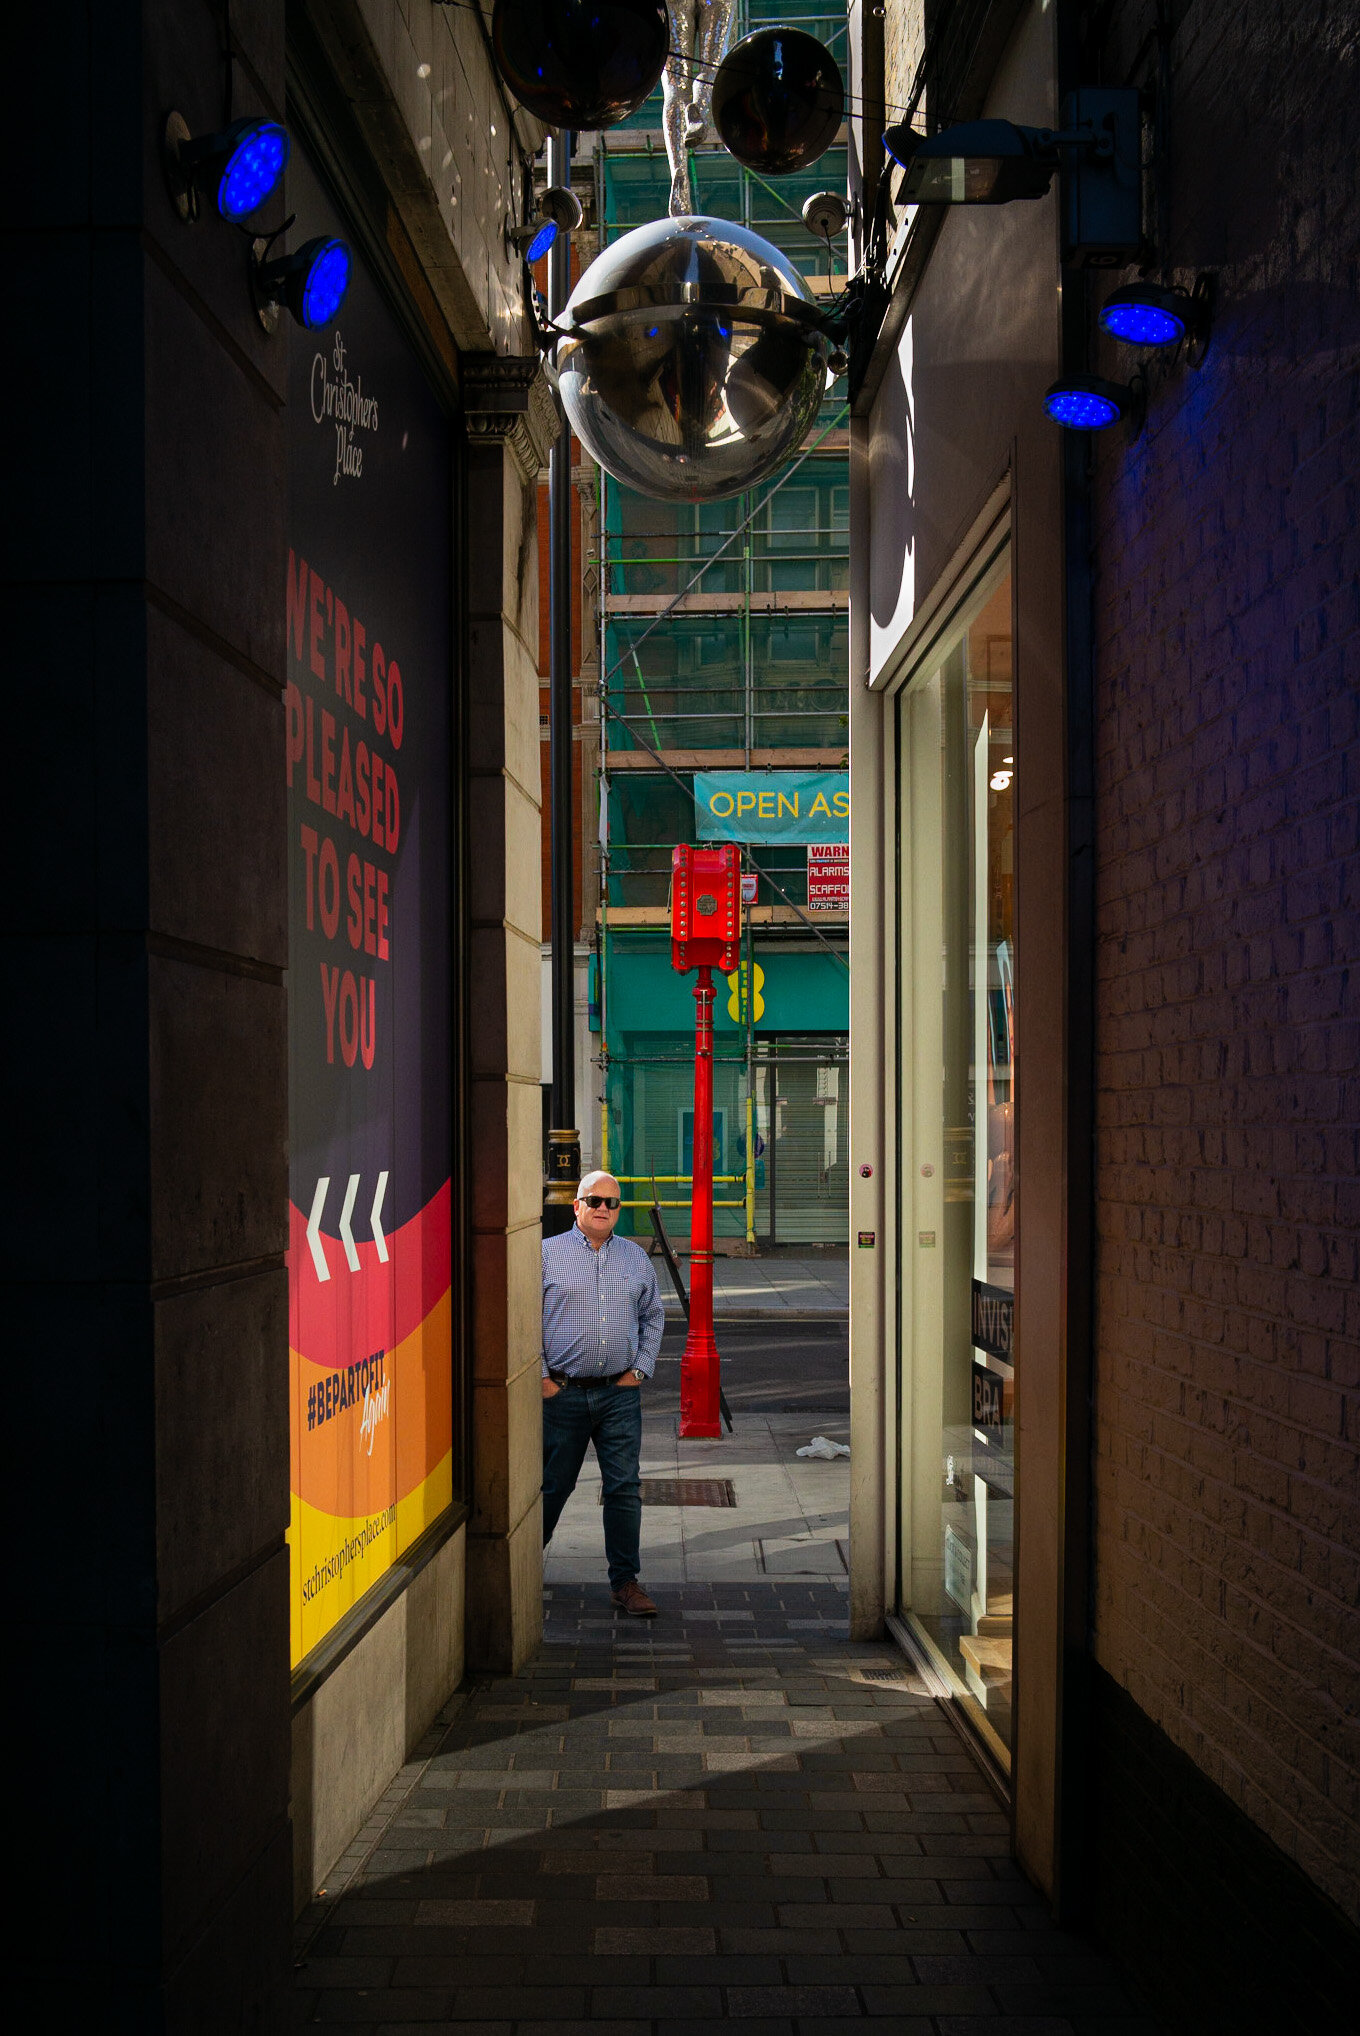
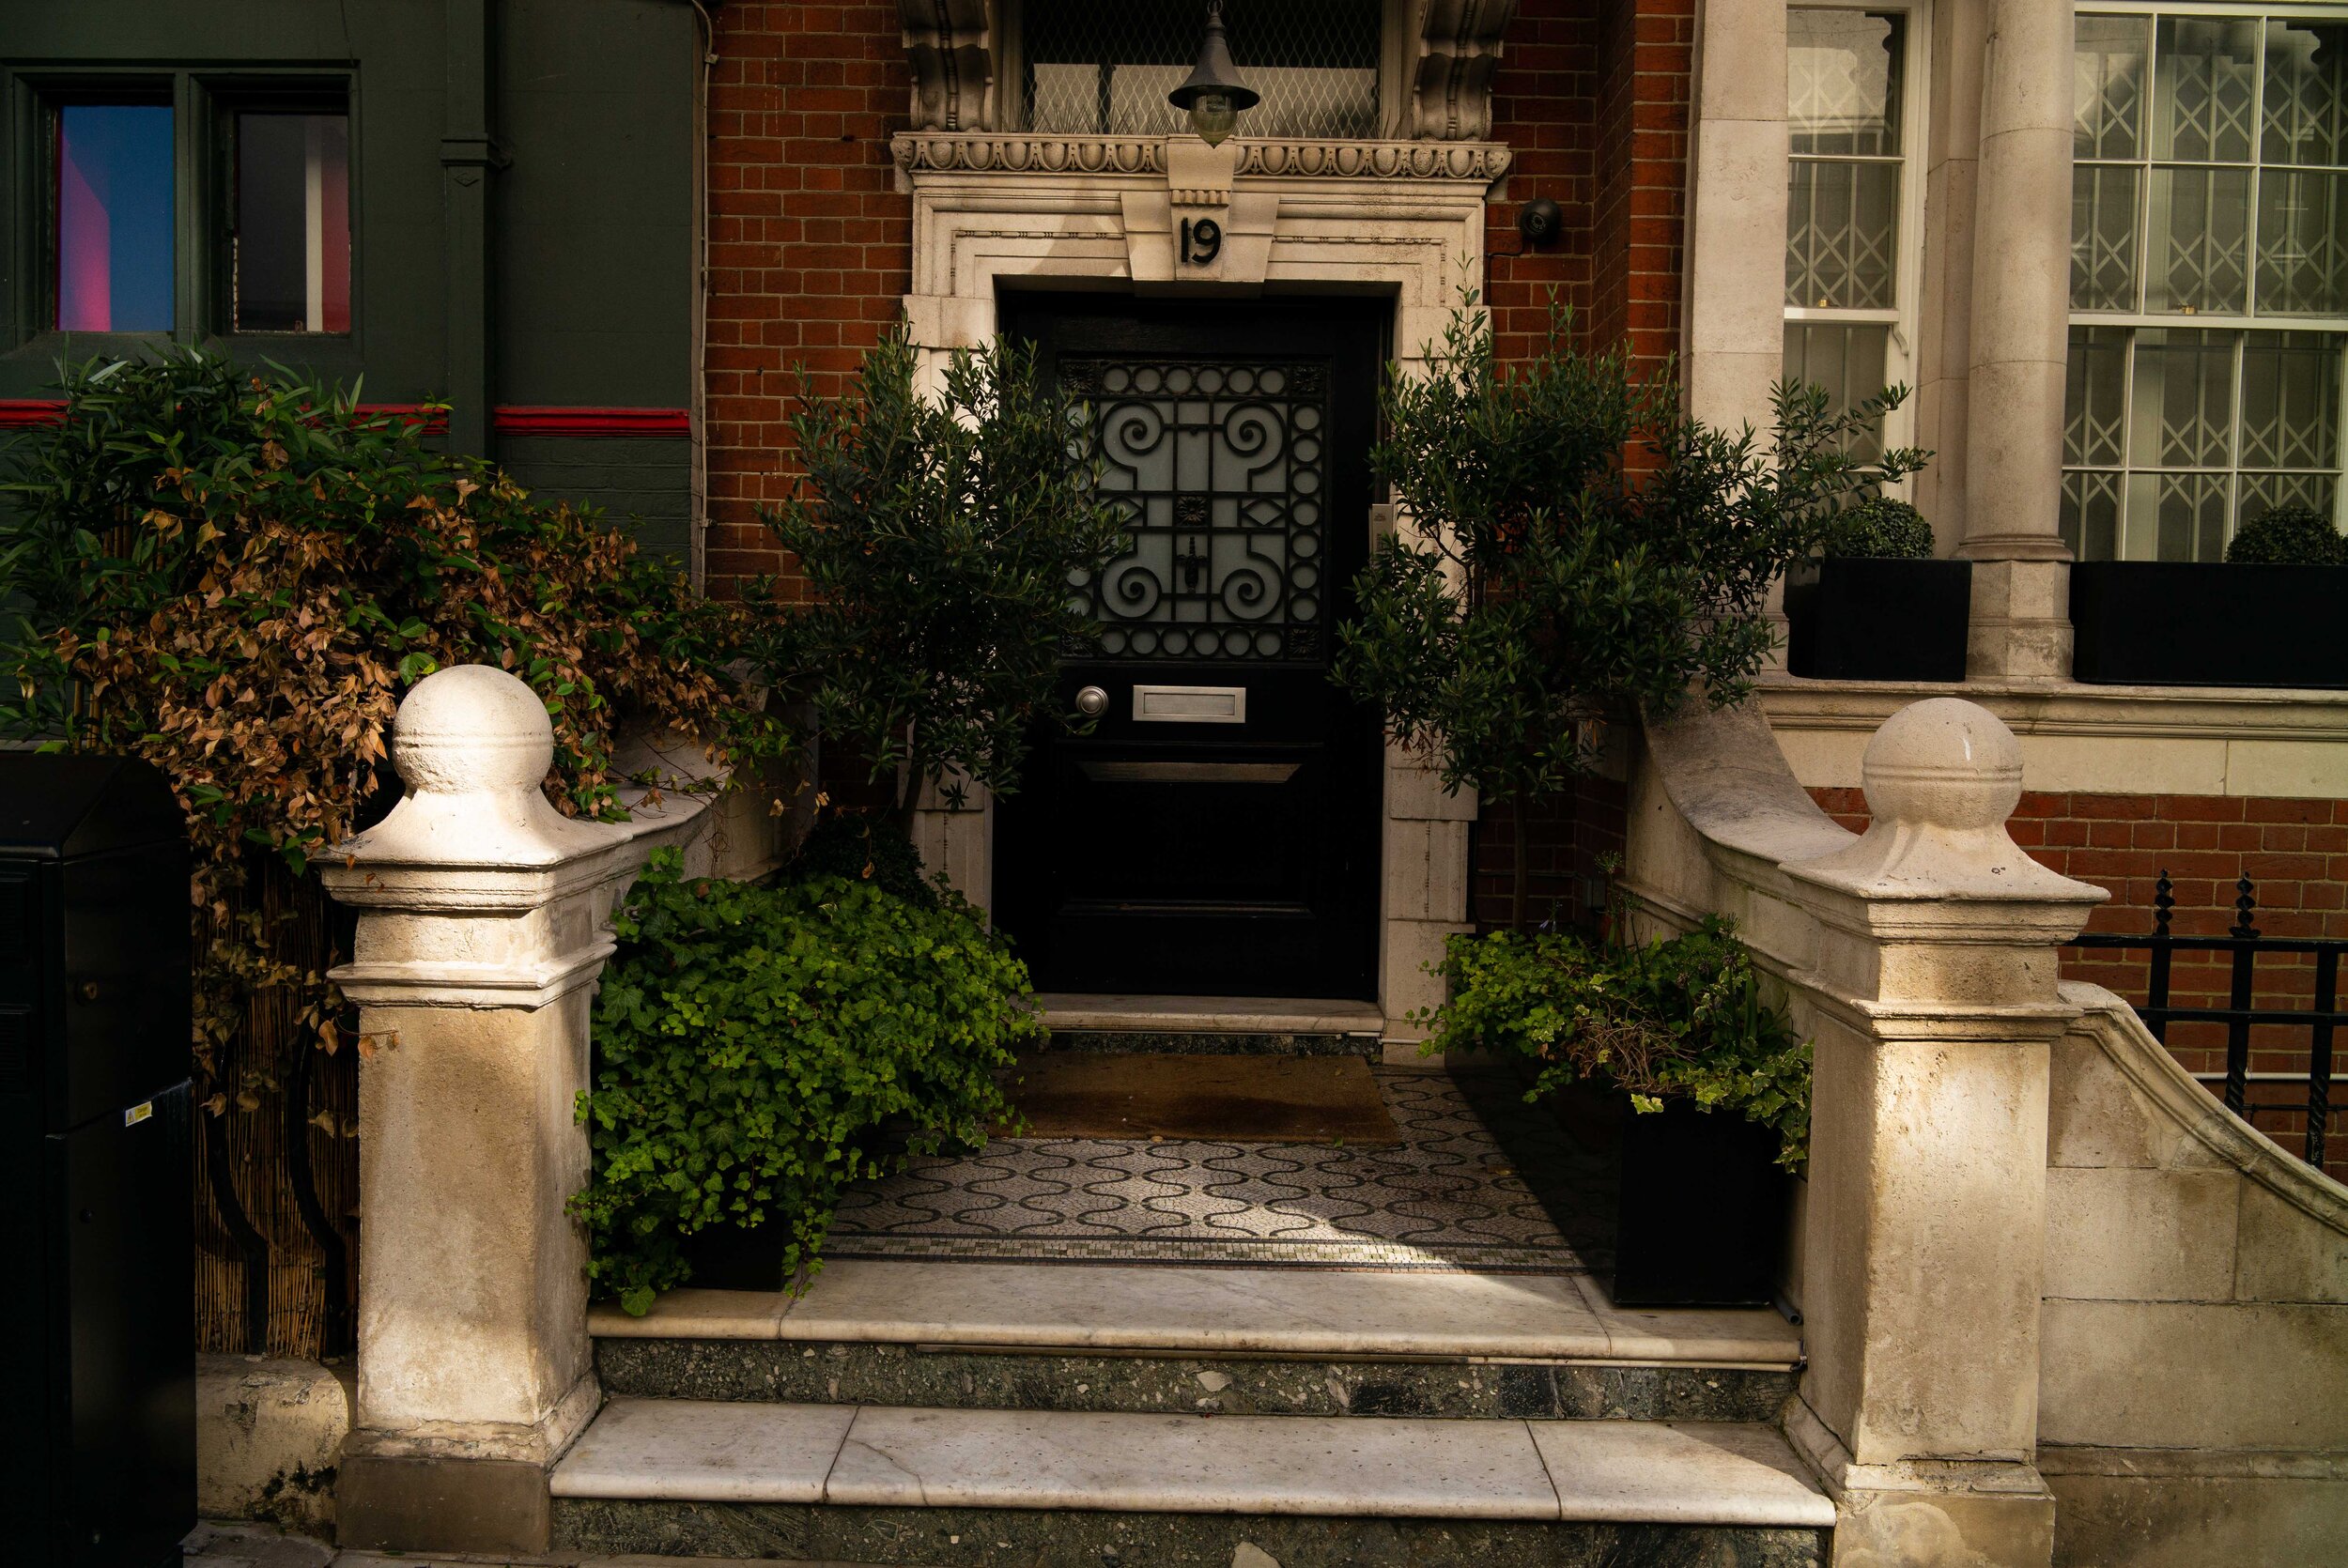
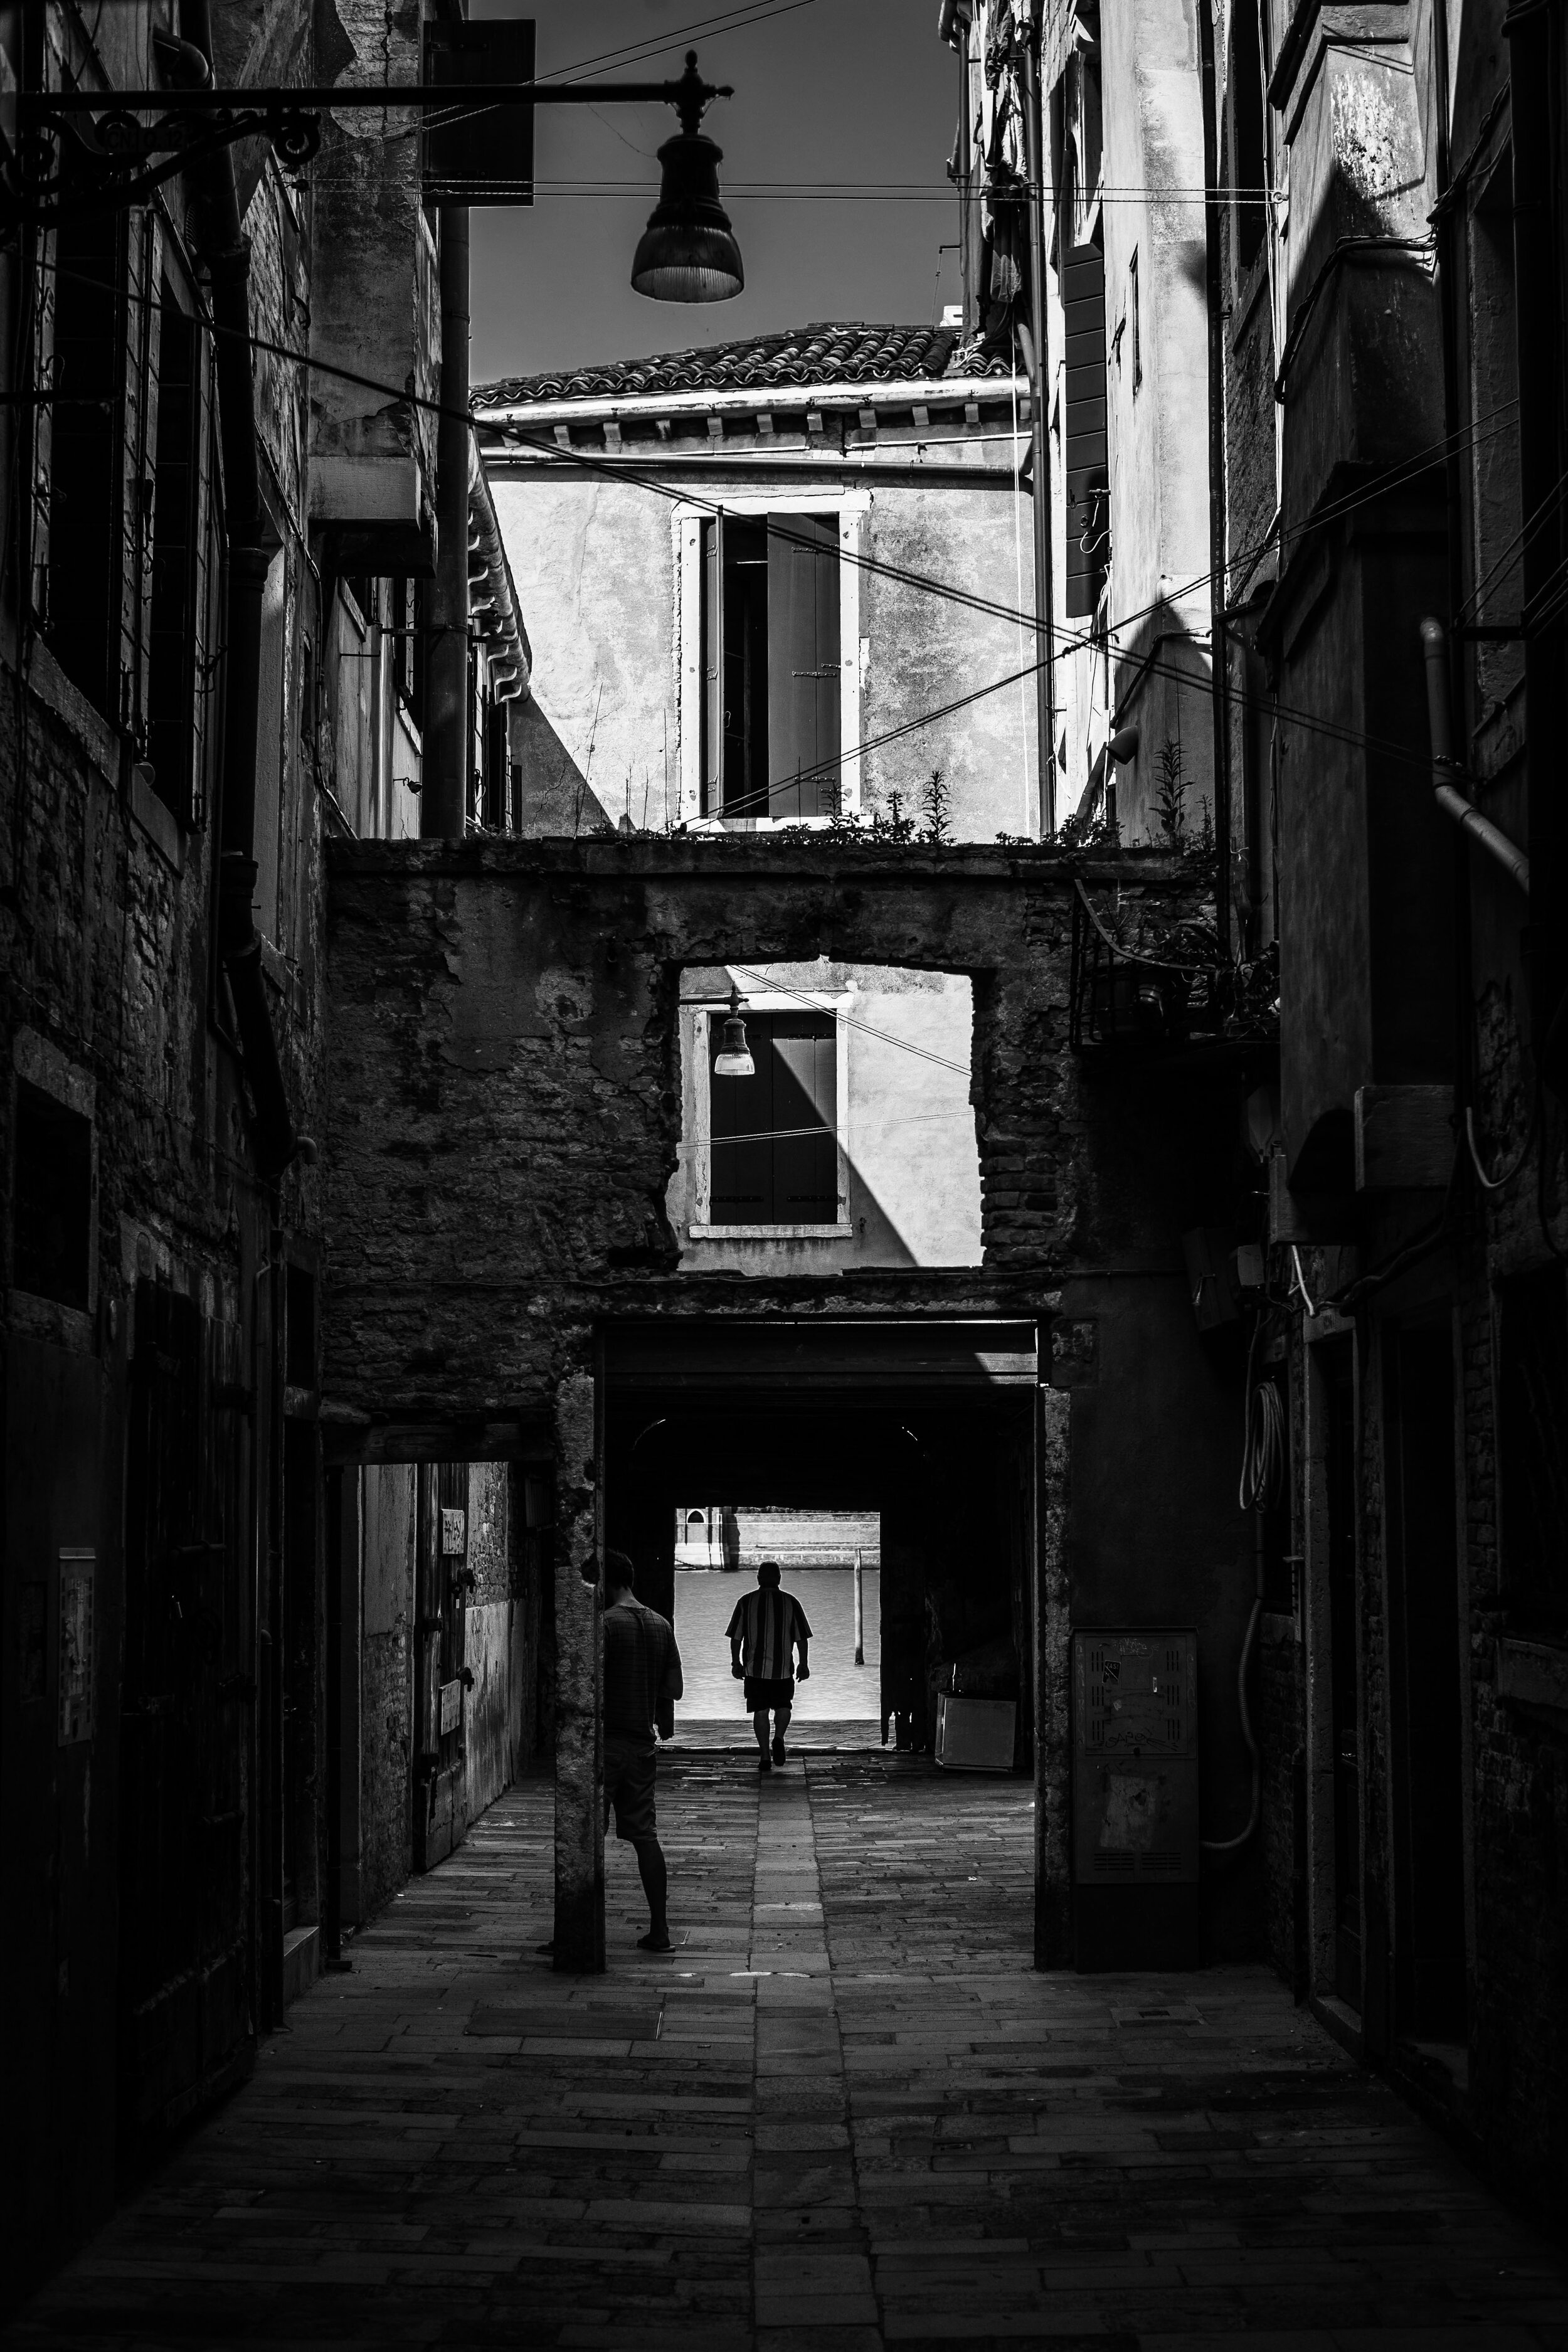
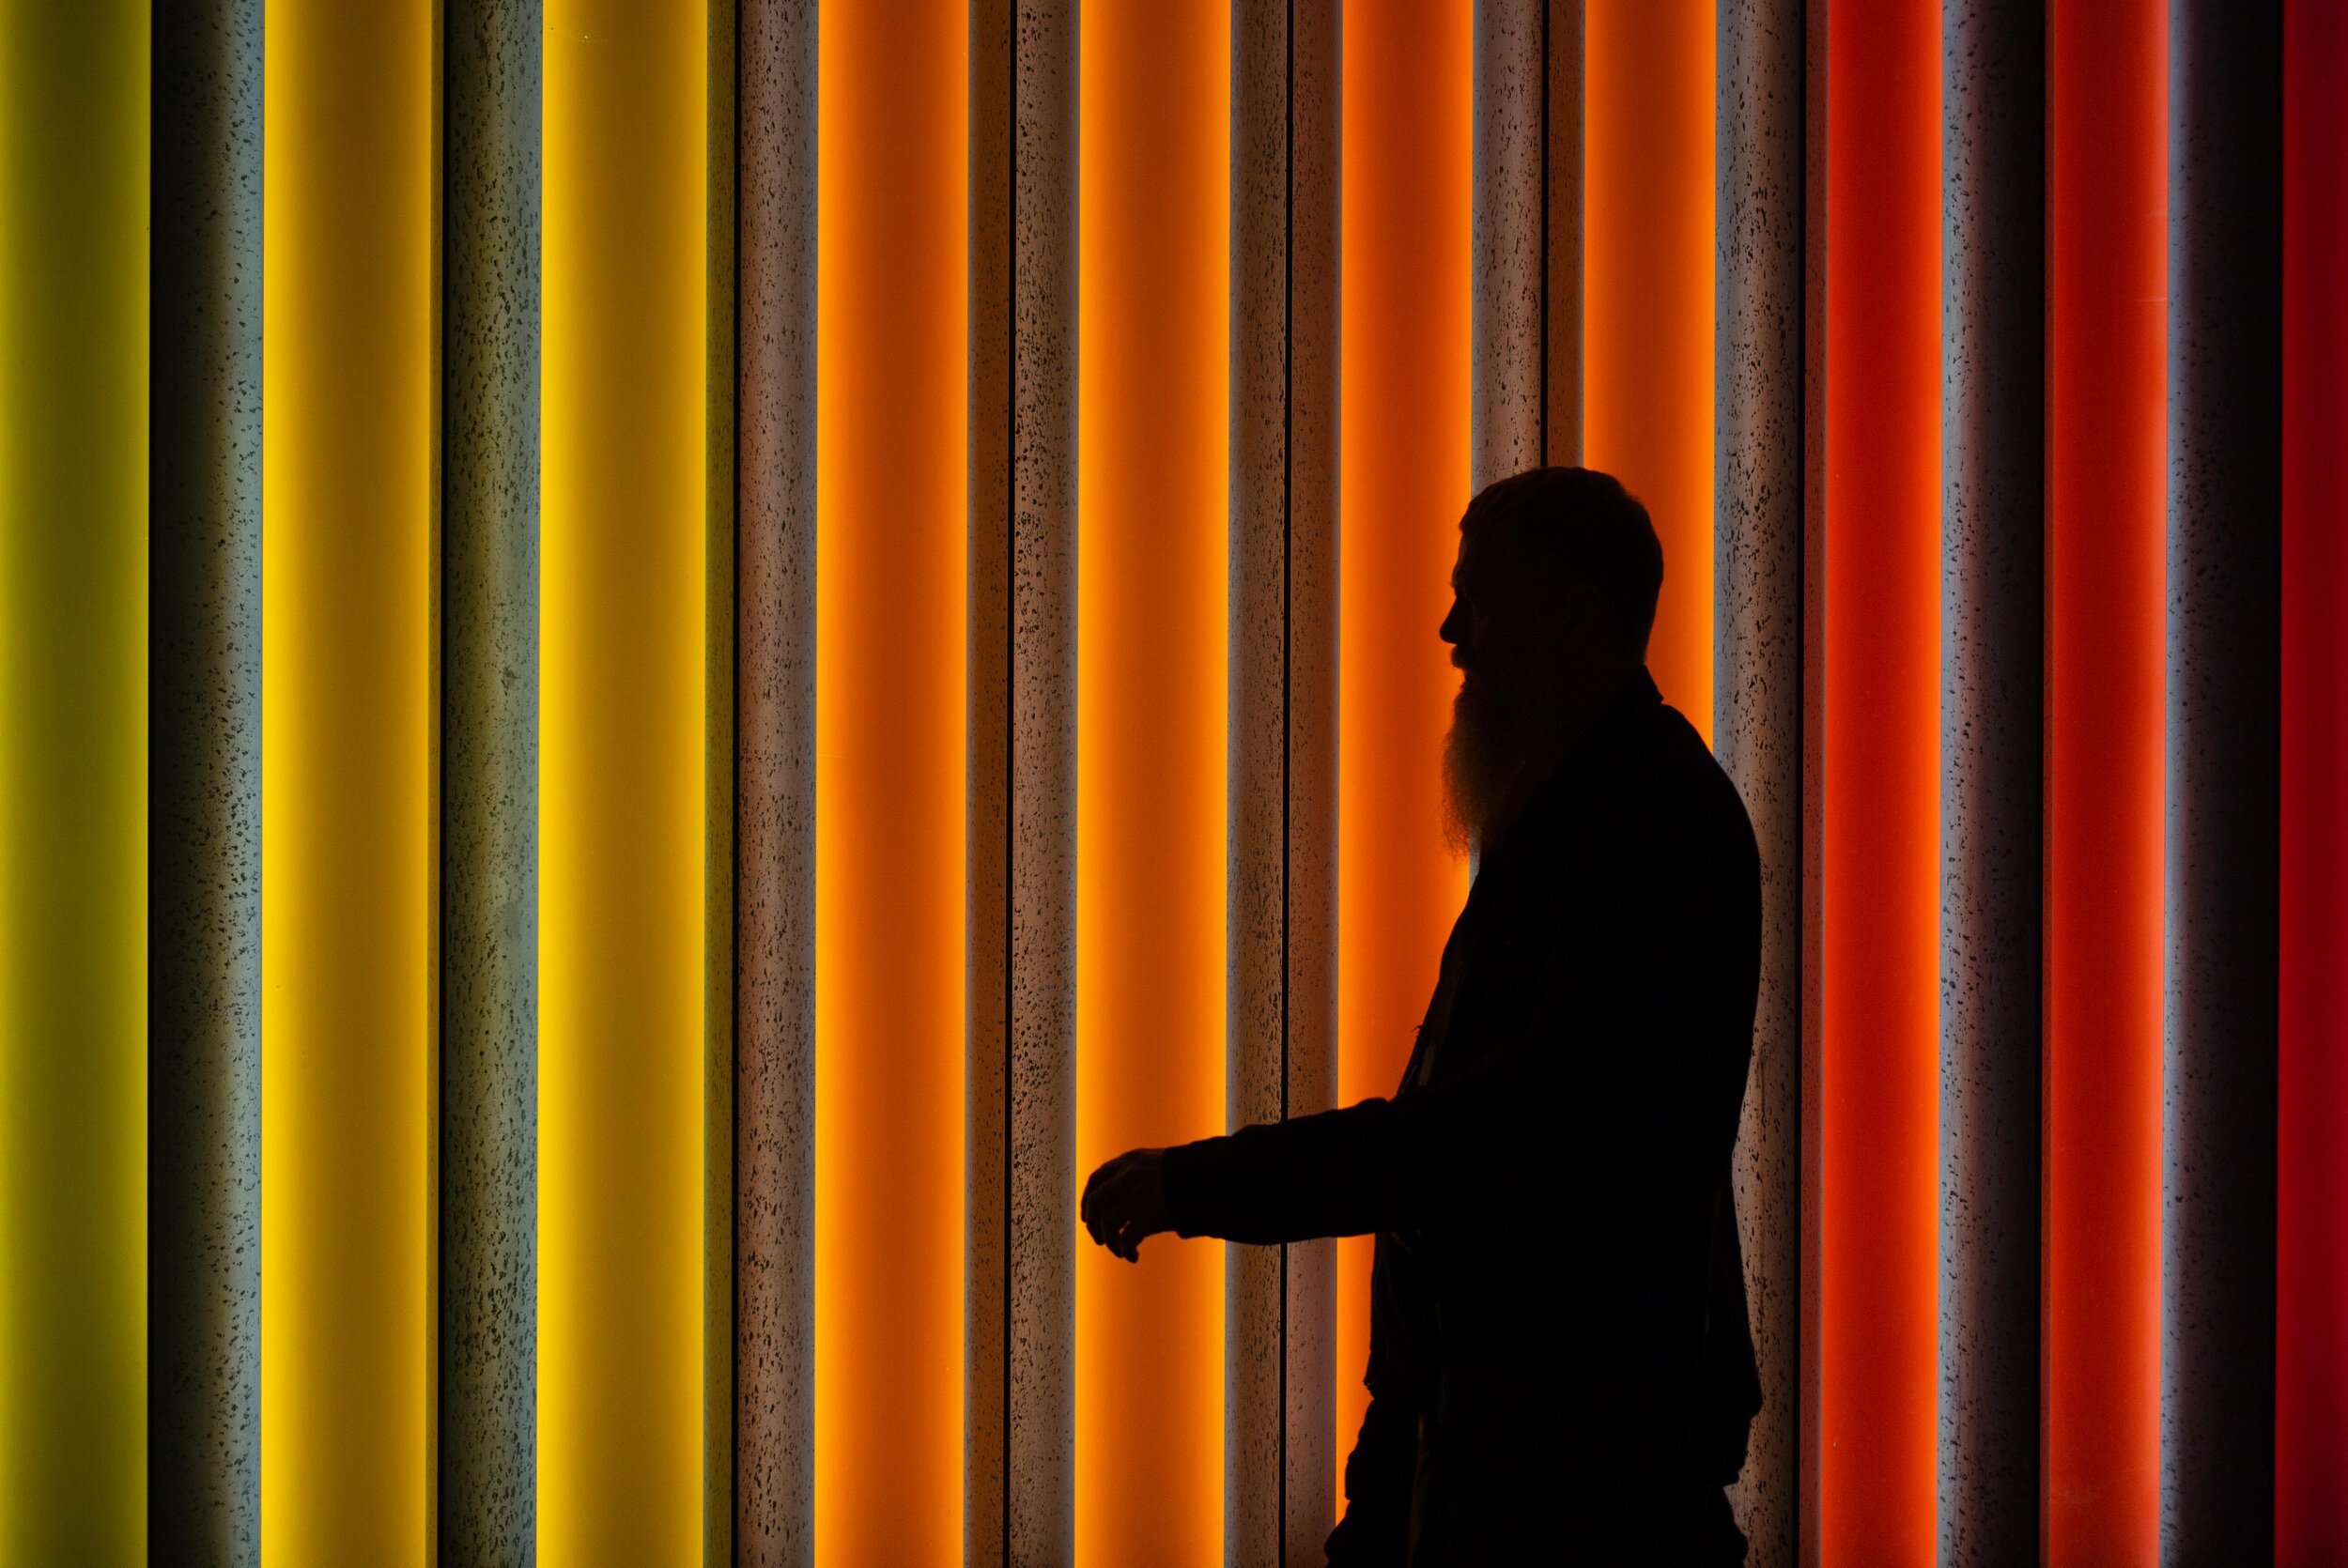
Let’s see another shot that took me more than two hours in total. I had to come back three times:
I really like this image, and this is what I was looking for. I had this precise idea in mind. Still, countless tries to get it right, and the guy in the orange jacket just happened to lean to my right so I could place him in the frame precisely with a small movement of mine. I was lucky. But happy!
So, what is a good background?
Anything that catches your eye that you think might work! In the railway picture above I really hope you can see what I saw that was interesting: I just sat down on the tracks and waited.
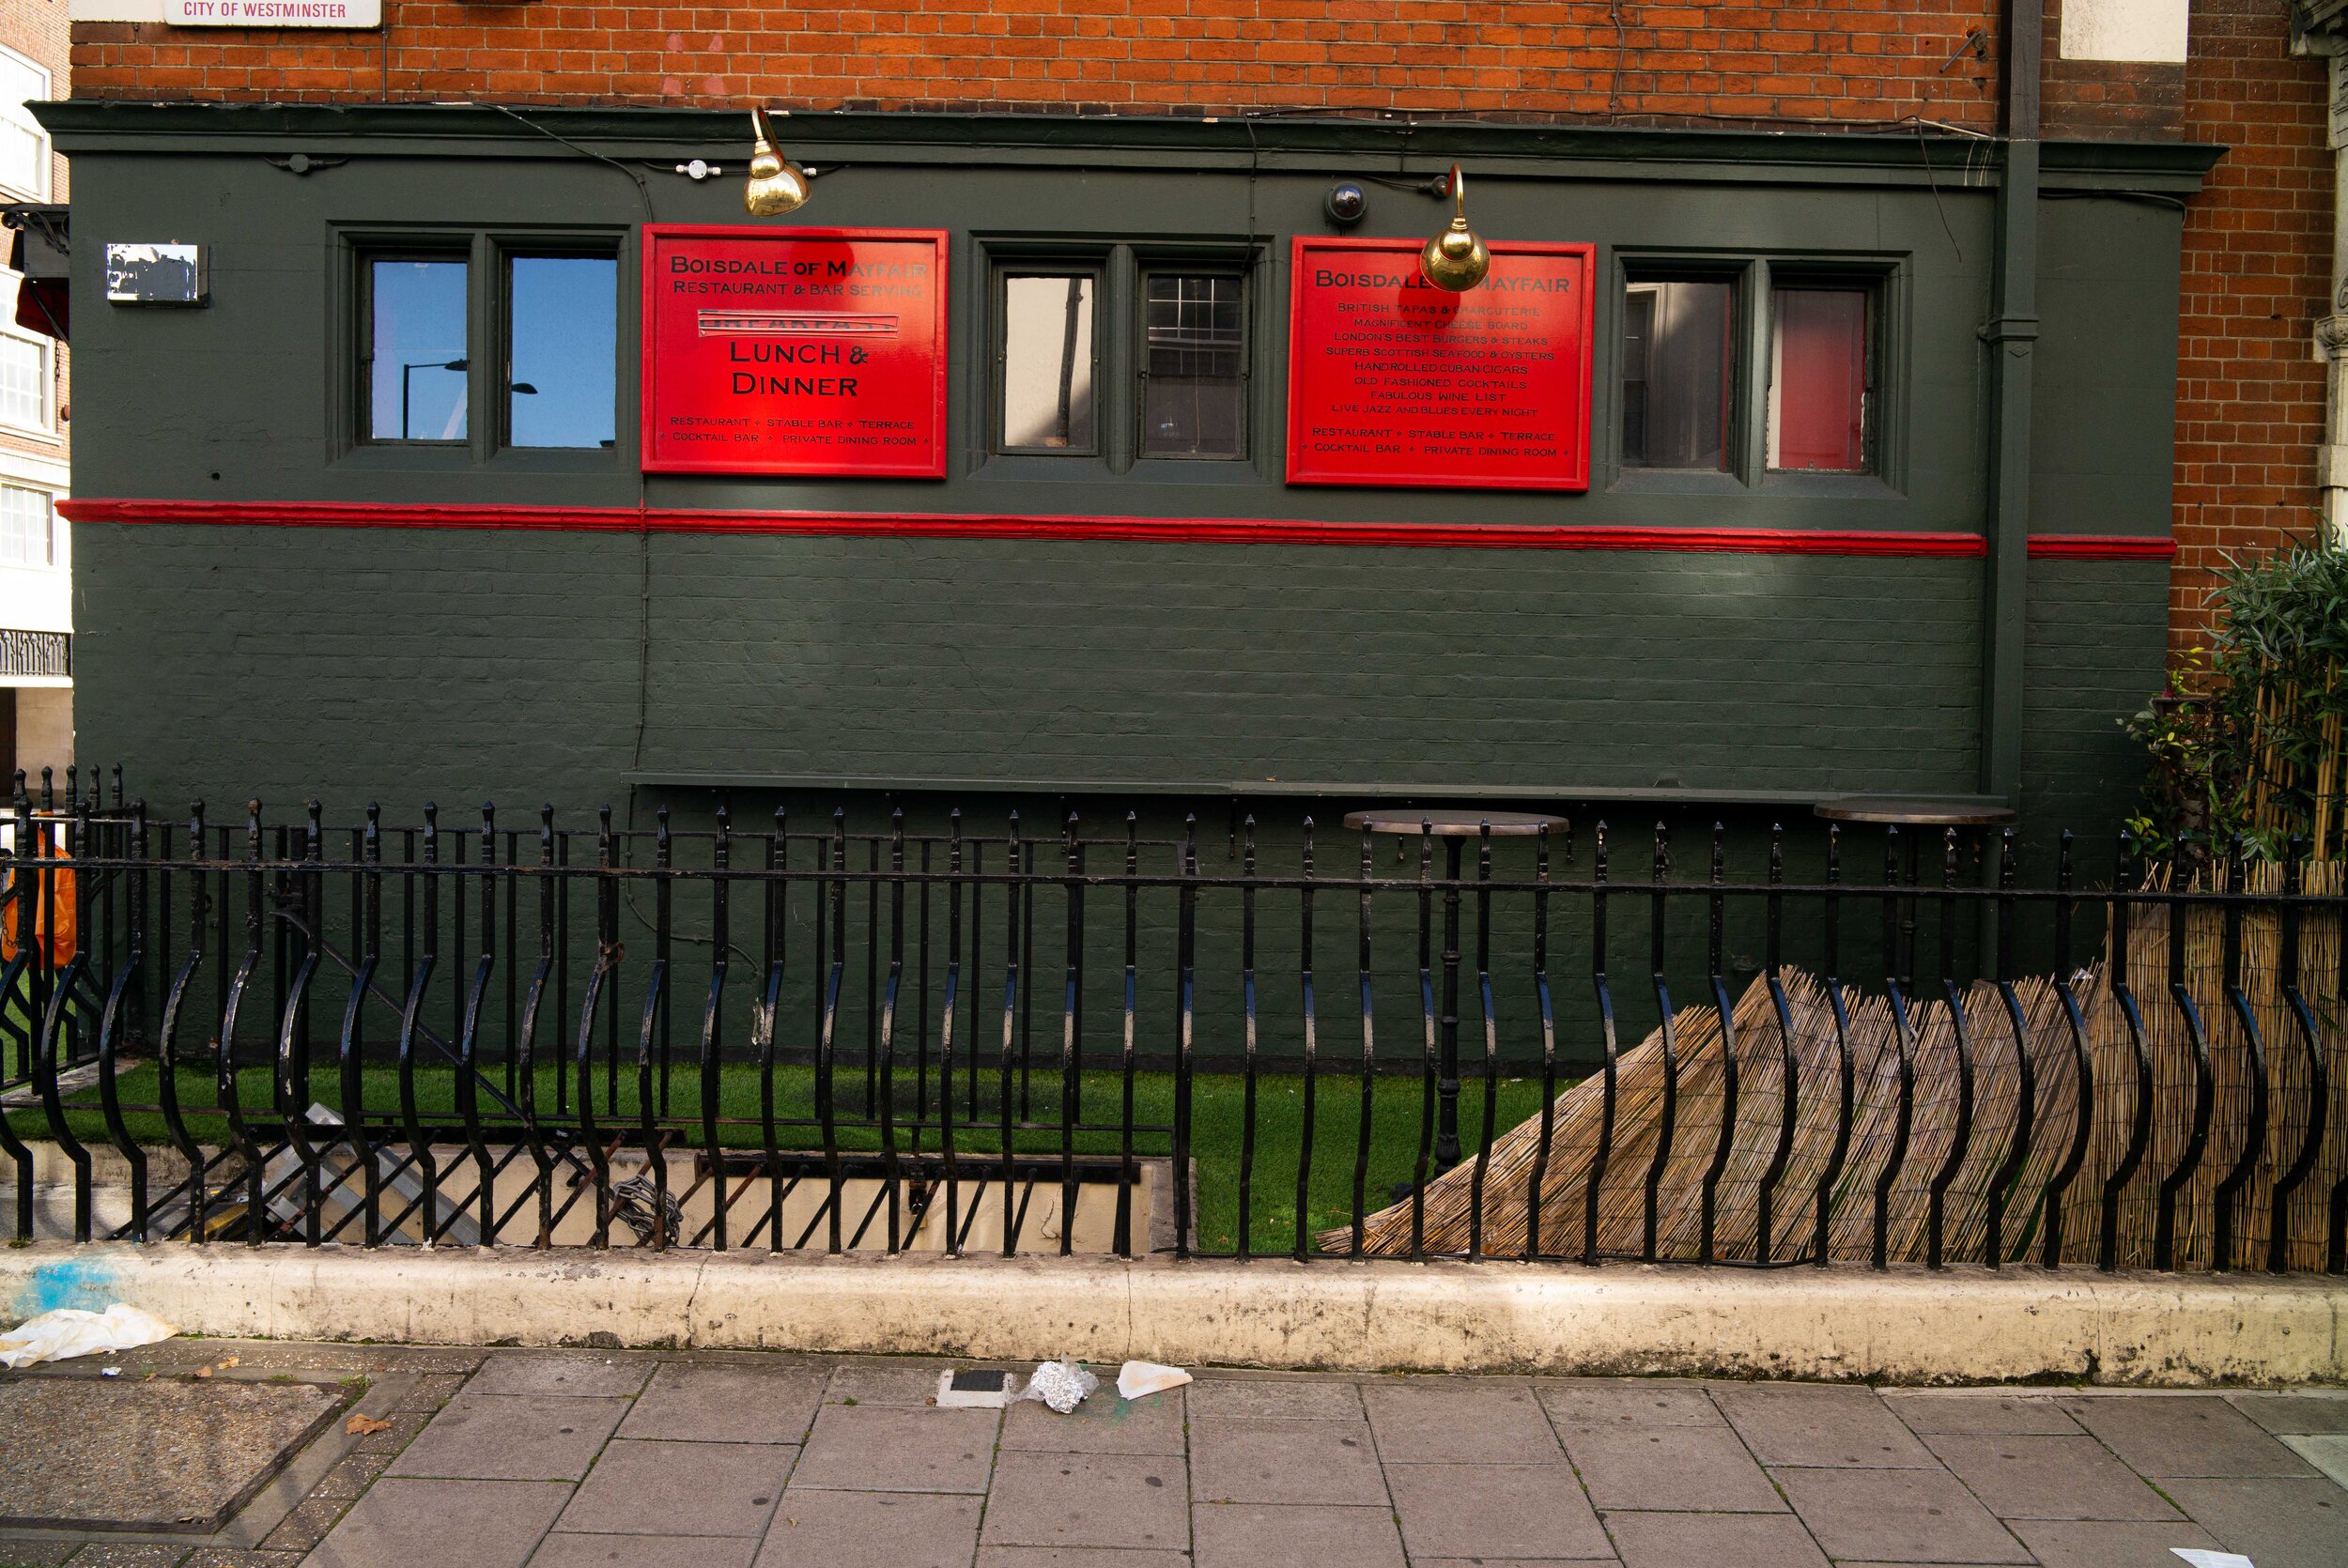
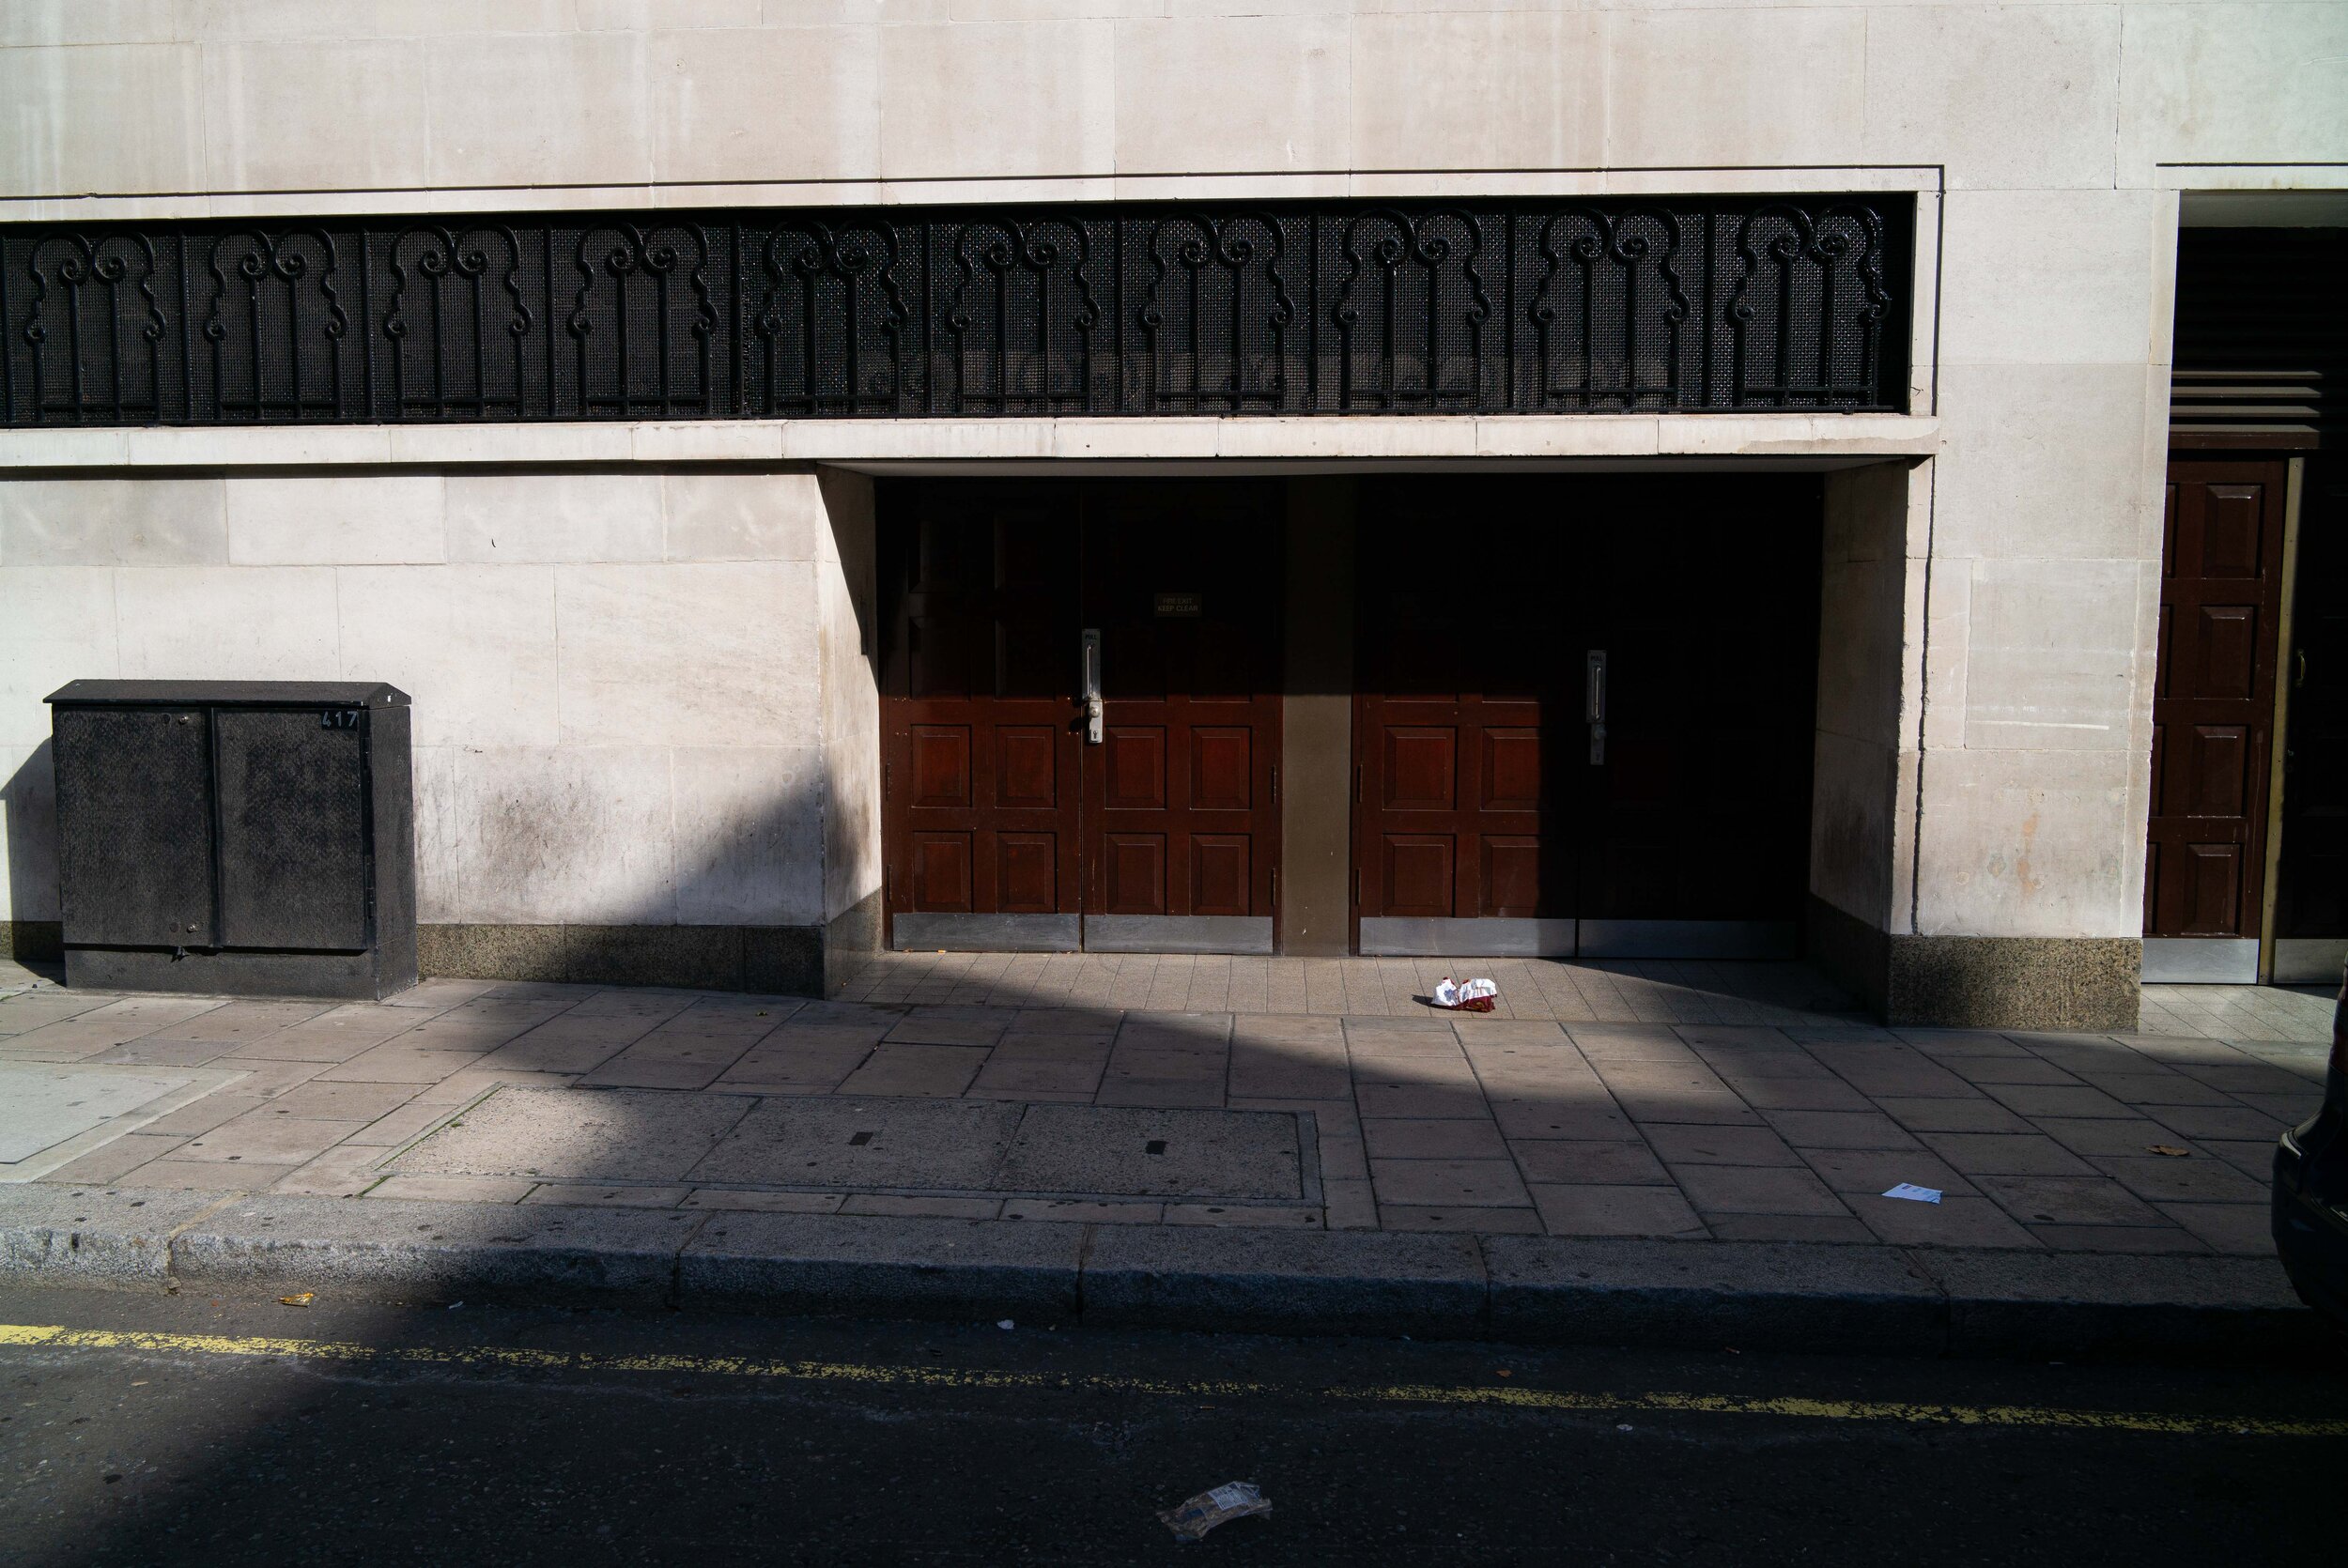
The guy with antennae? The antennae of course! I got the idea and went for it. The homeless person in the background was there but I wasn’t looking for him, although he really adds to the picture a lot, together with the two red doors that work as bookends to the frame.
In the unsuccessful series of pictures the red post was the anchor point together with the quality of the light. The ambulance arrived later and just added an extra element. I have to say I missed the shot I was looking for when the right person with the right colours and gesture and interesting appearance walked in the frame because I was moving away to allow people coming from behind me to squeeze past…that was frustrating! You can lose the right shot in a fraction of a second. For the same reason you should never chimp! You’ll lose shots!
Finding a good background is actually pretty easy to start with. It can be anywhere. But the fact that the background might be pretty won’t guarantee a good shot! You need the right timing and placement of the subject or subjects, you need something interesting to happen. At the very least you need somebody to walk by! At times the place is looking great but it’s completely deserted. That probably won’t be worth the wait, unless you have nowhere else to go and that background is awesome.
Just to demonstrate how easy it is to find backgrounds, these possible scenes were all shot within 200m:
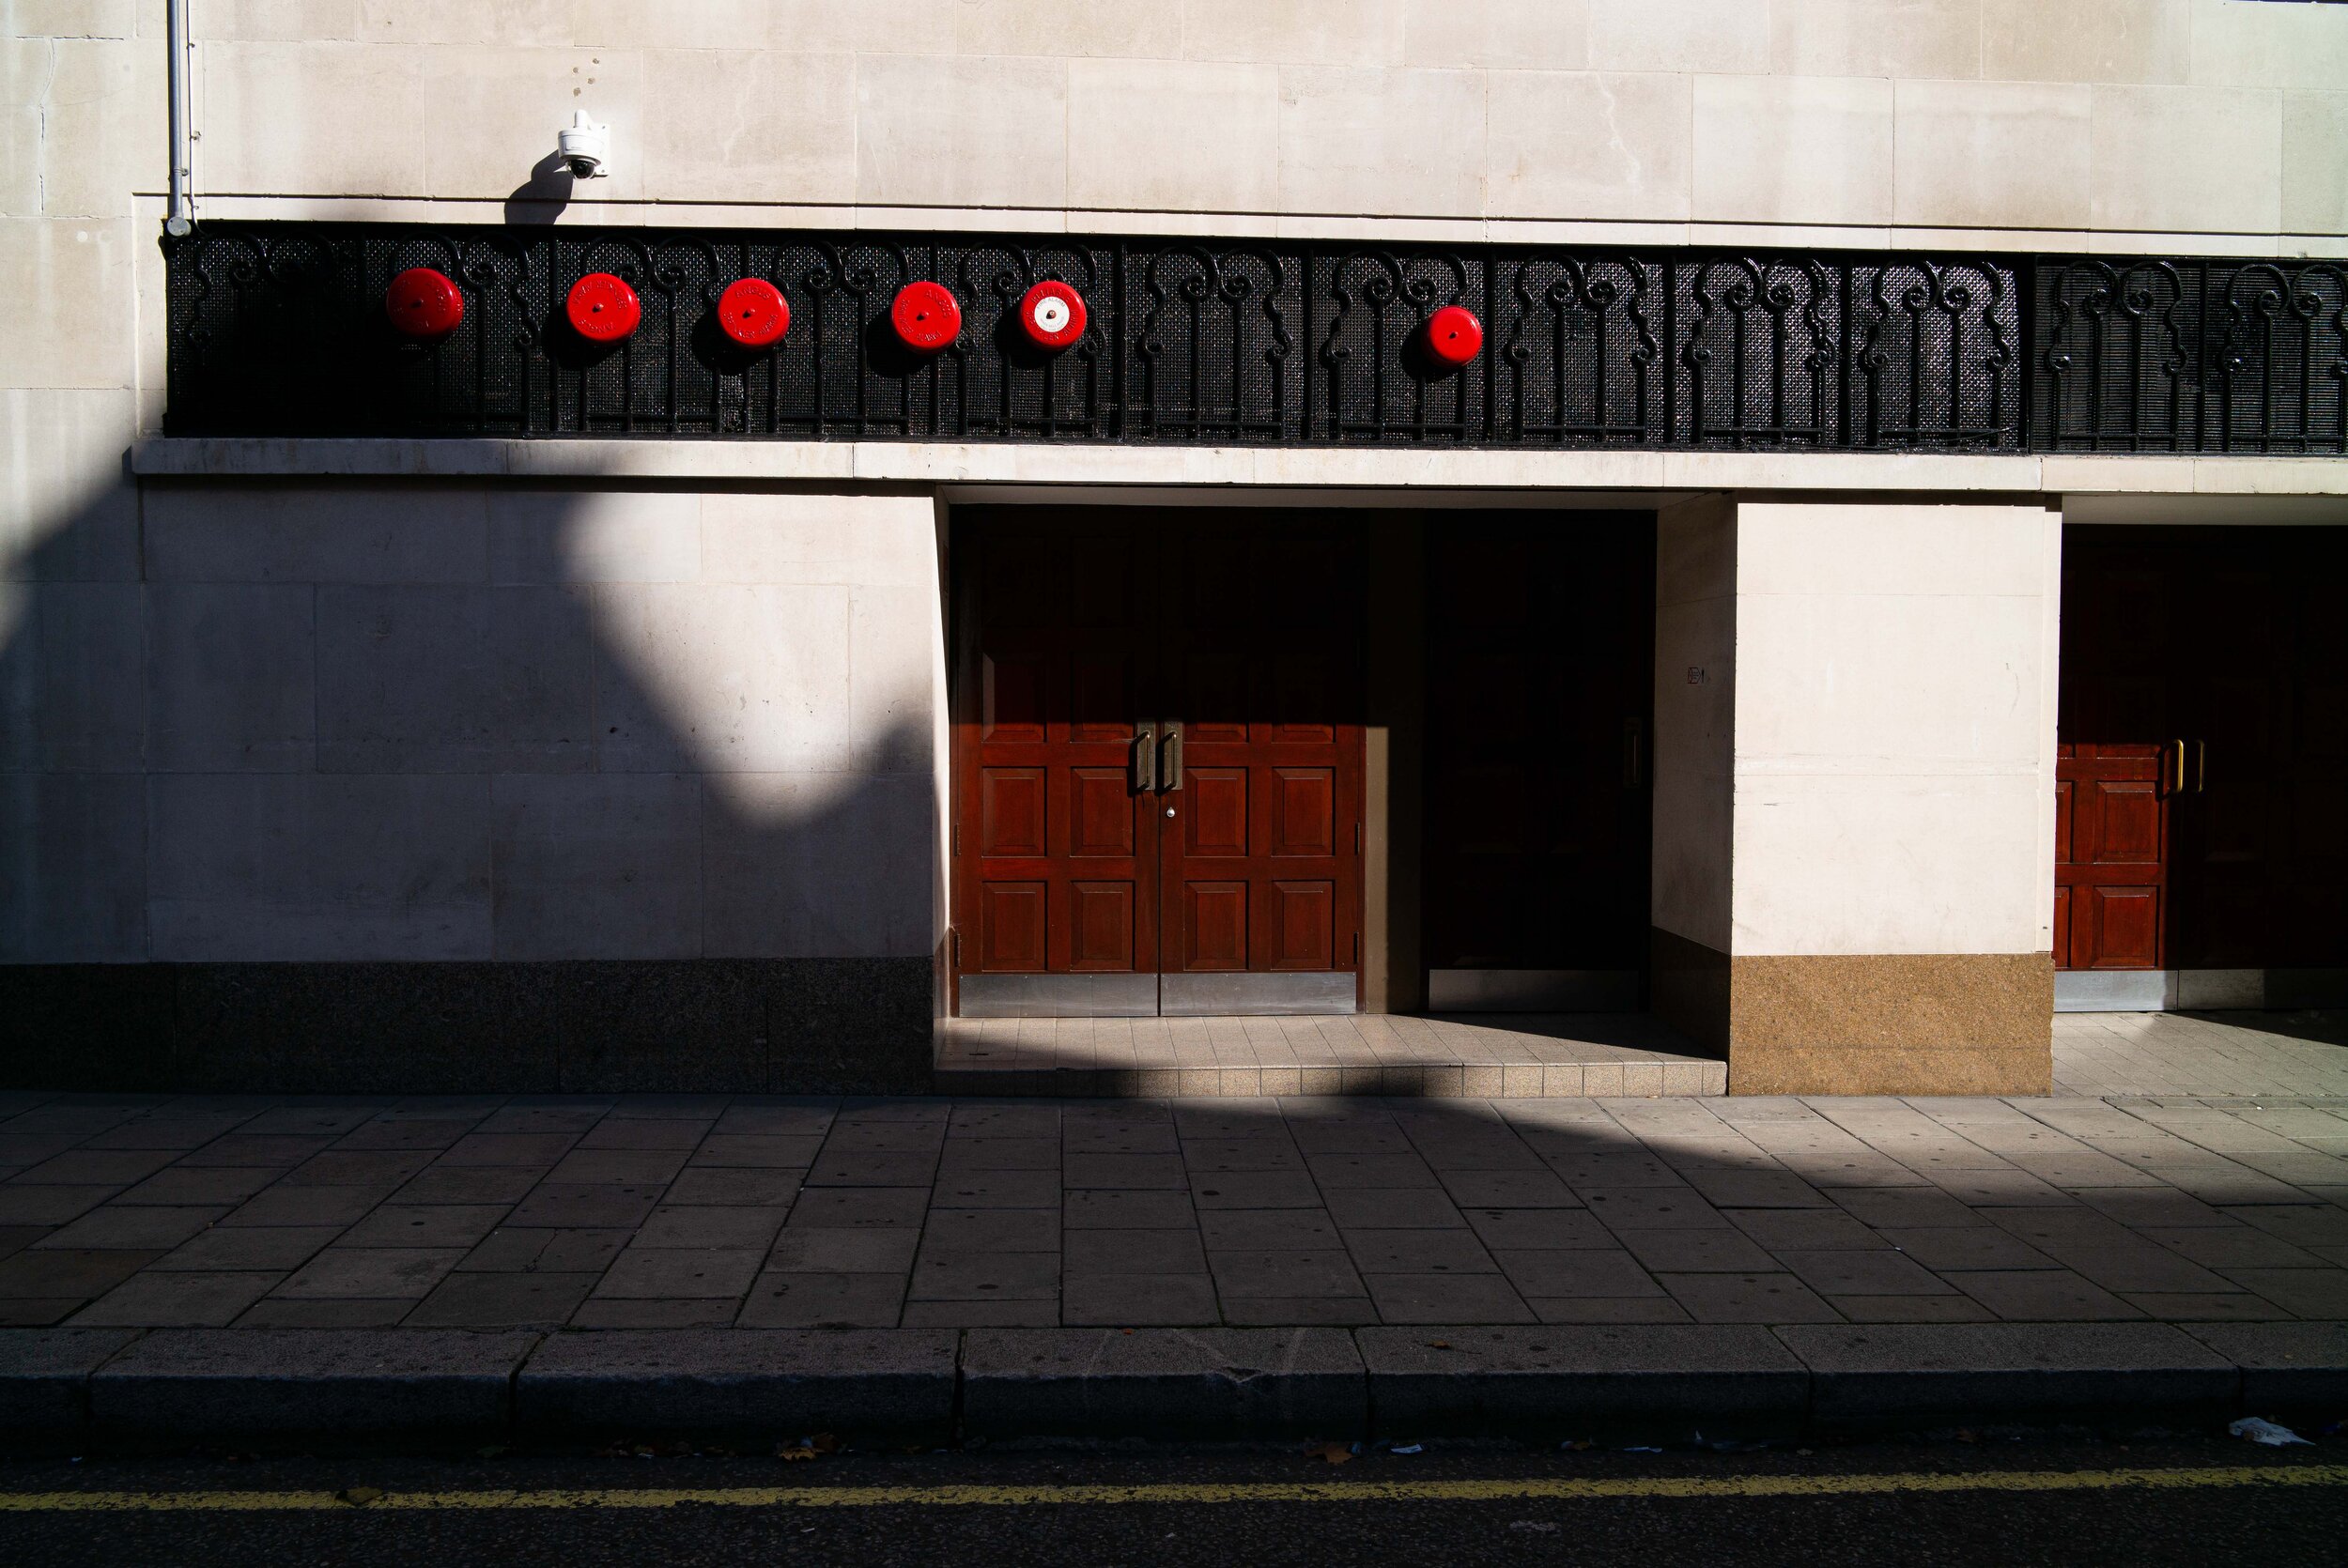
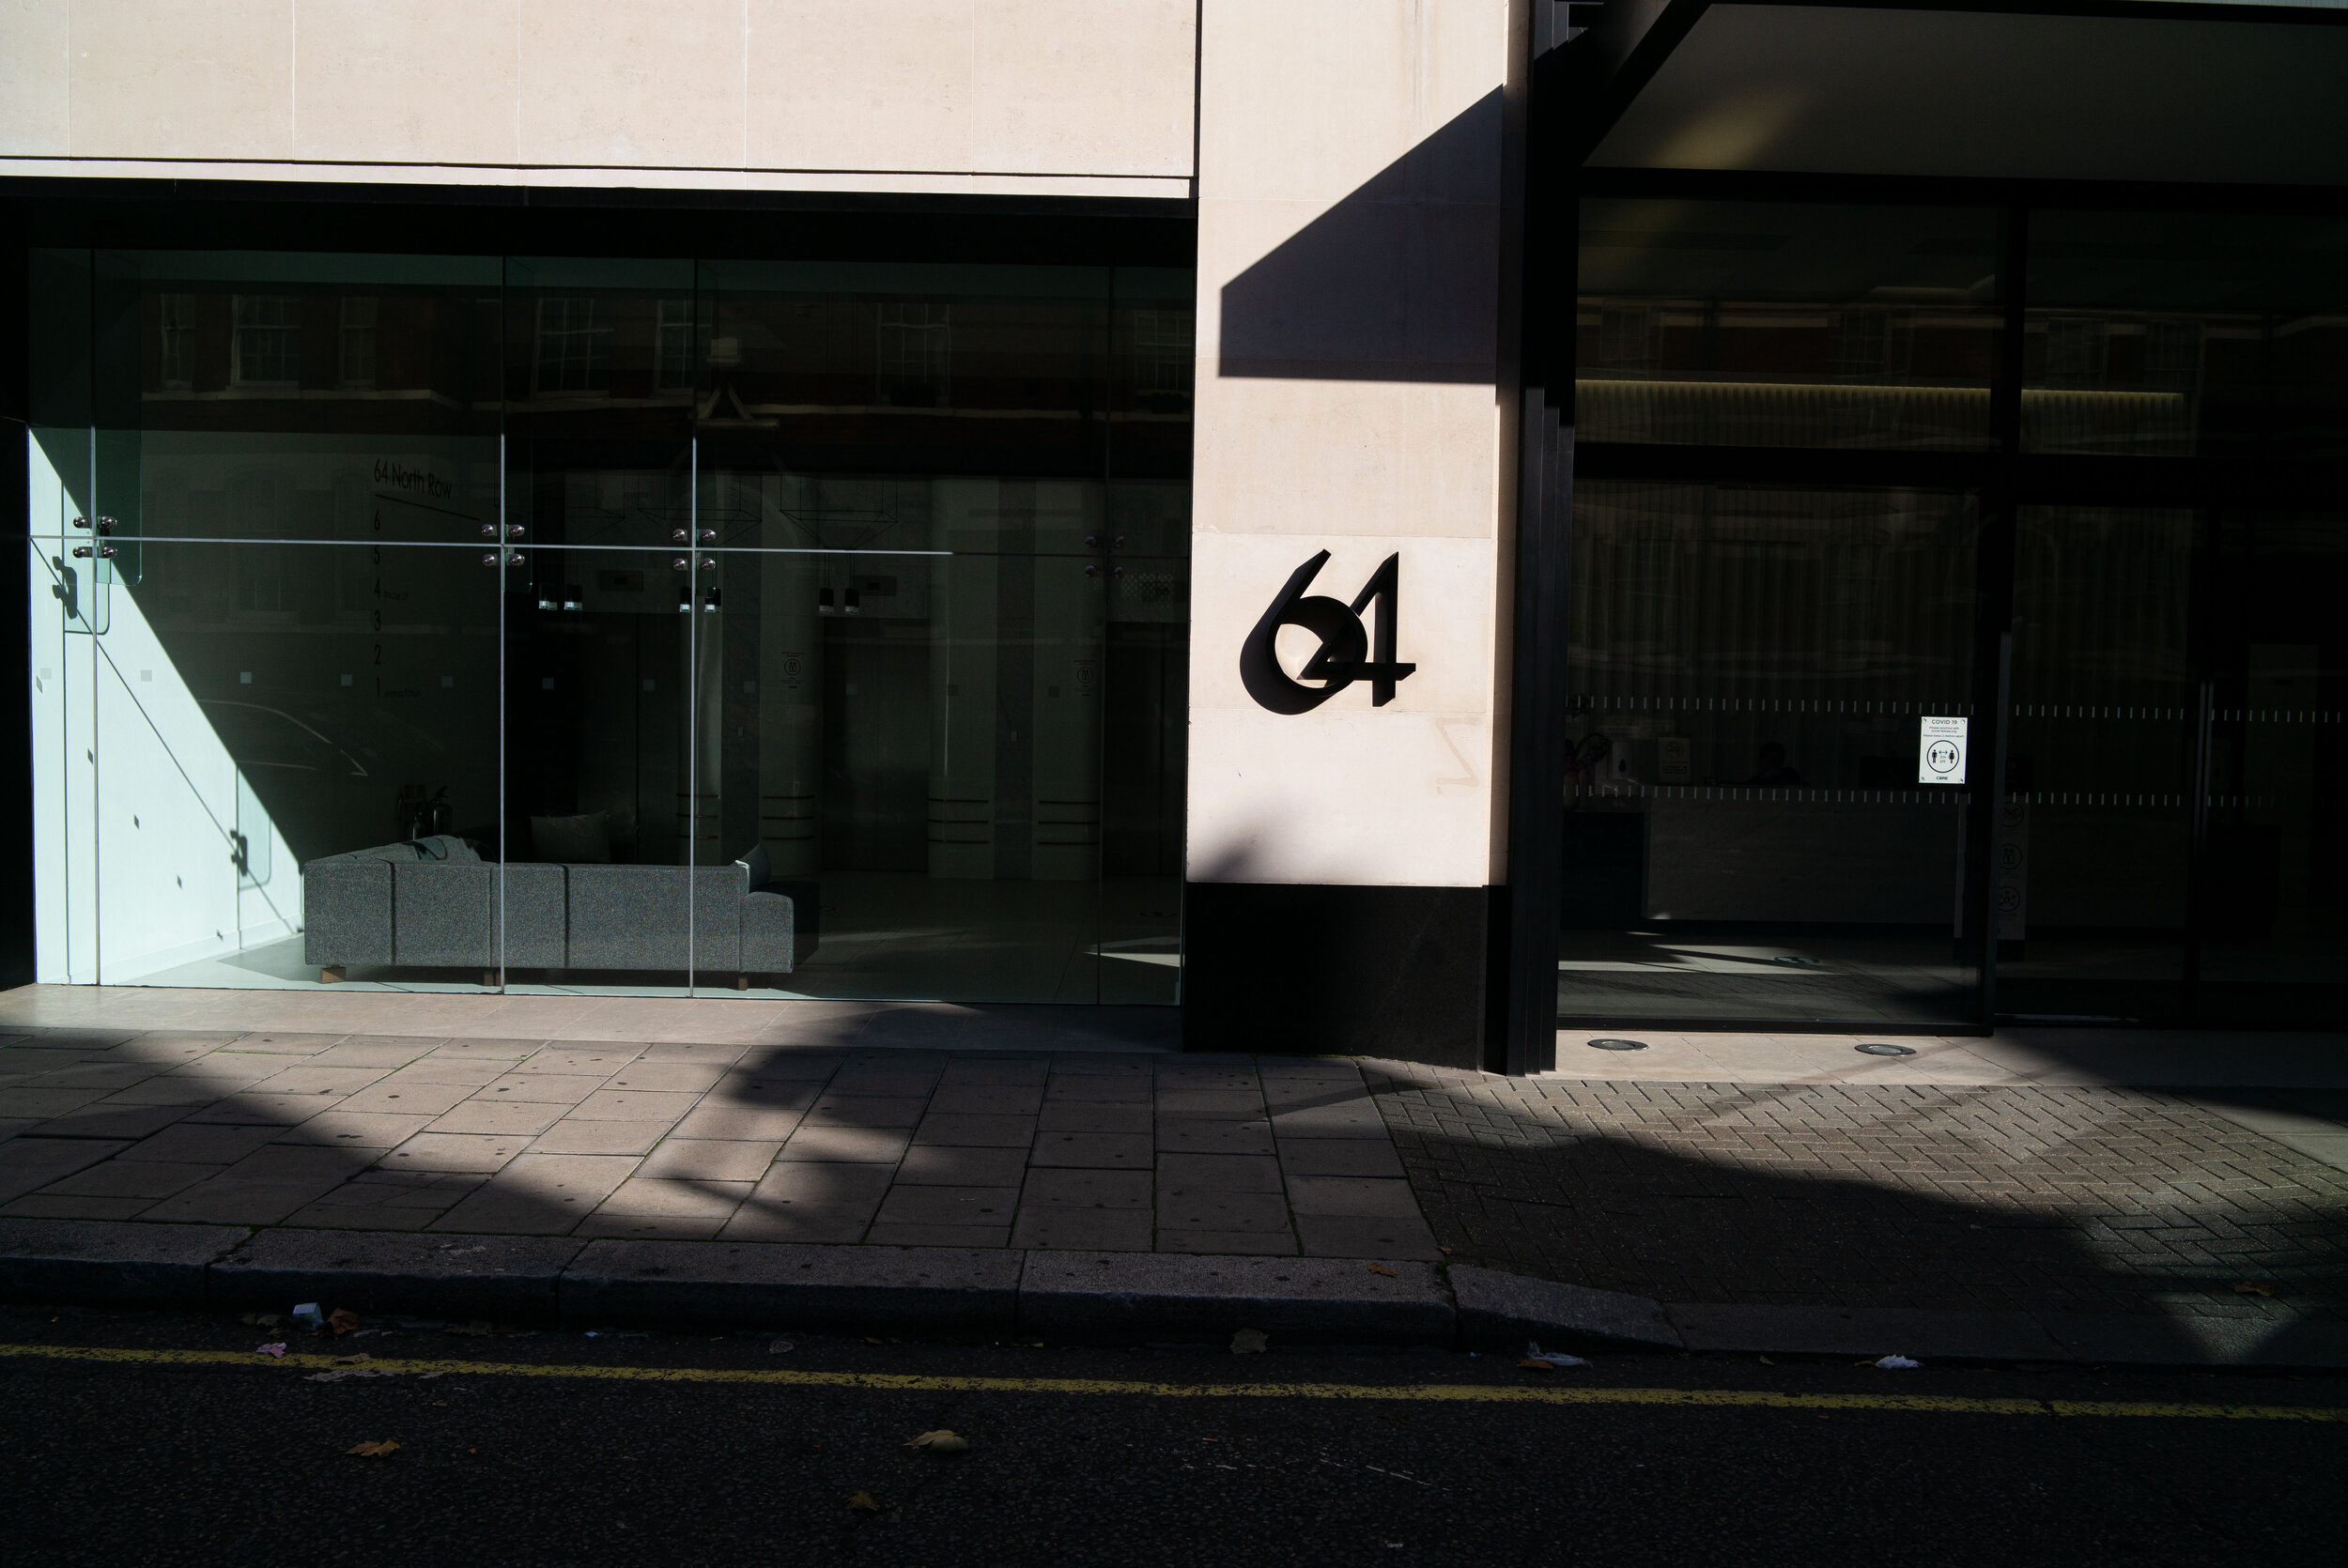
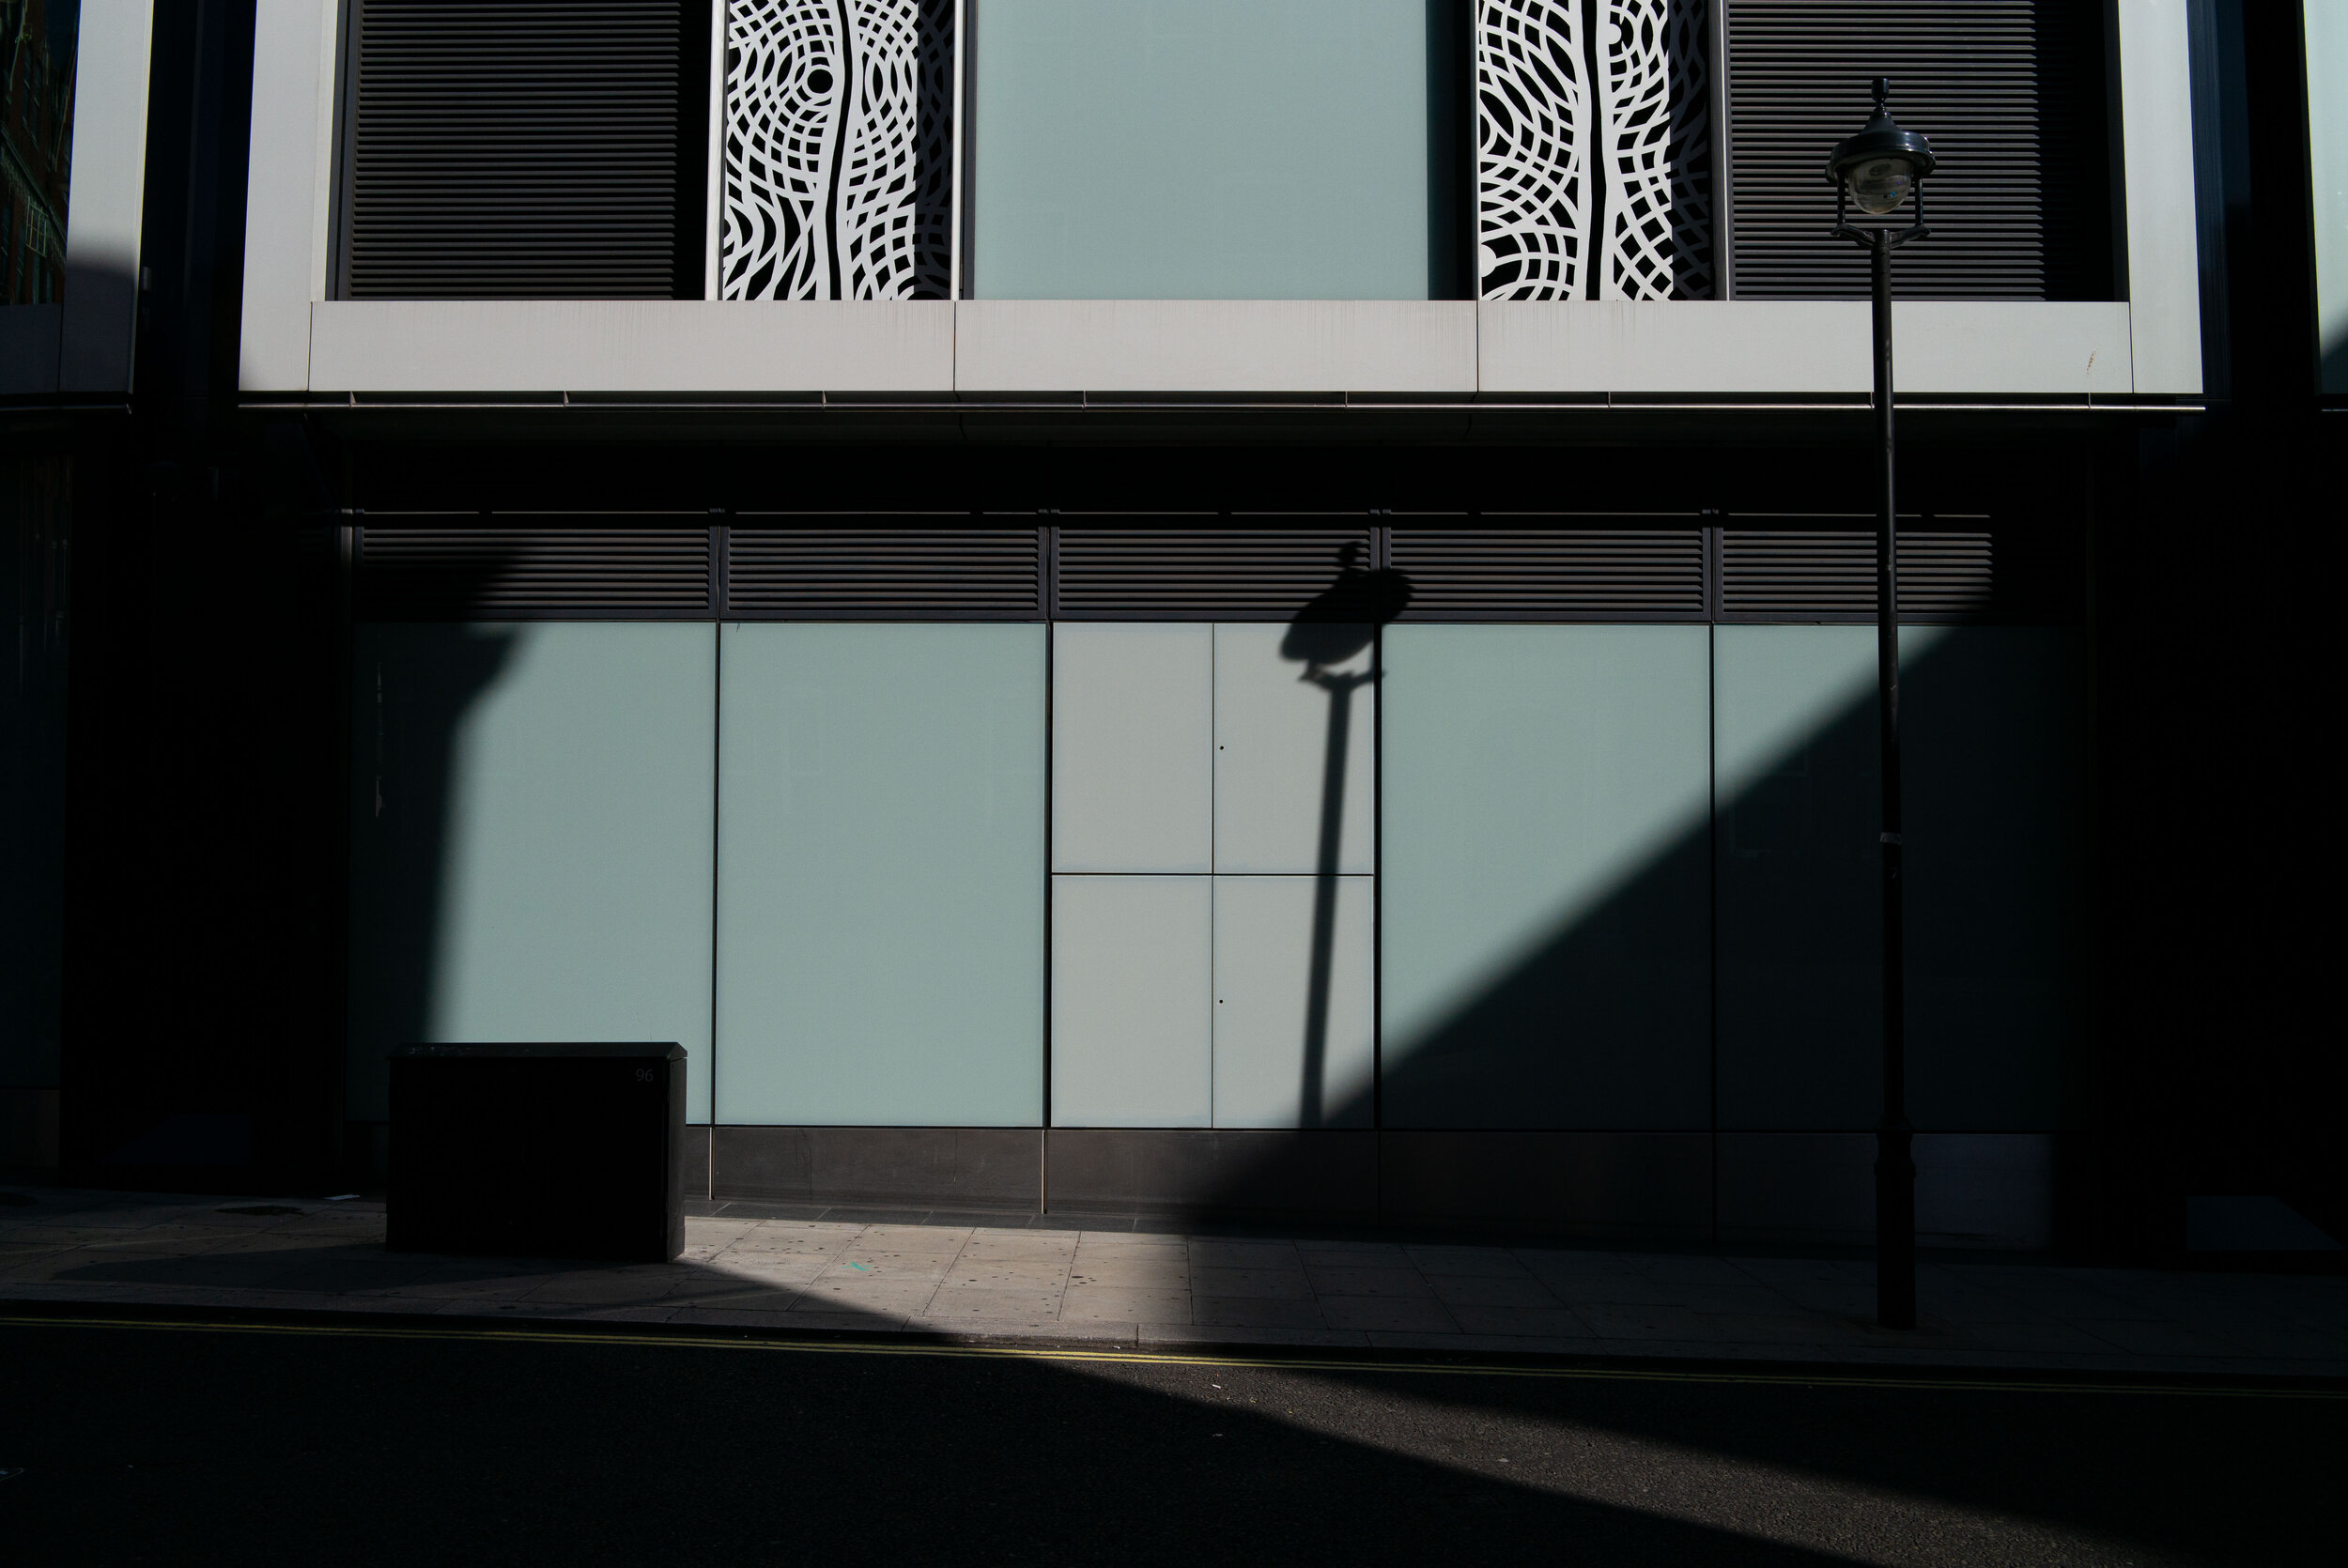
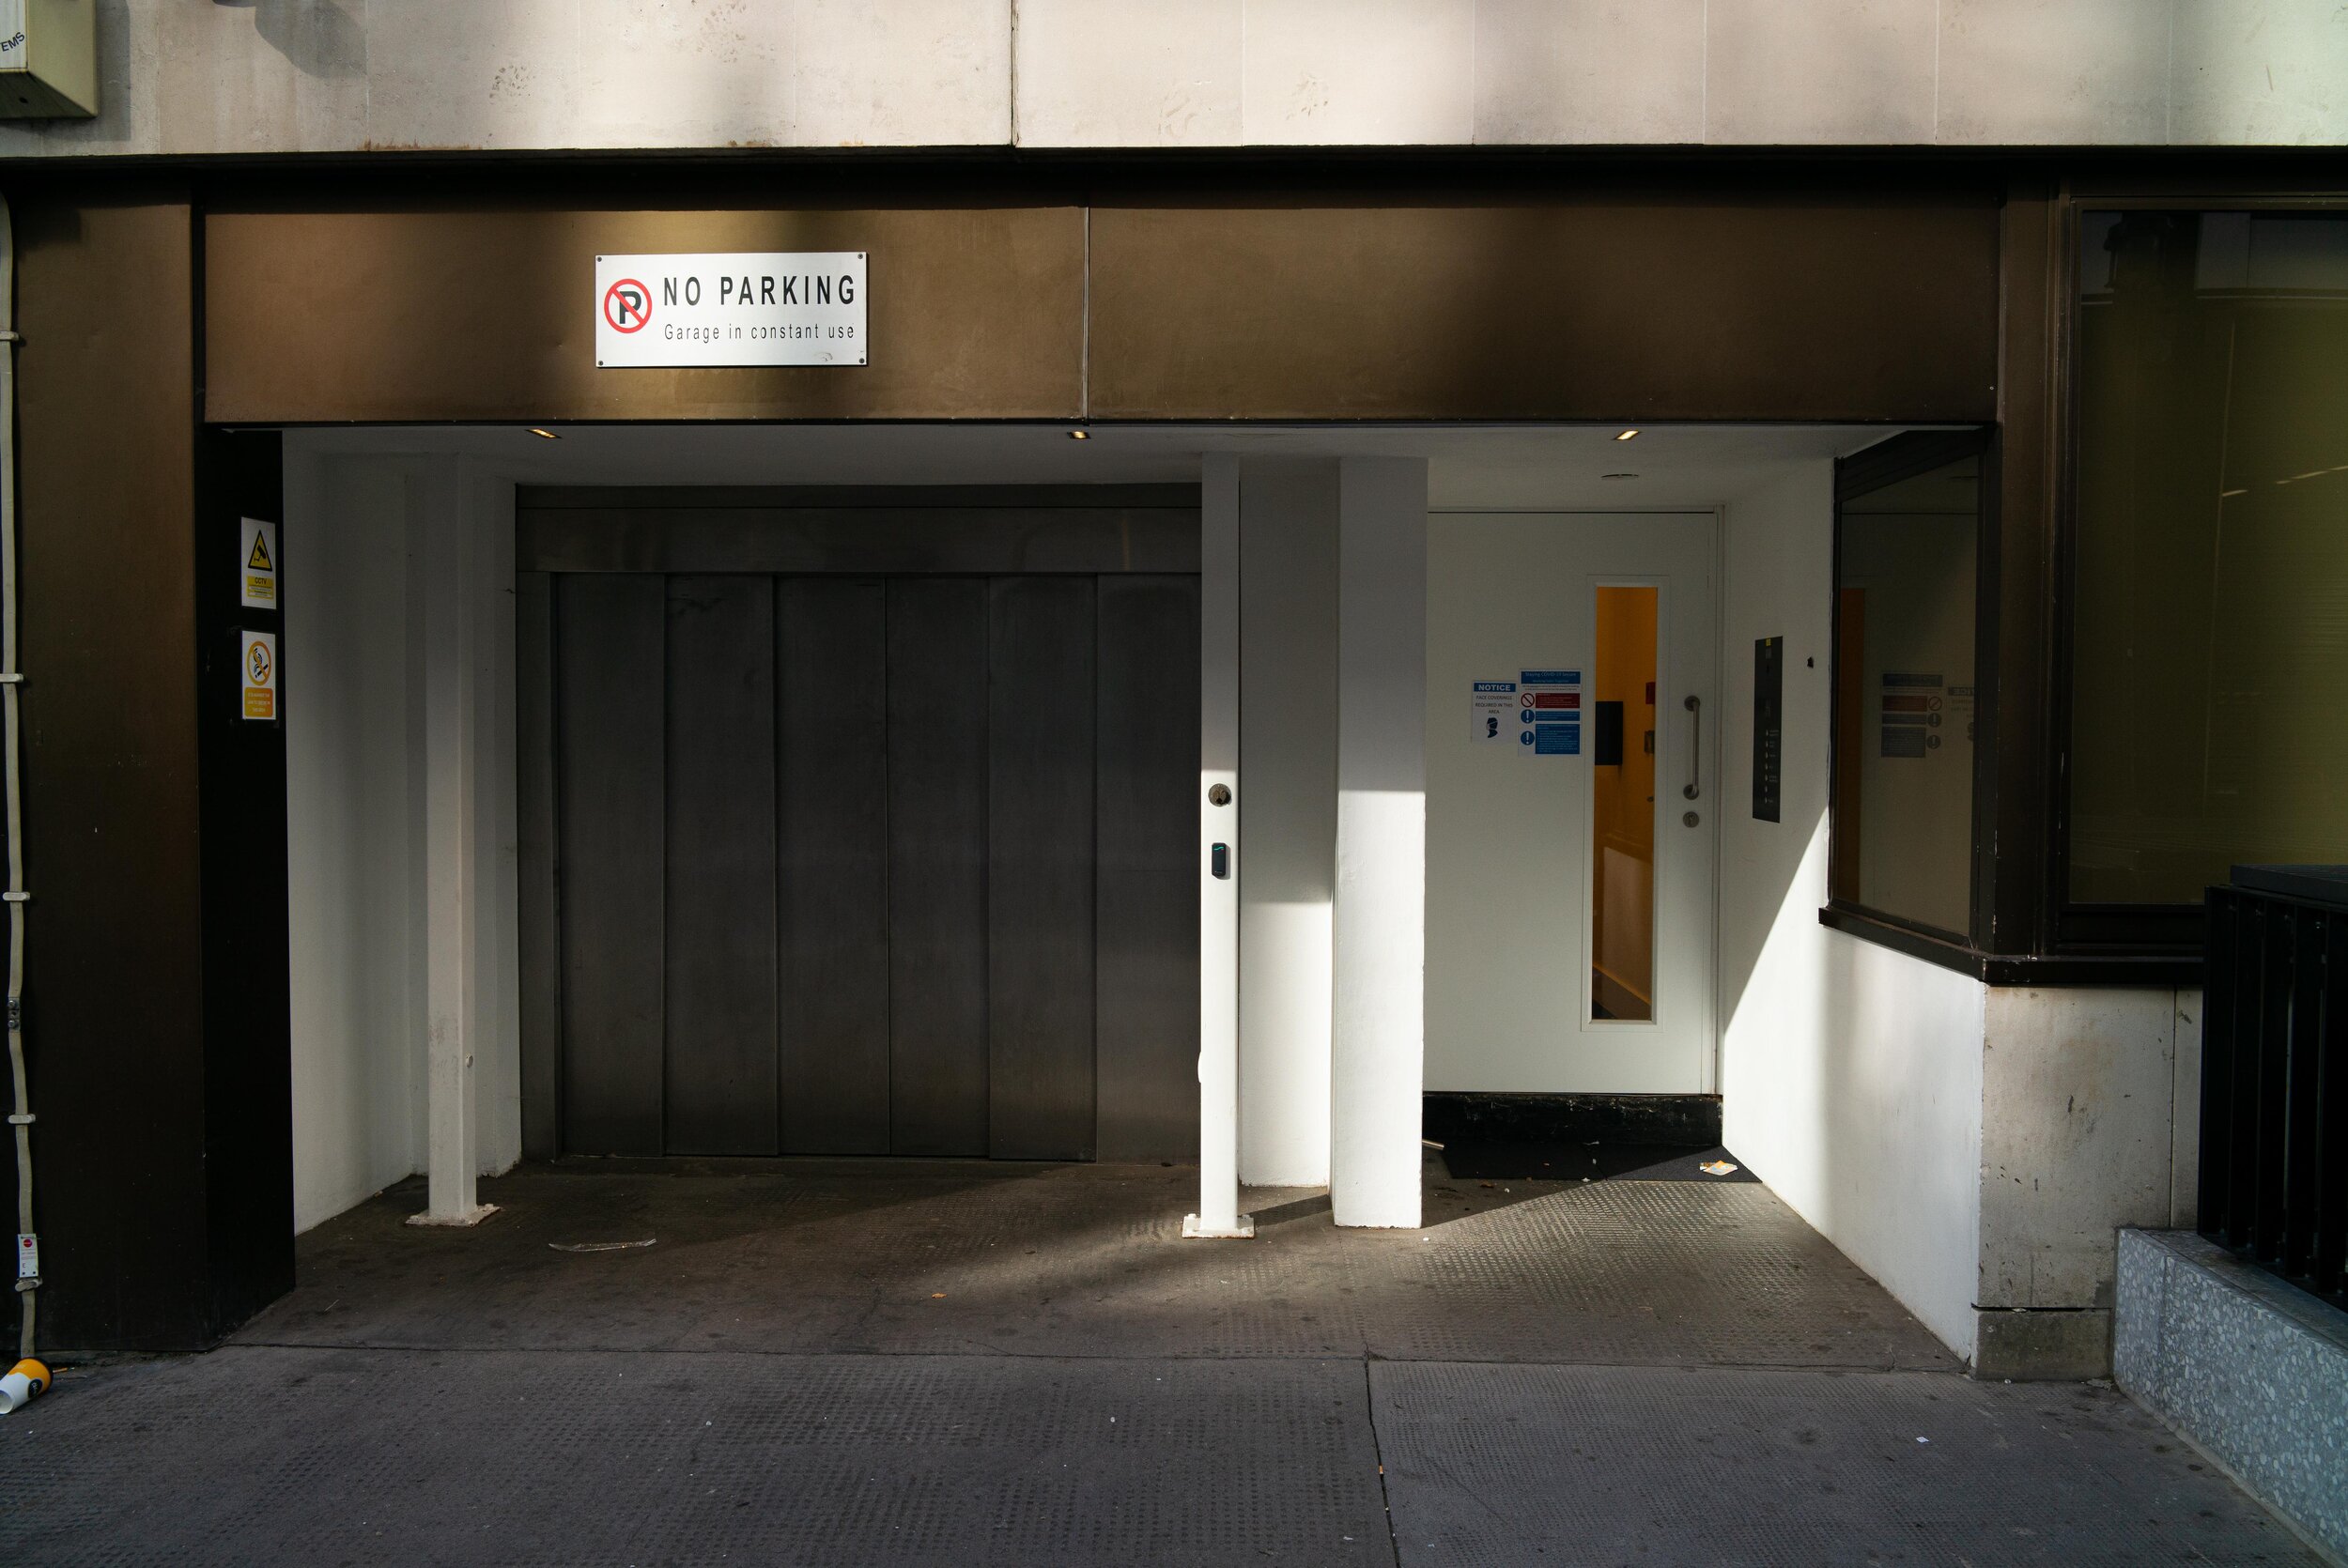
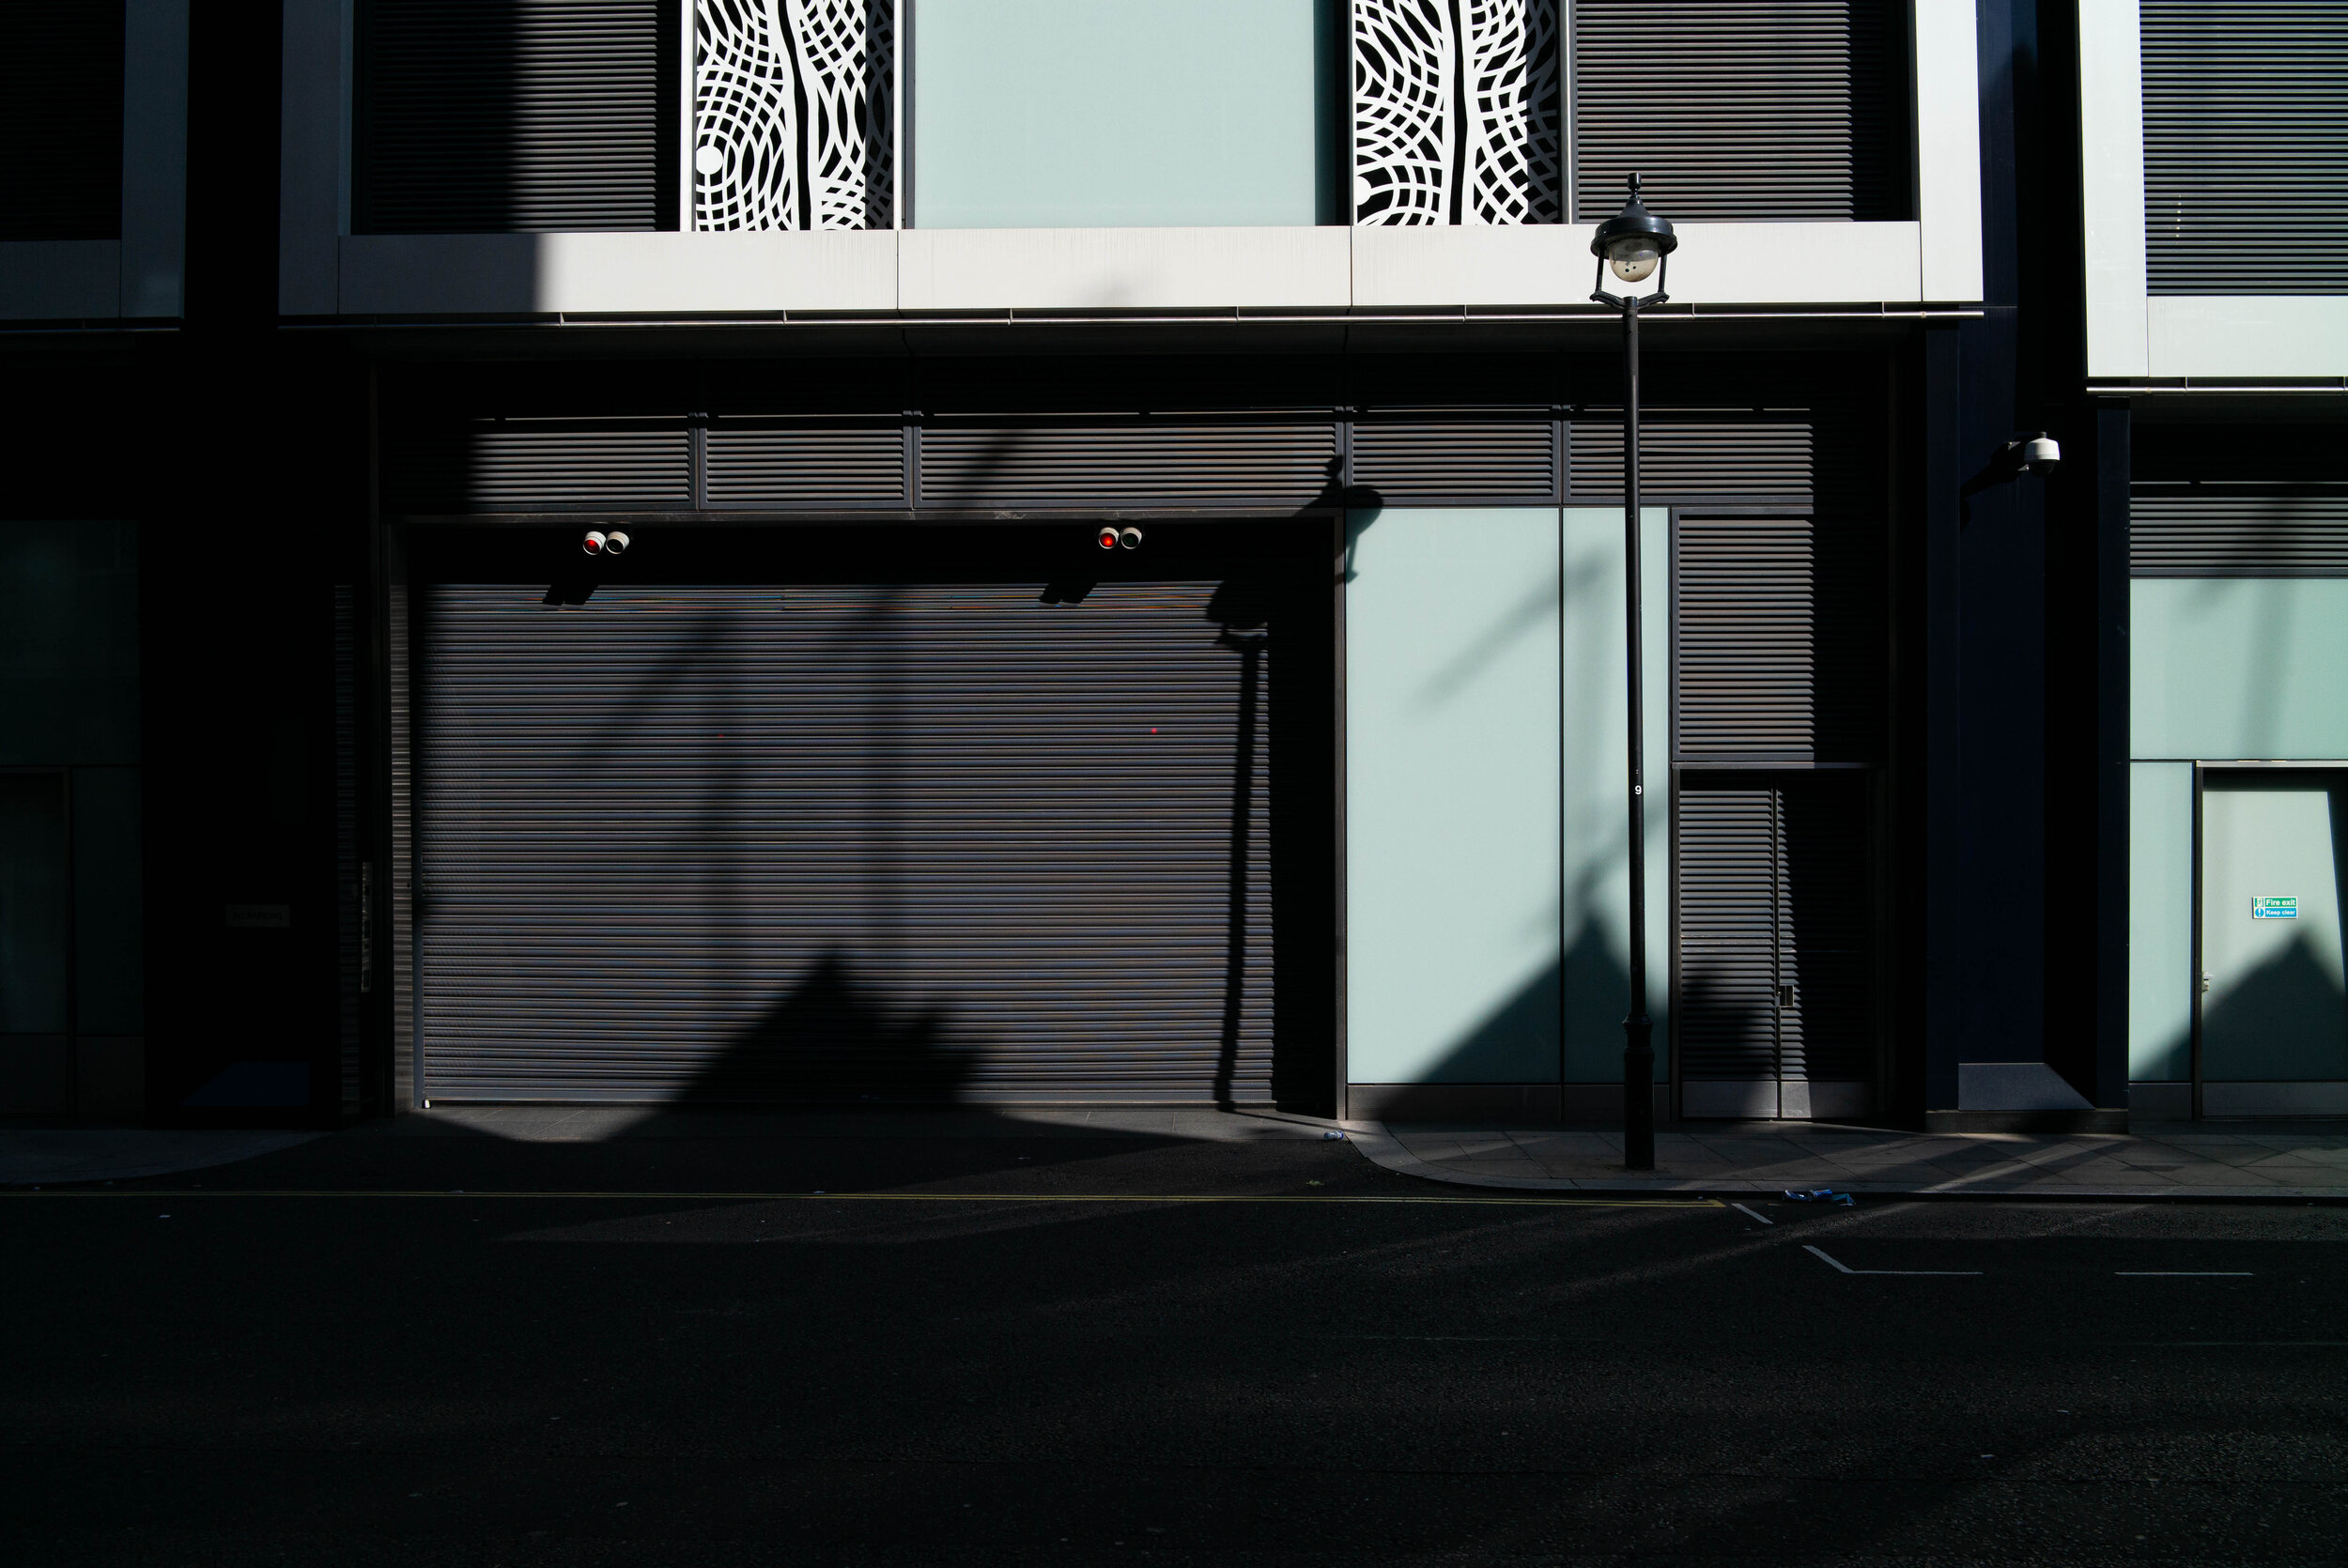
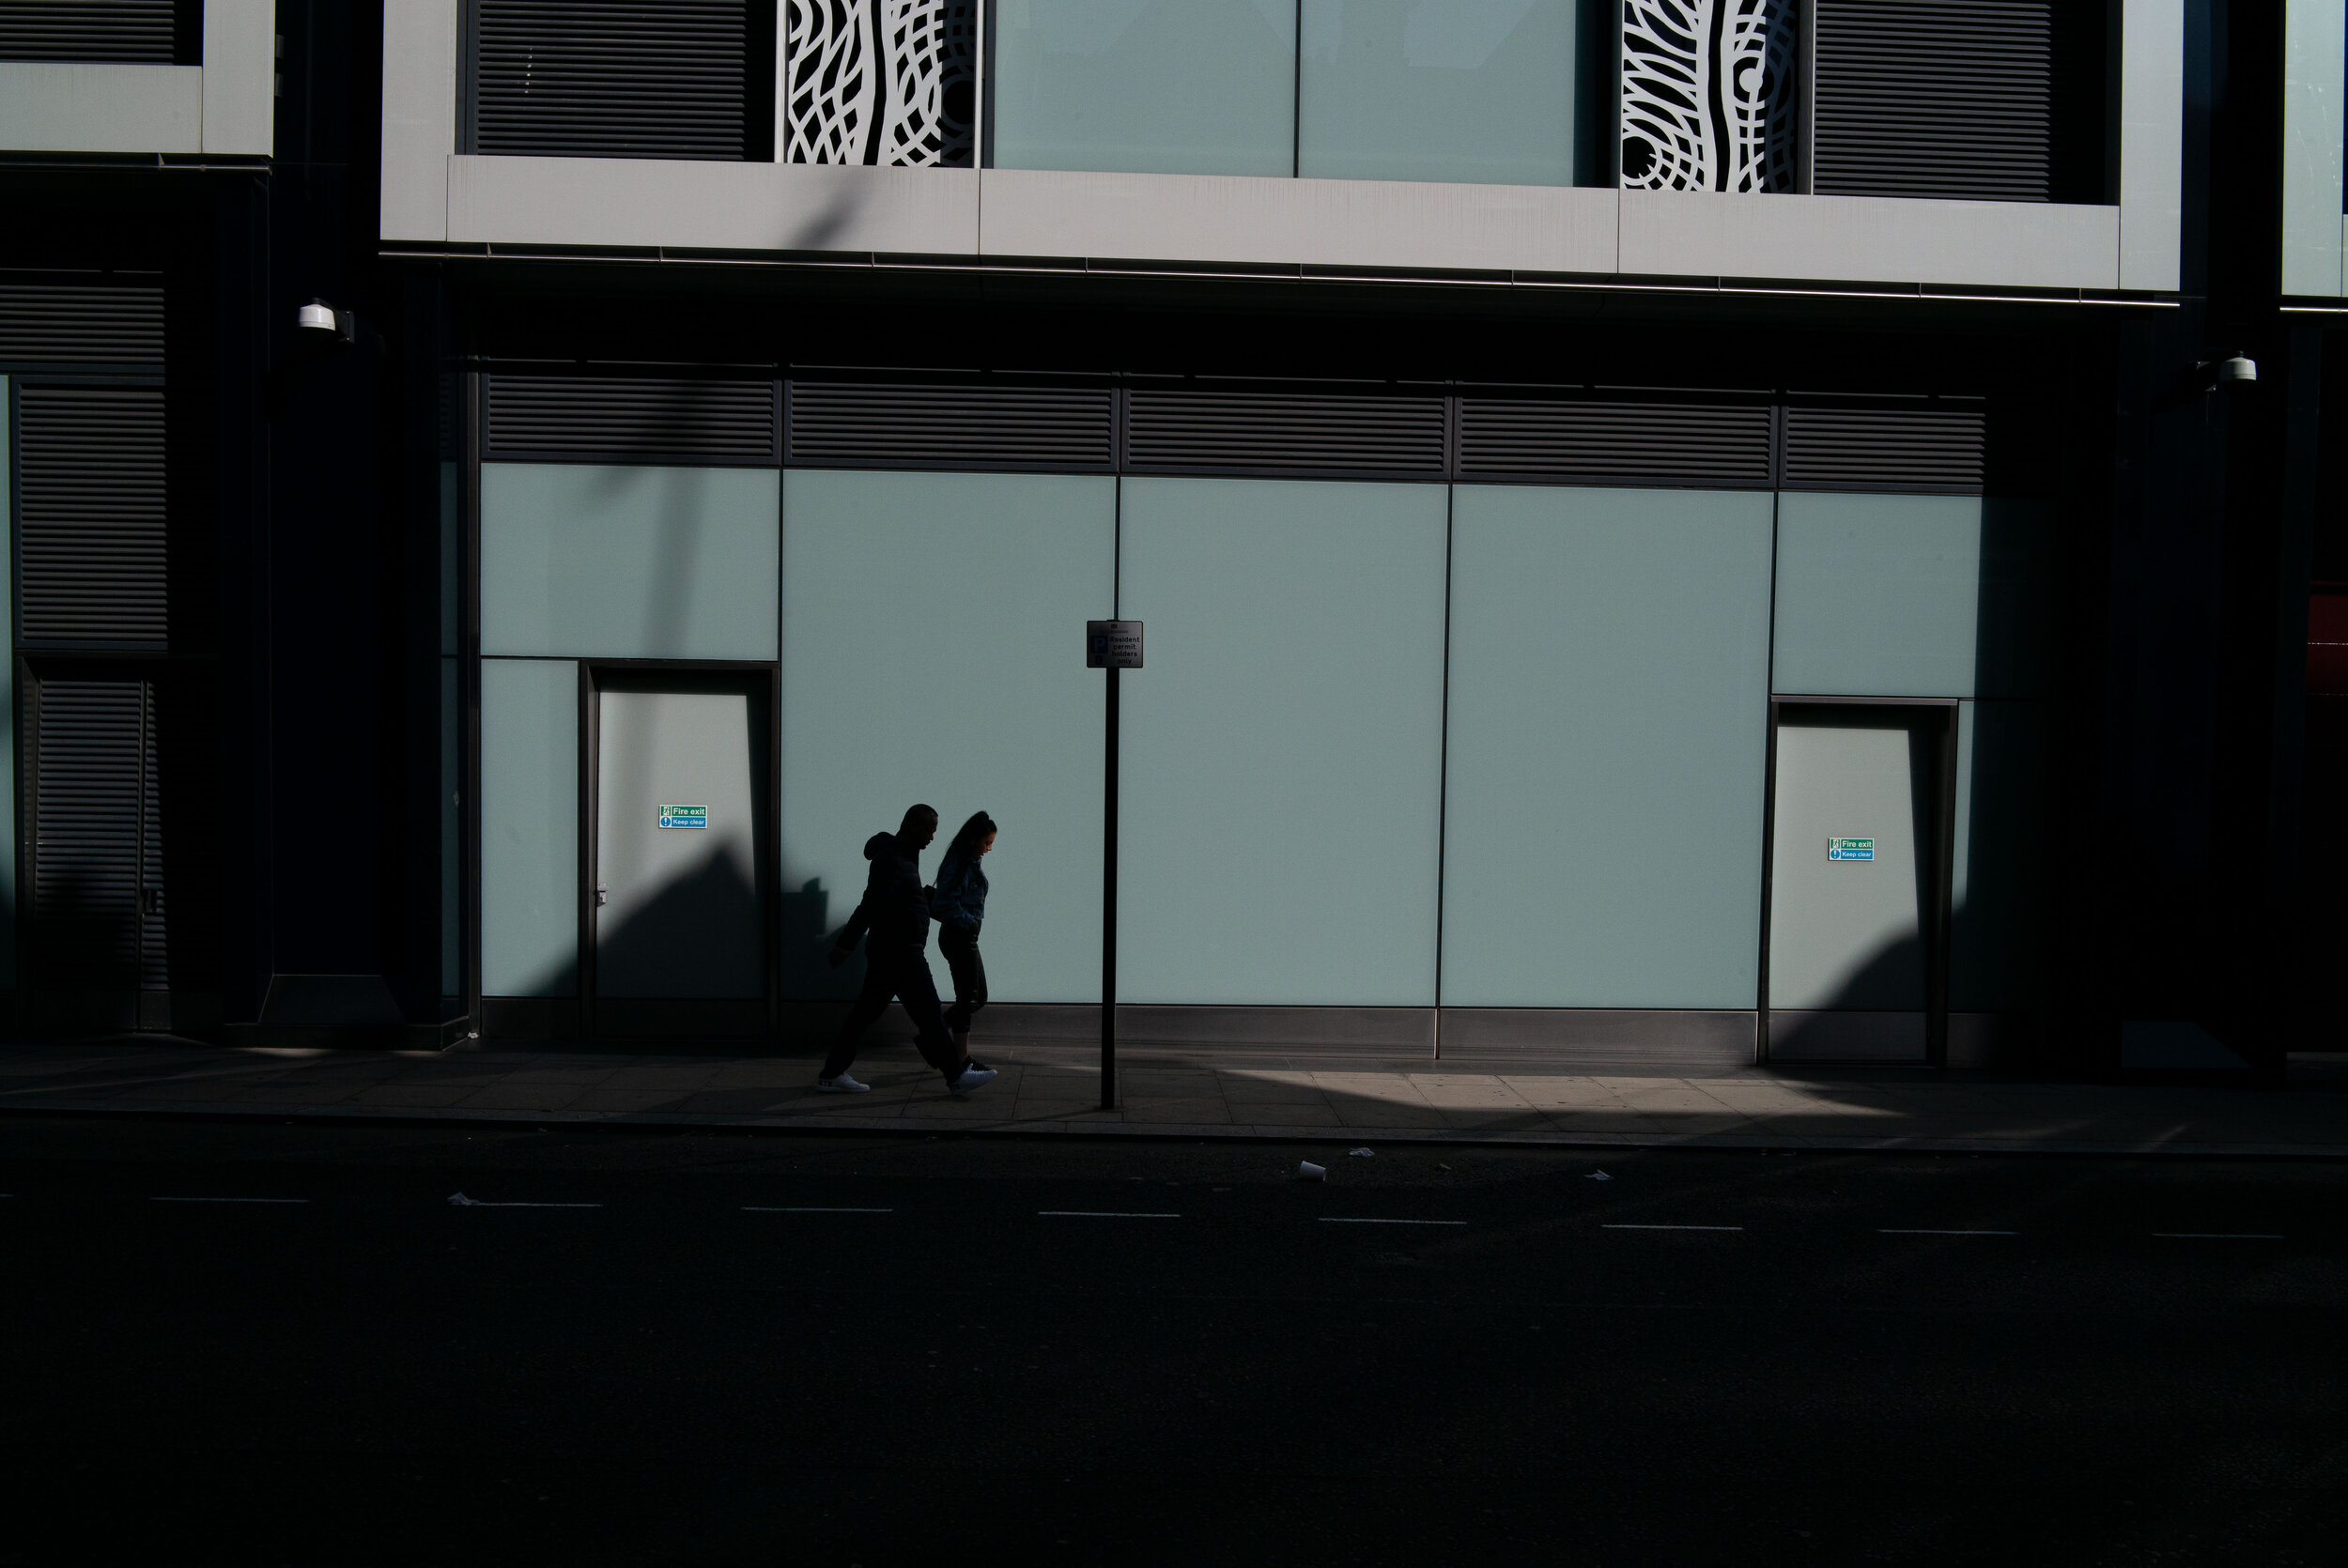
I didn’t take the time to edit or straighten these frames, they are just samples to show how easy it is to find a possible background for a simple image like the following, showing the empty background and two possible positions for a single subject:


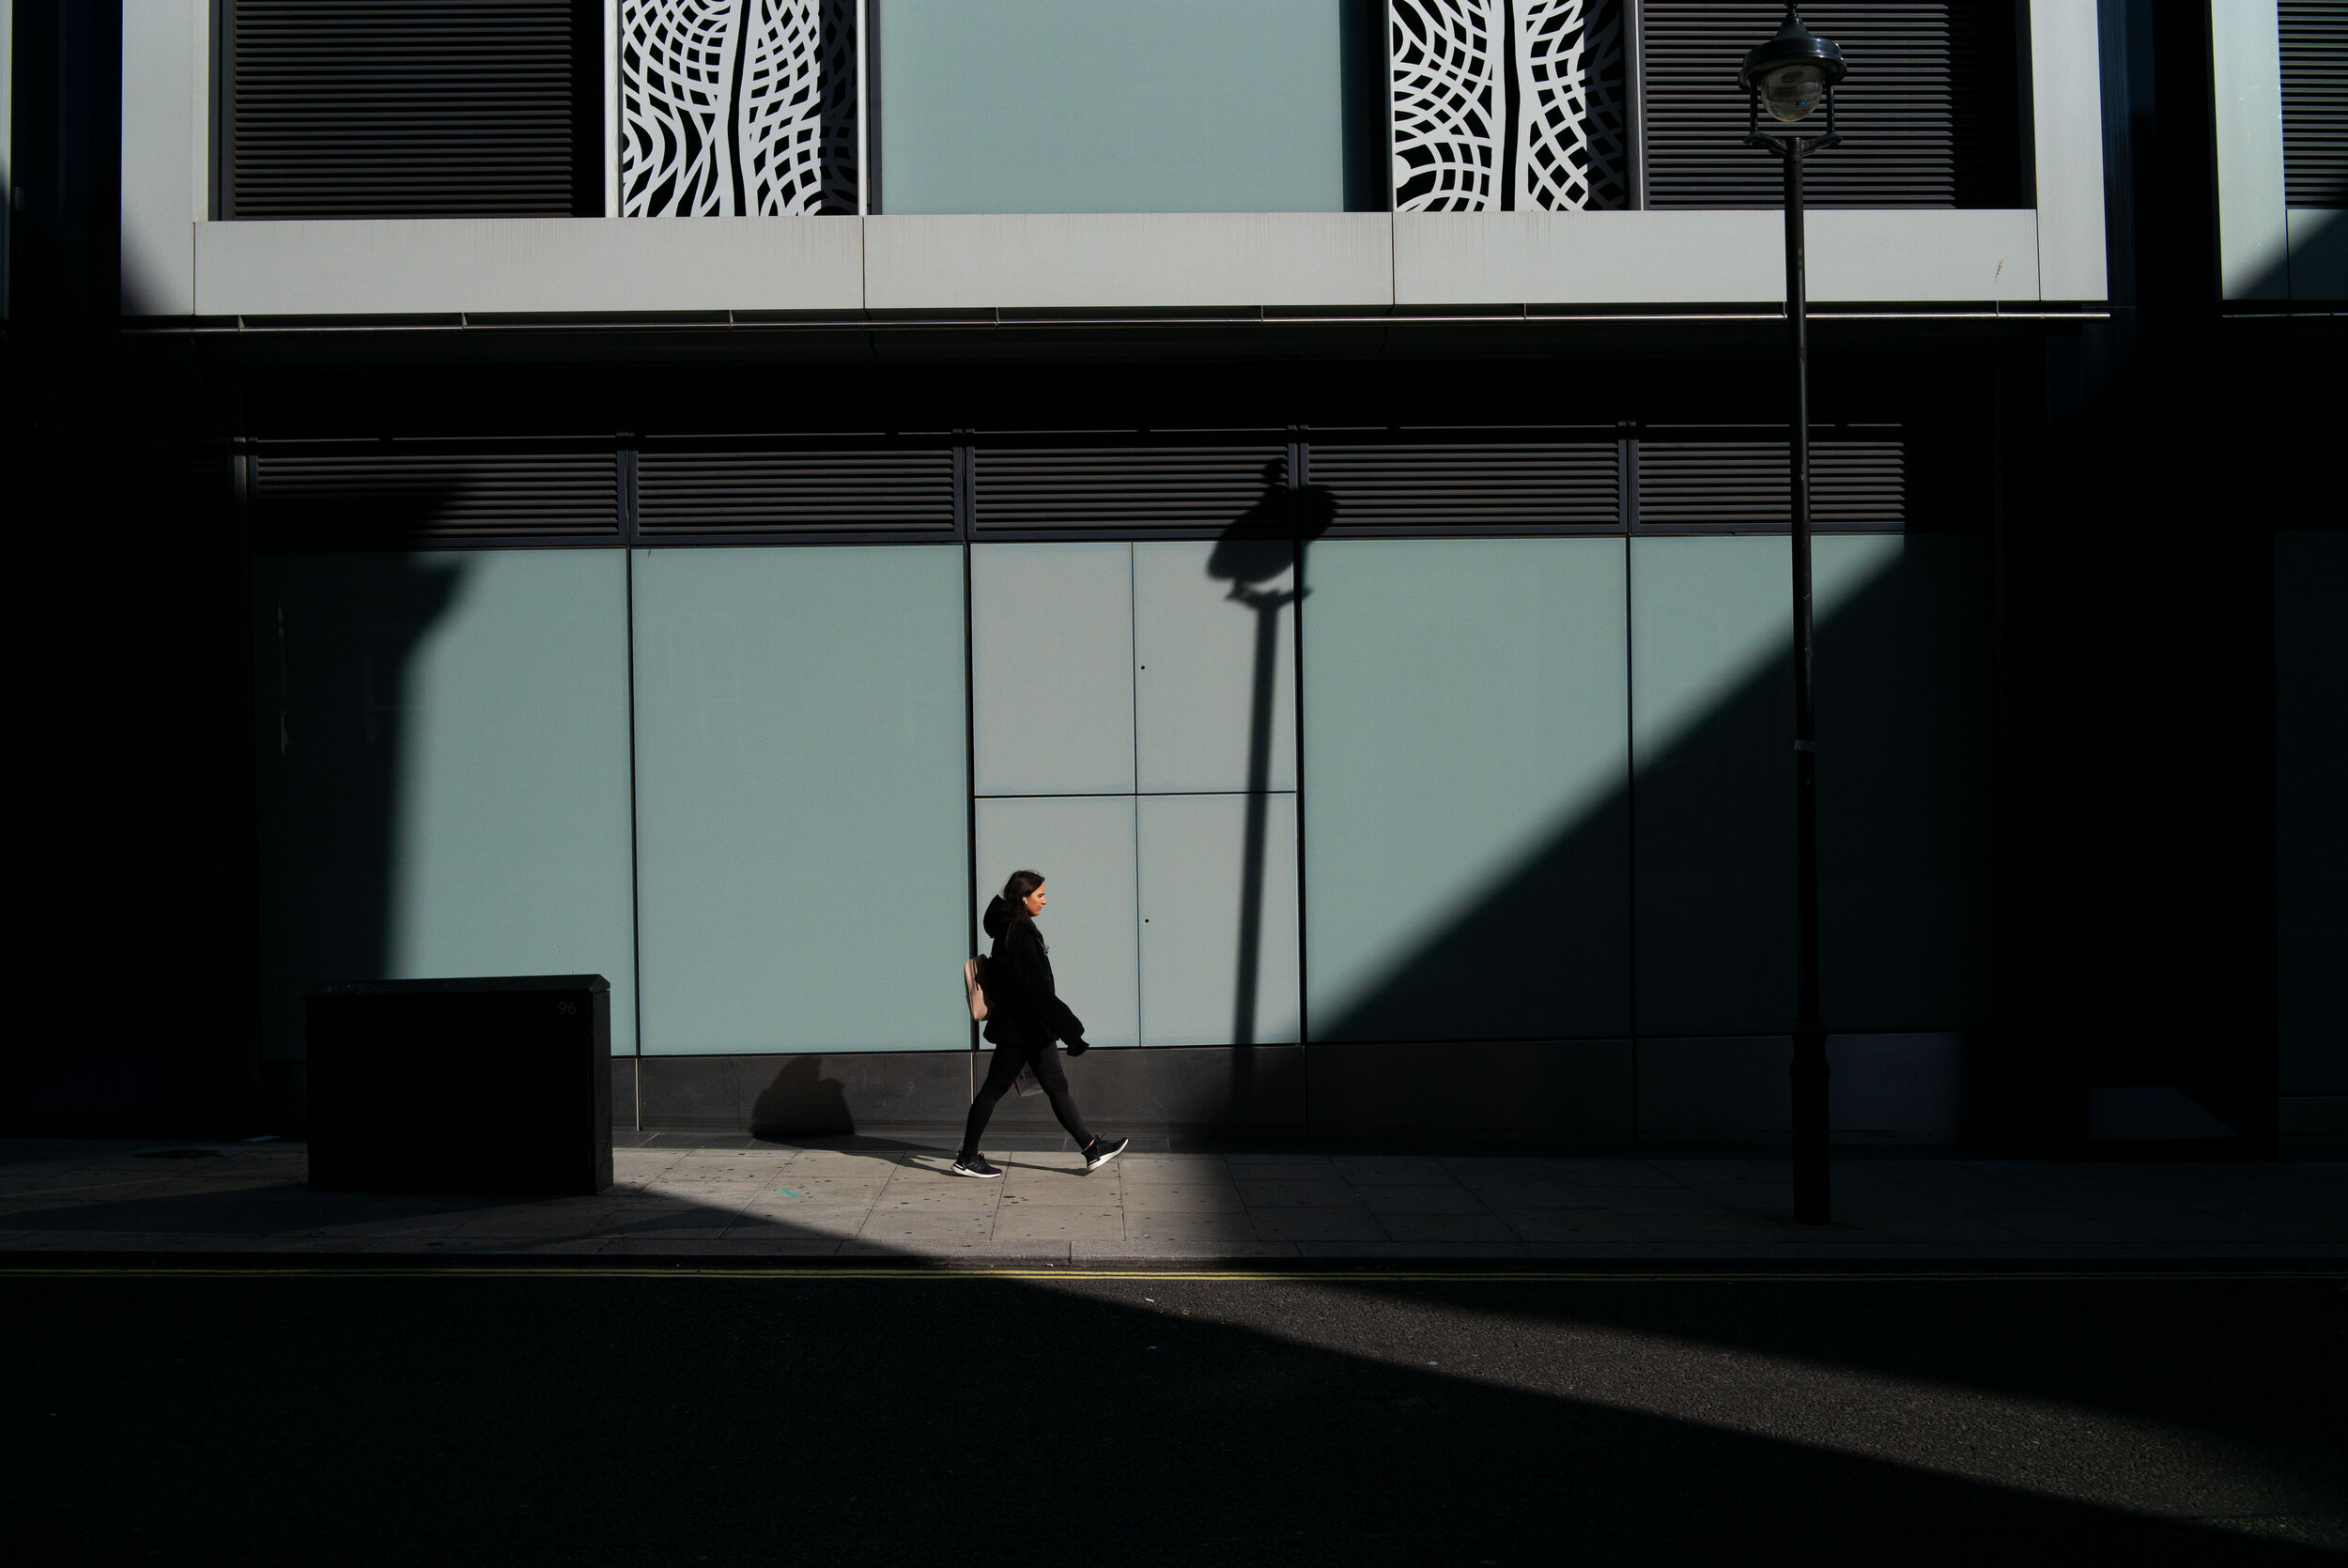
Obviously here we are talking about very simple images, no layers, mostly graphical.
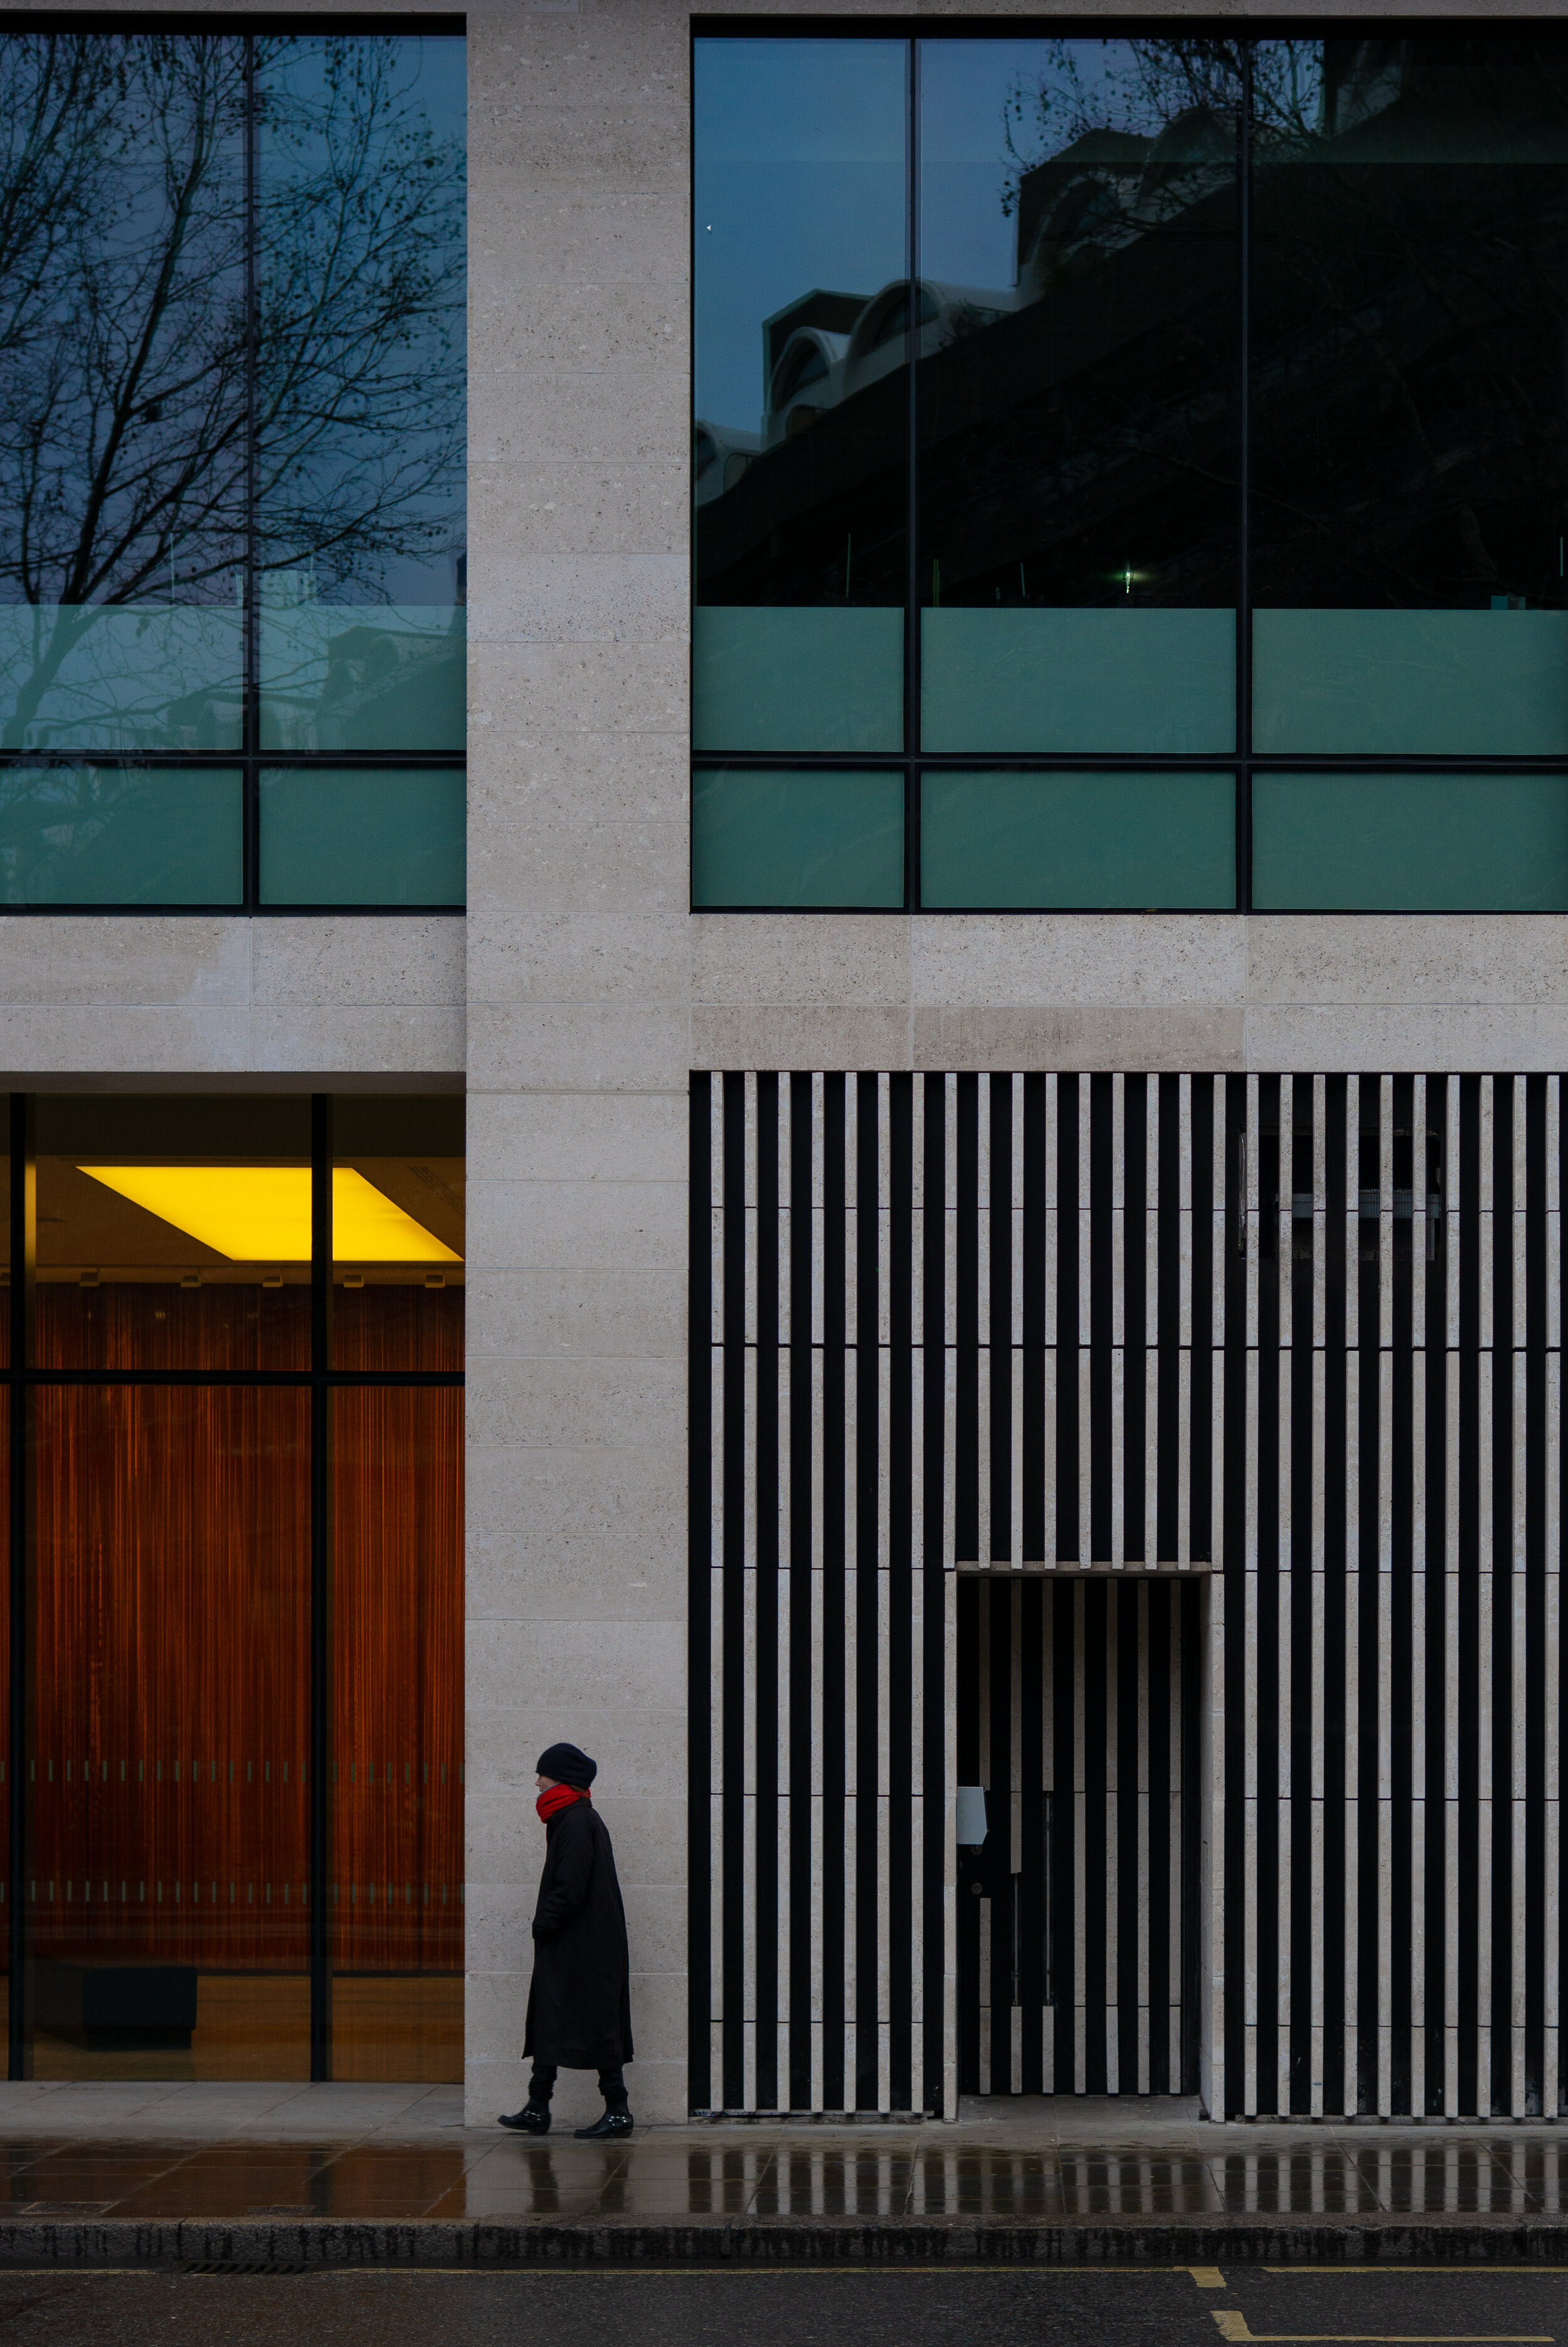
Here are a few images with a more complex background, in which a lot of care has been taken to place each subject in a space and in the correct relationship with the graphic elements of the background:
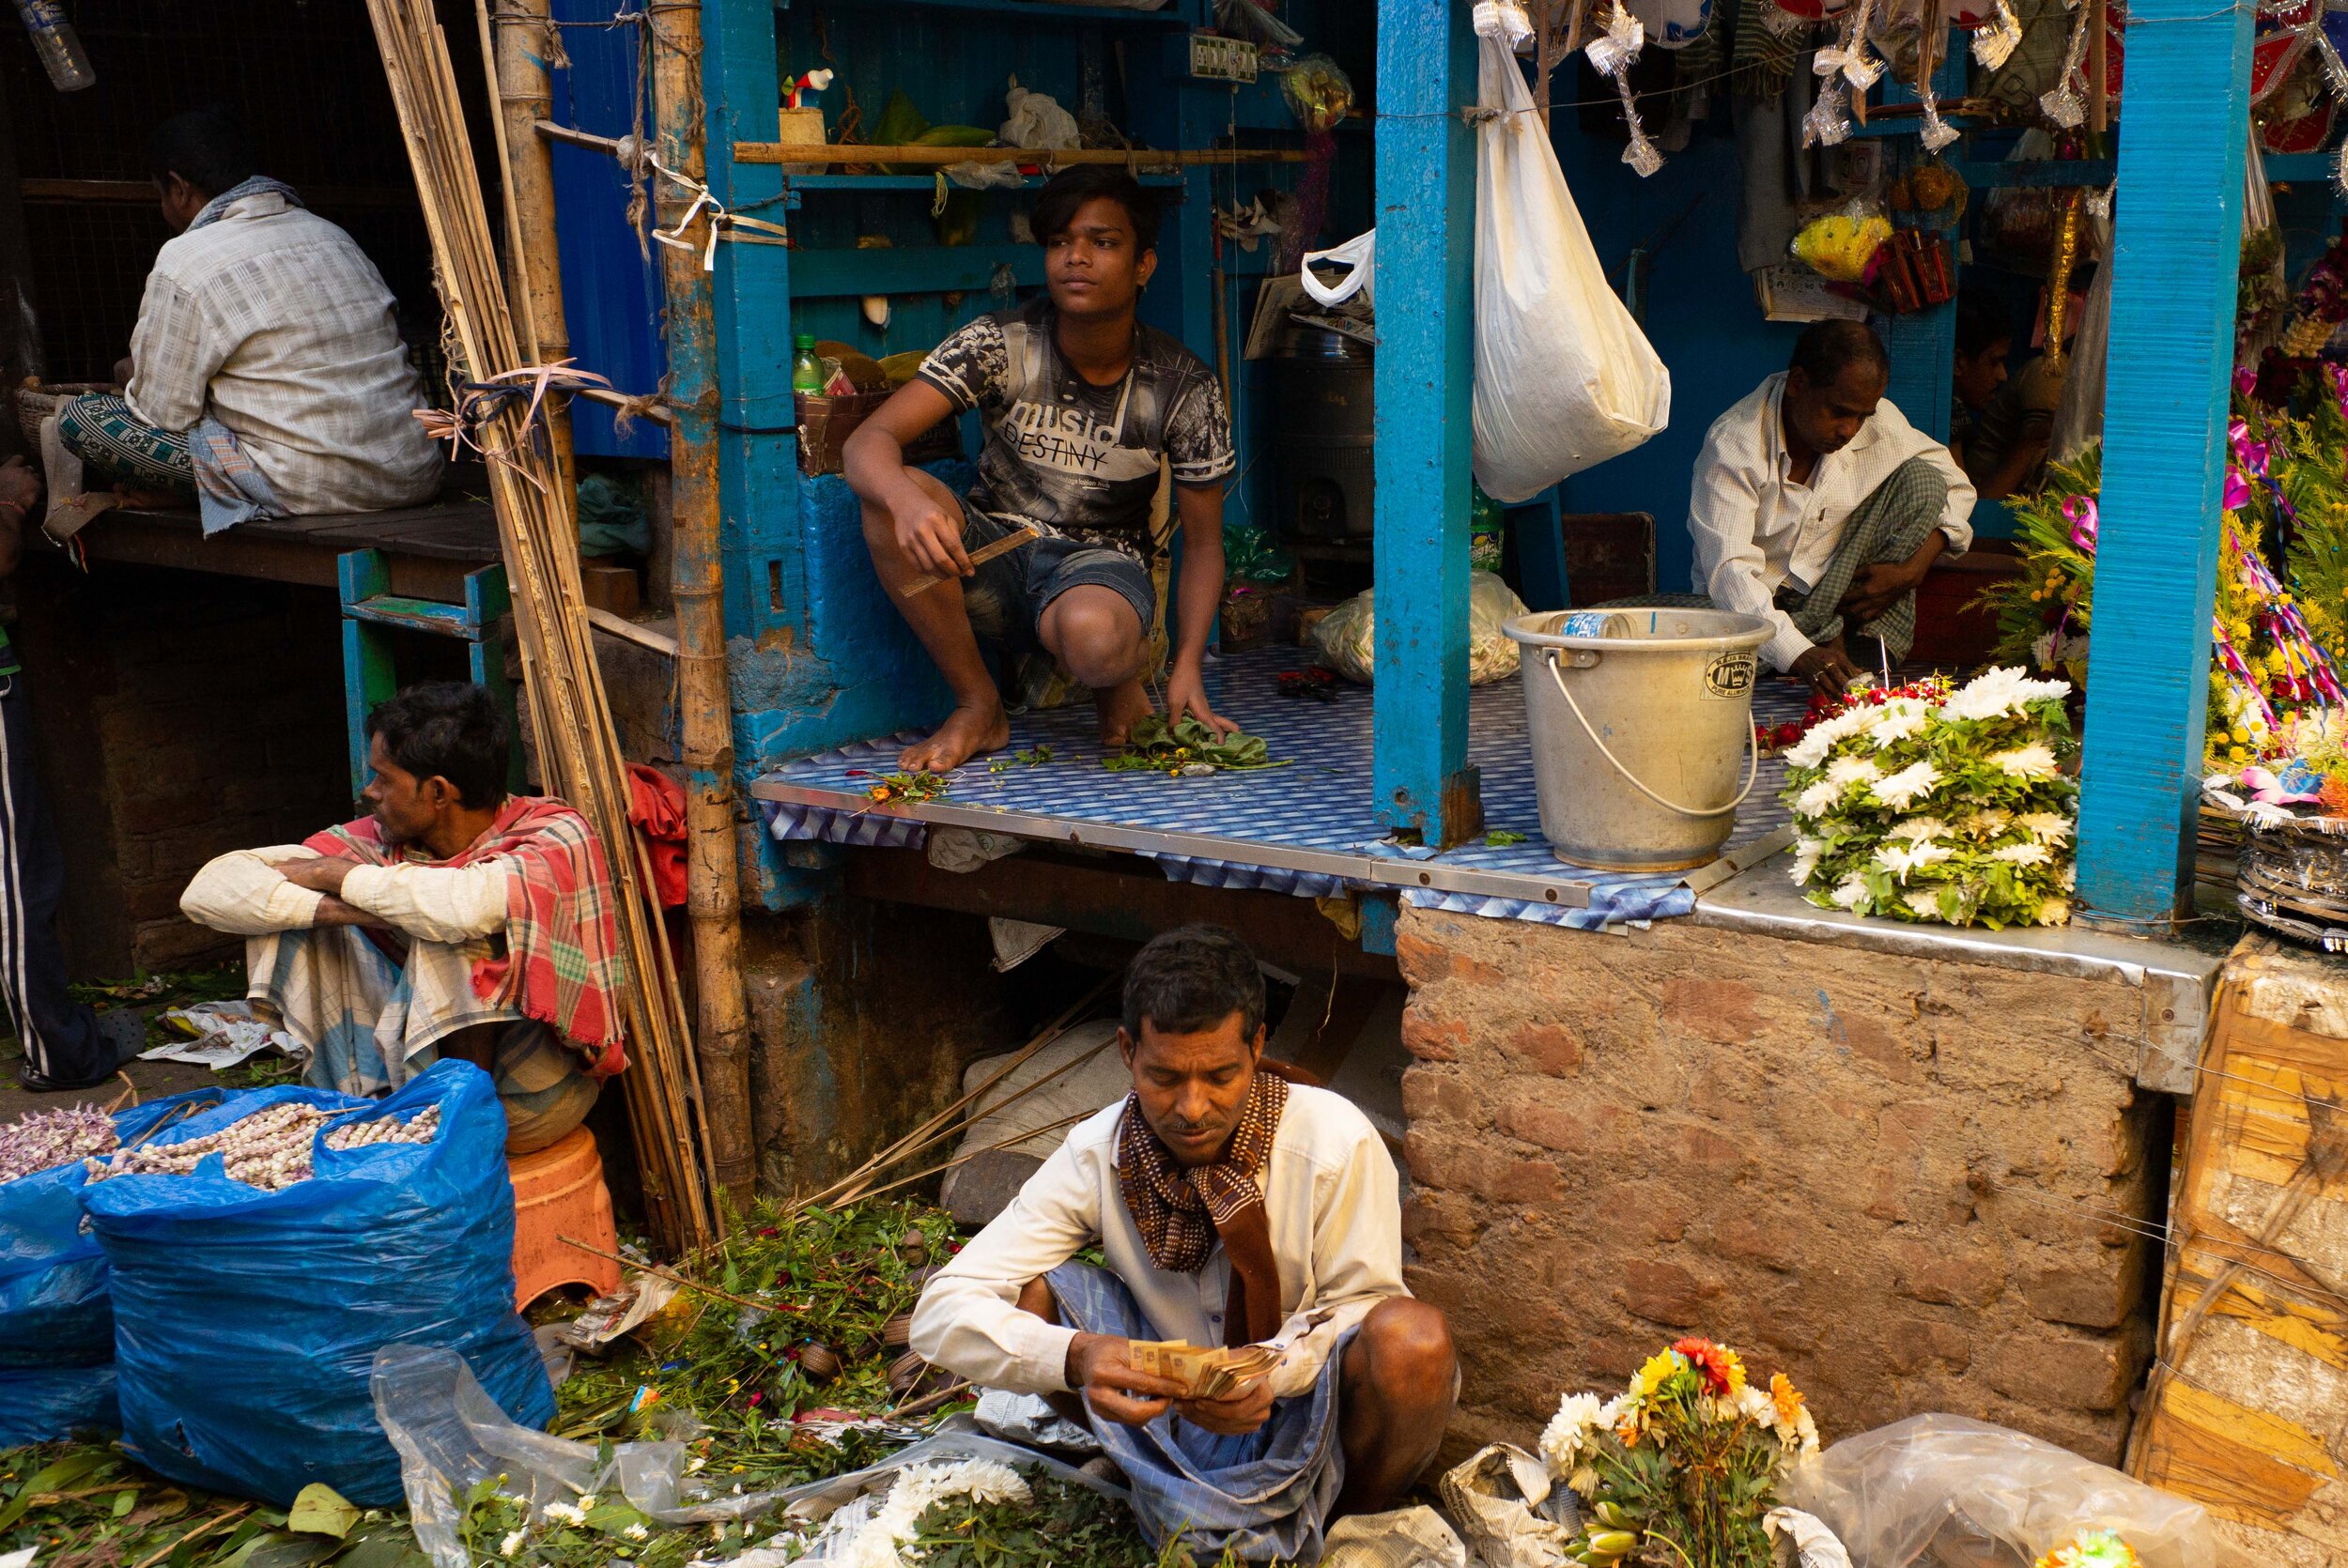
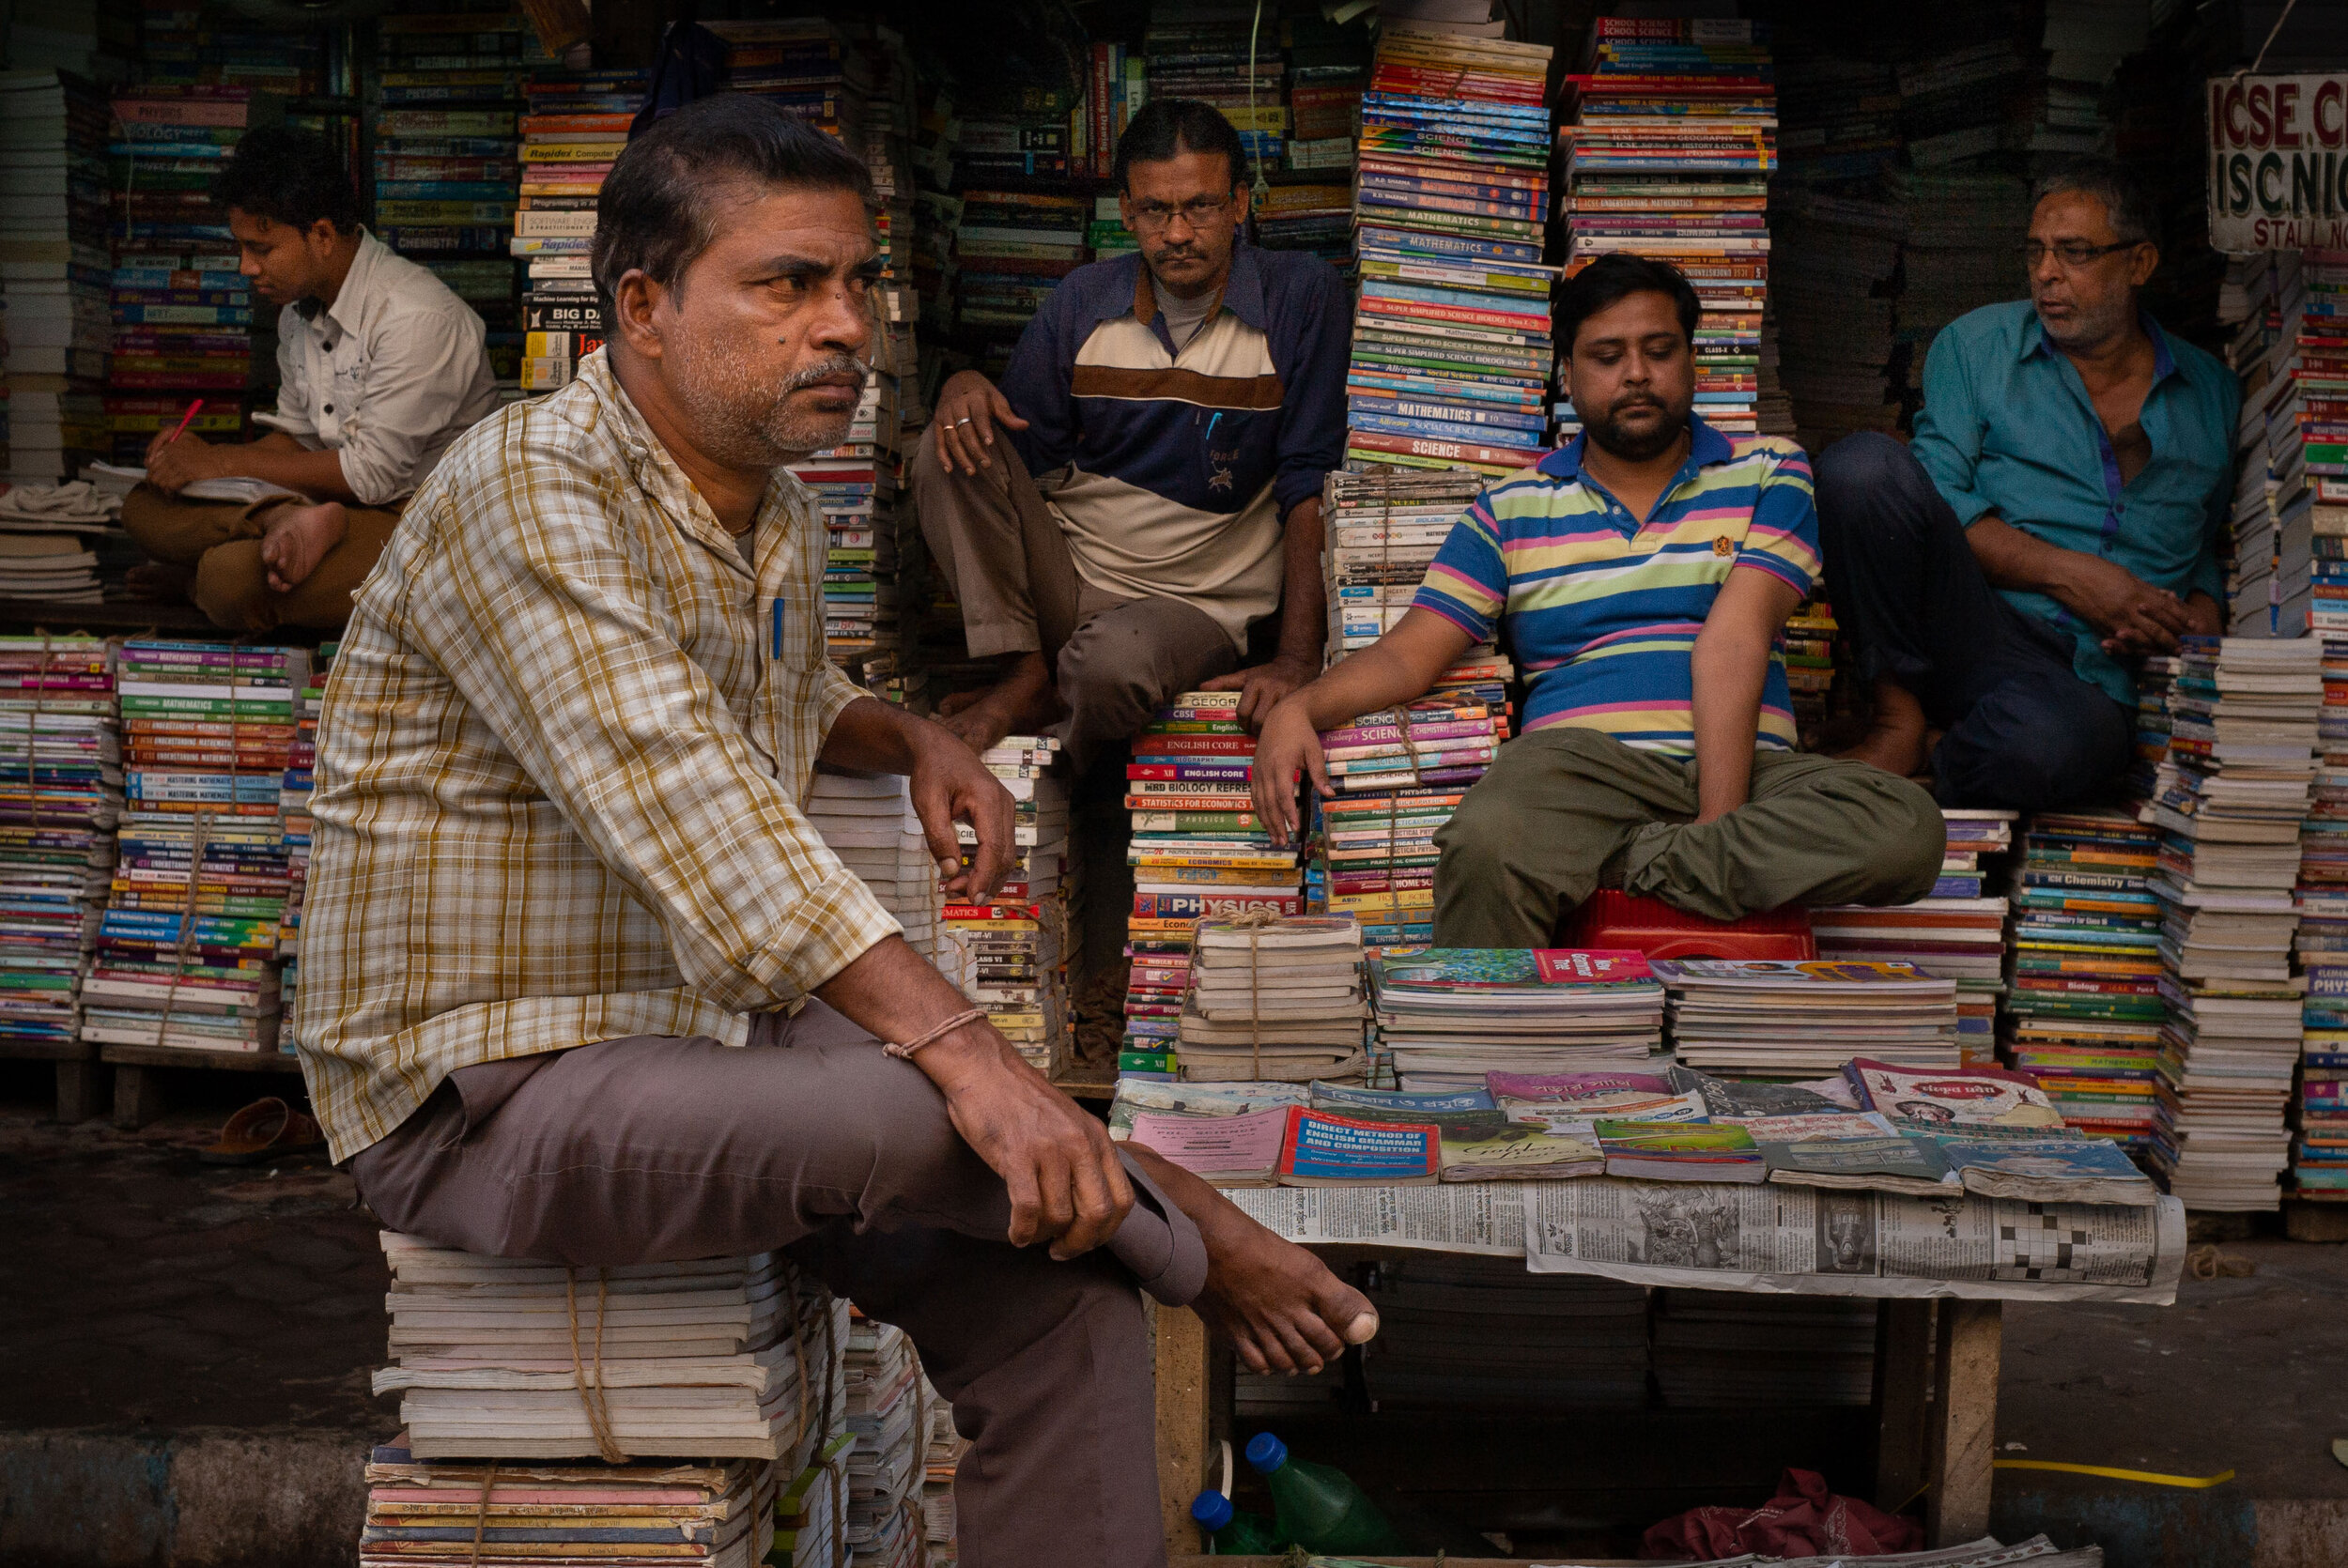
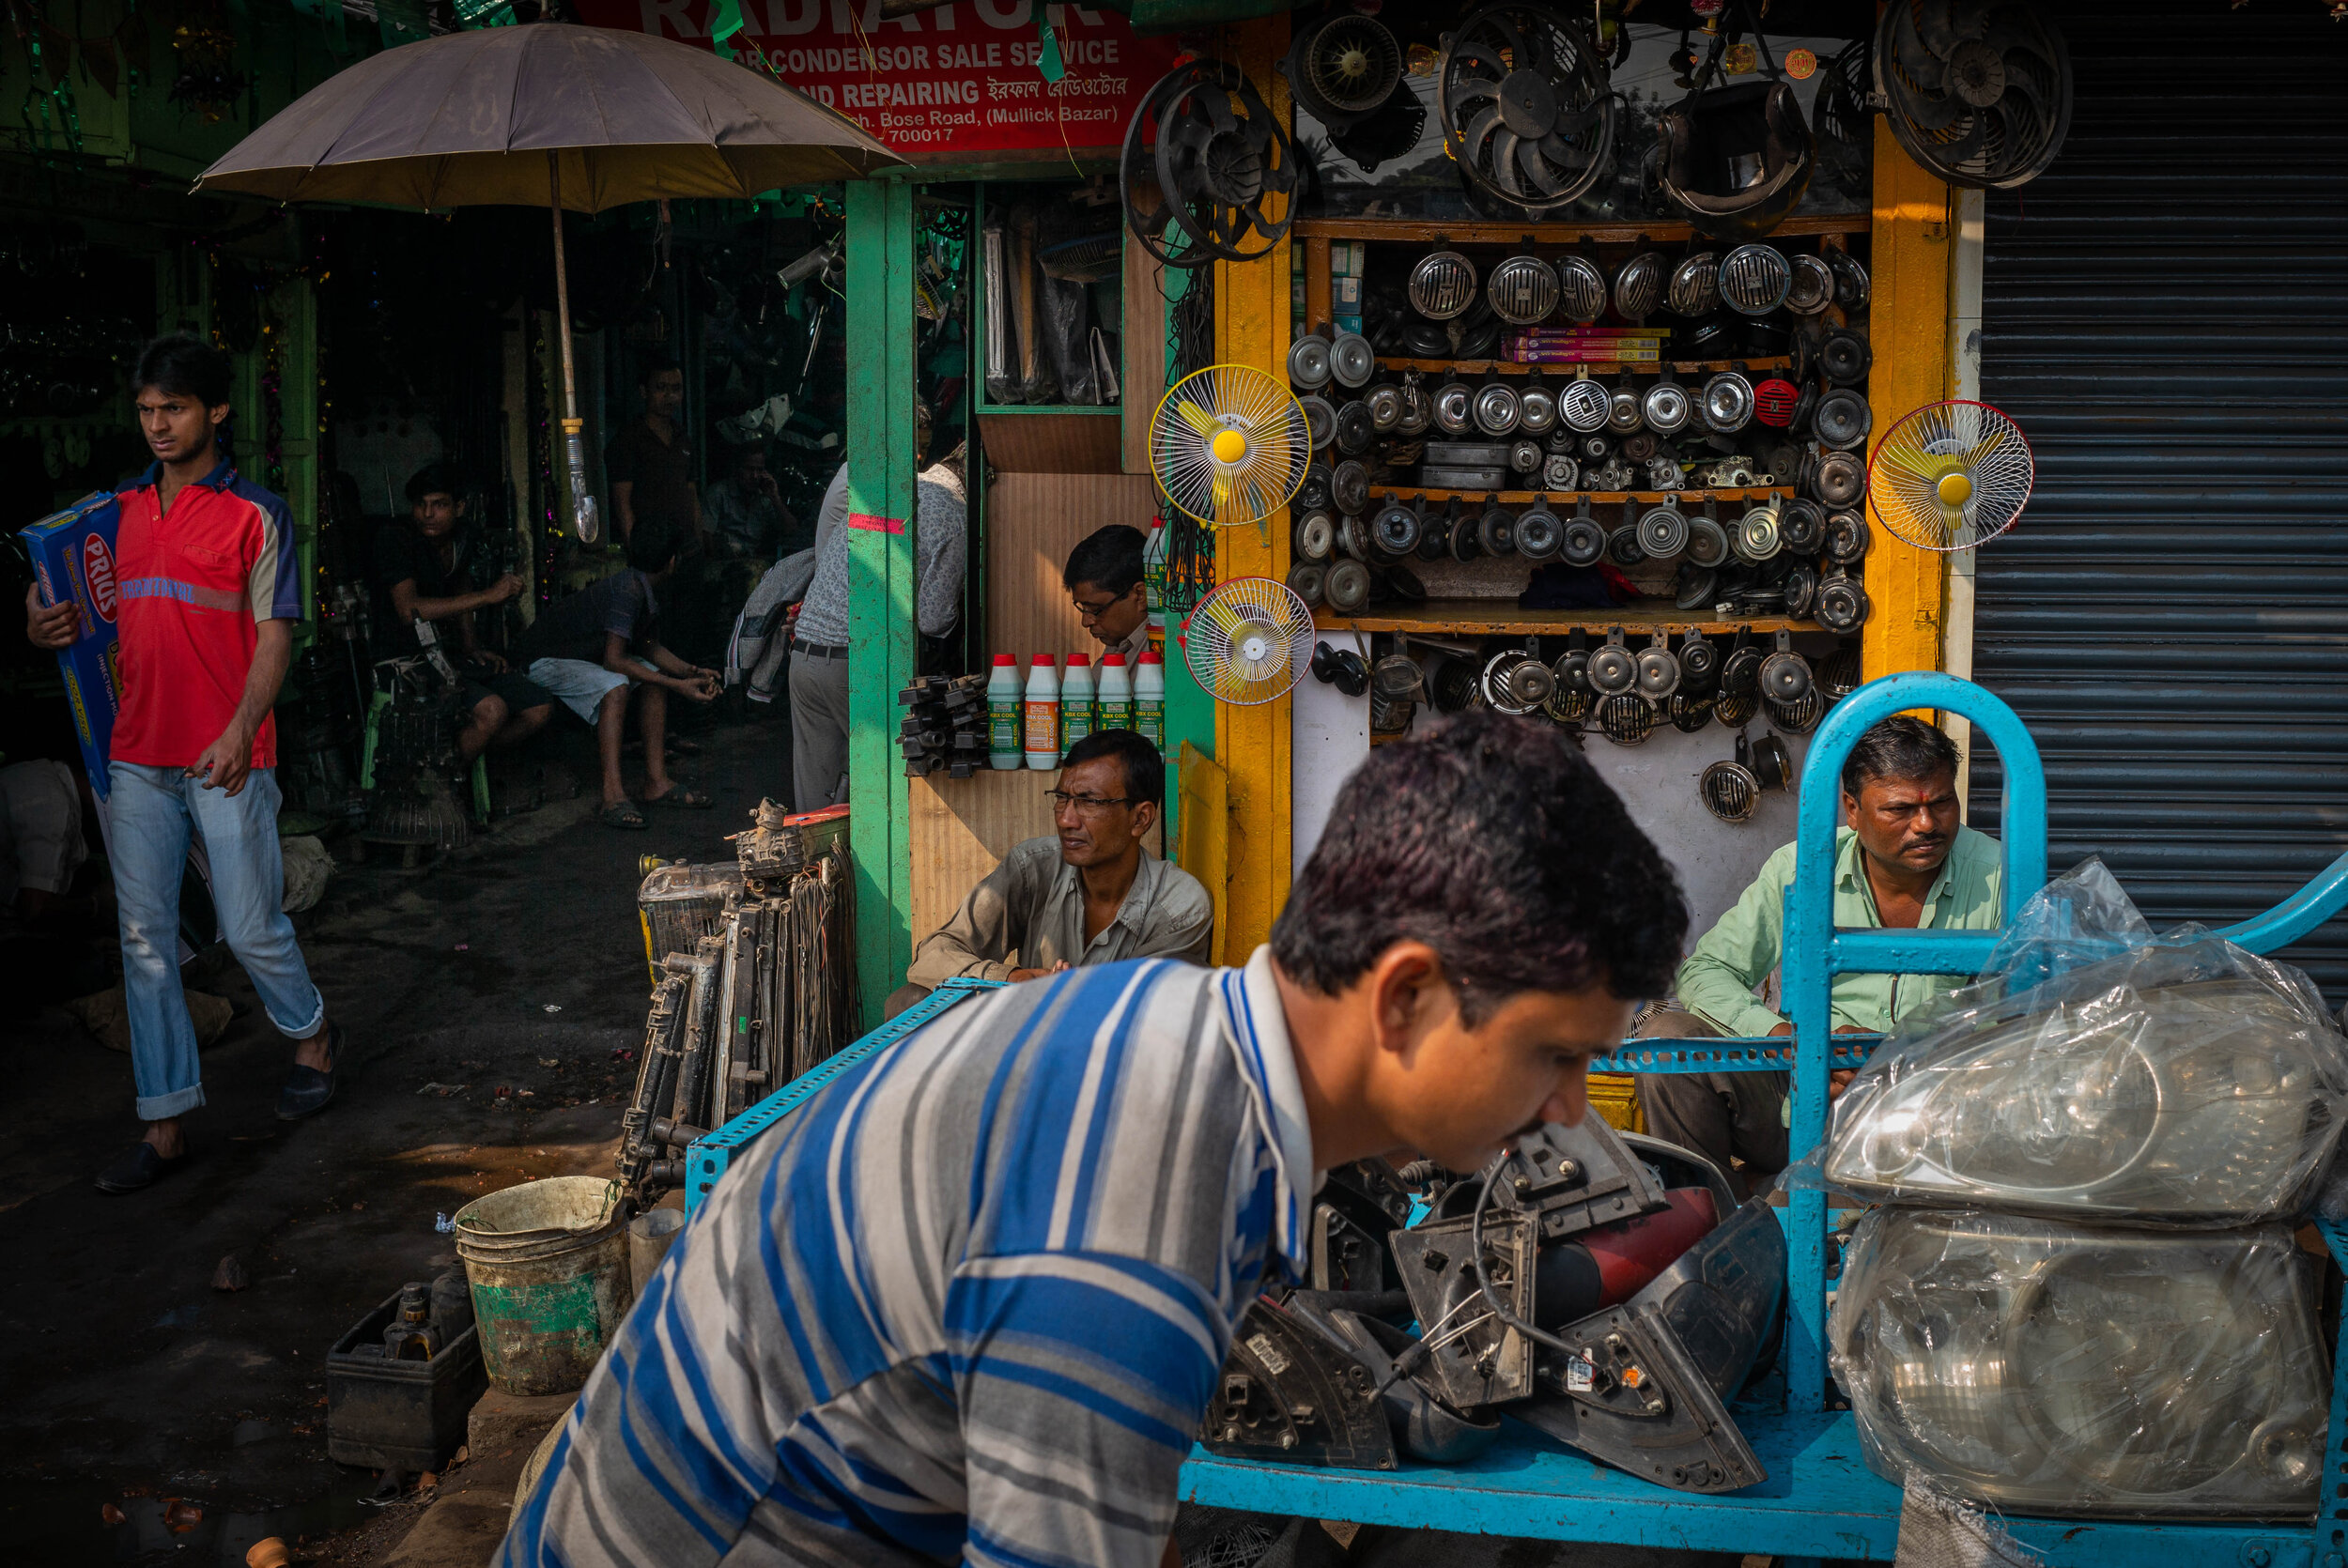
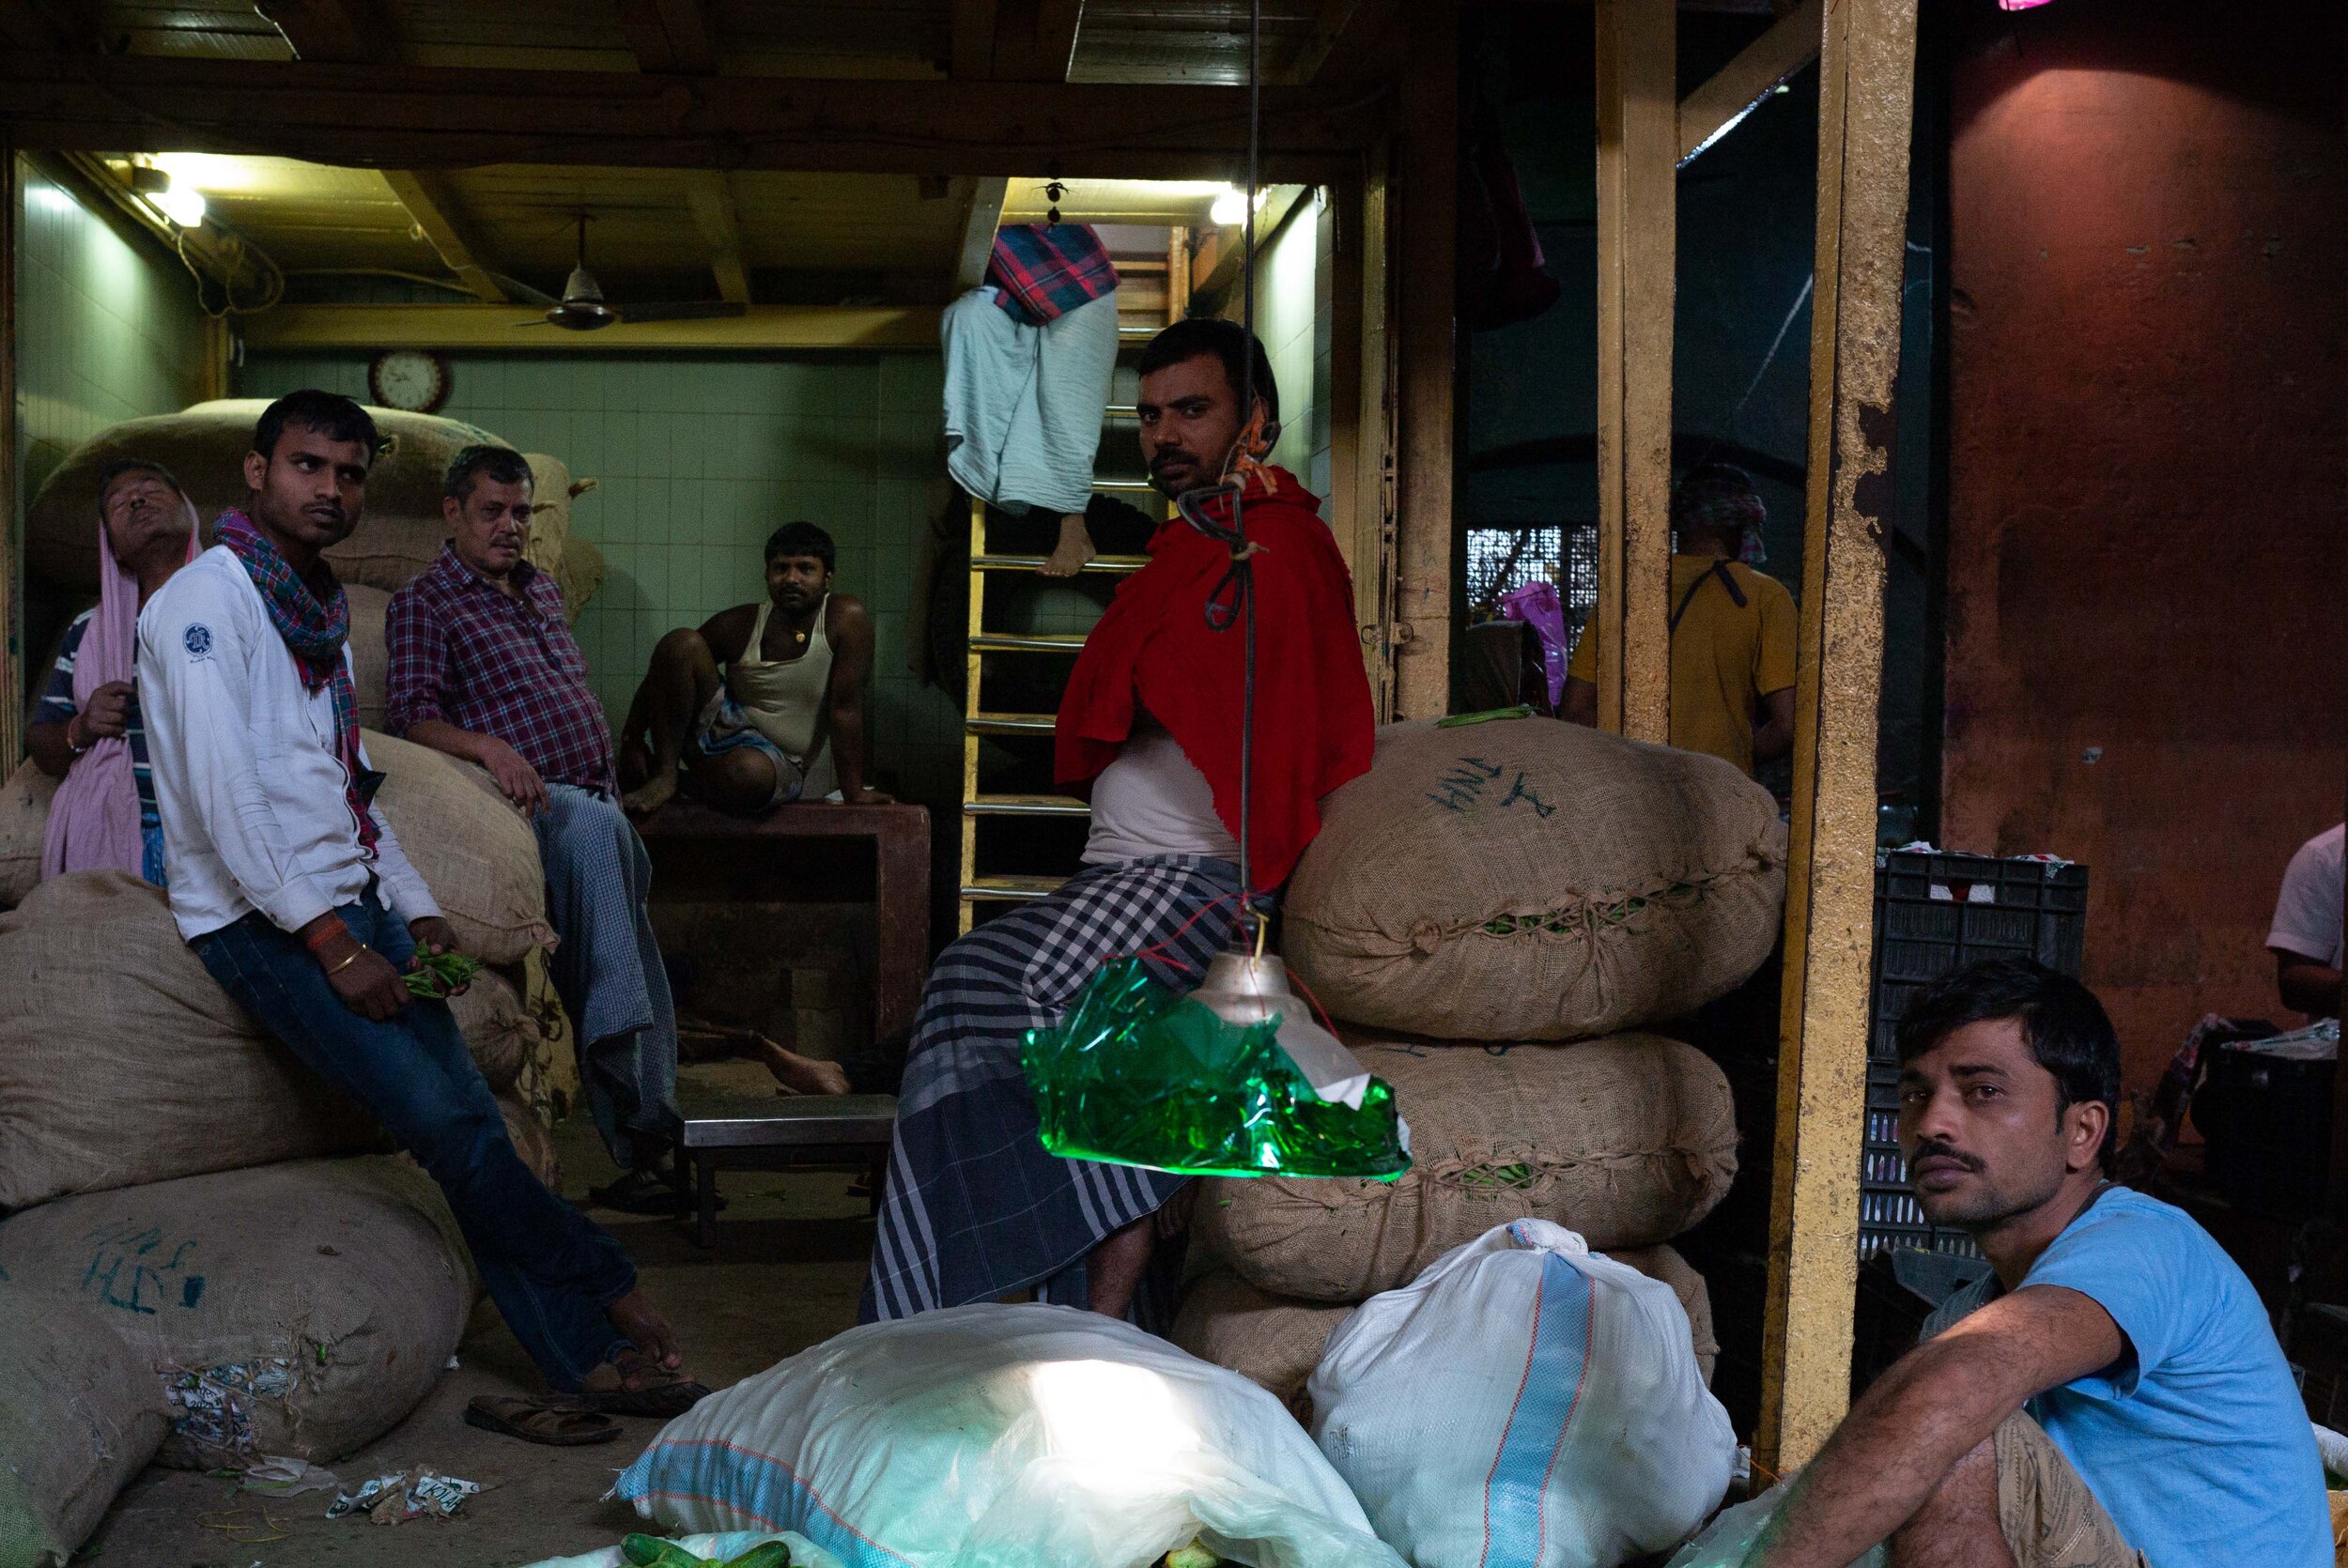
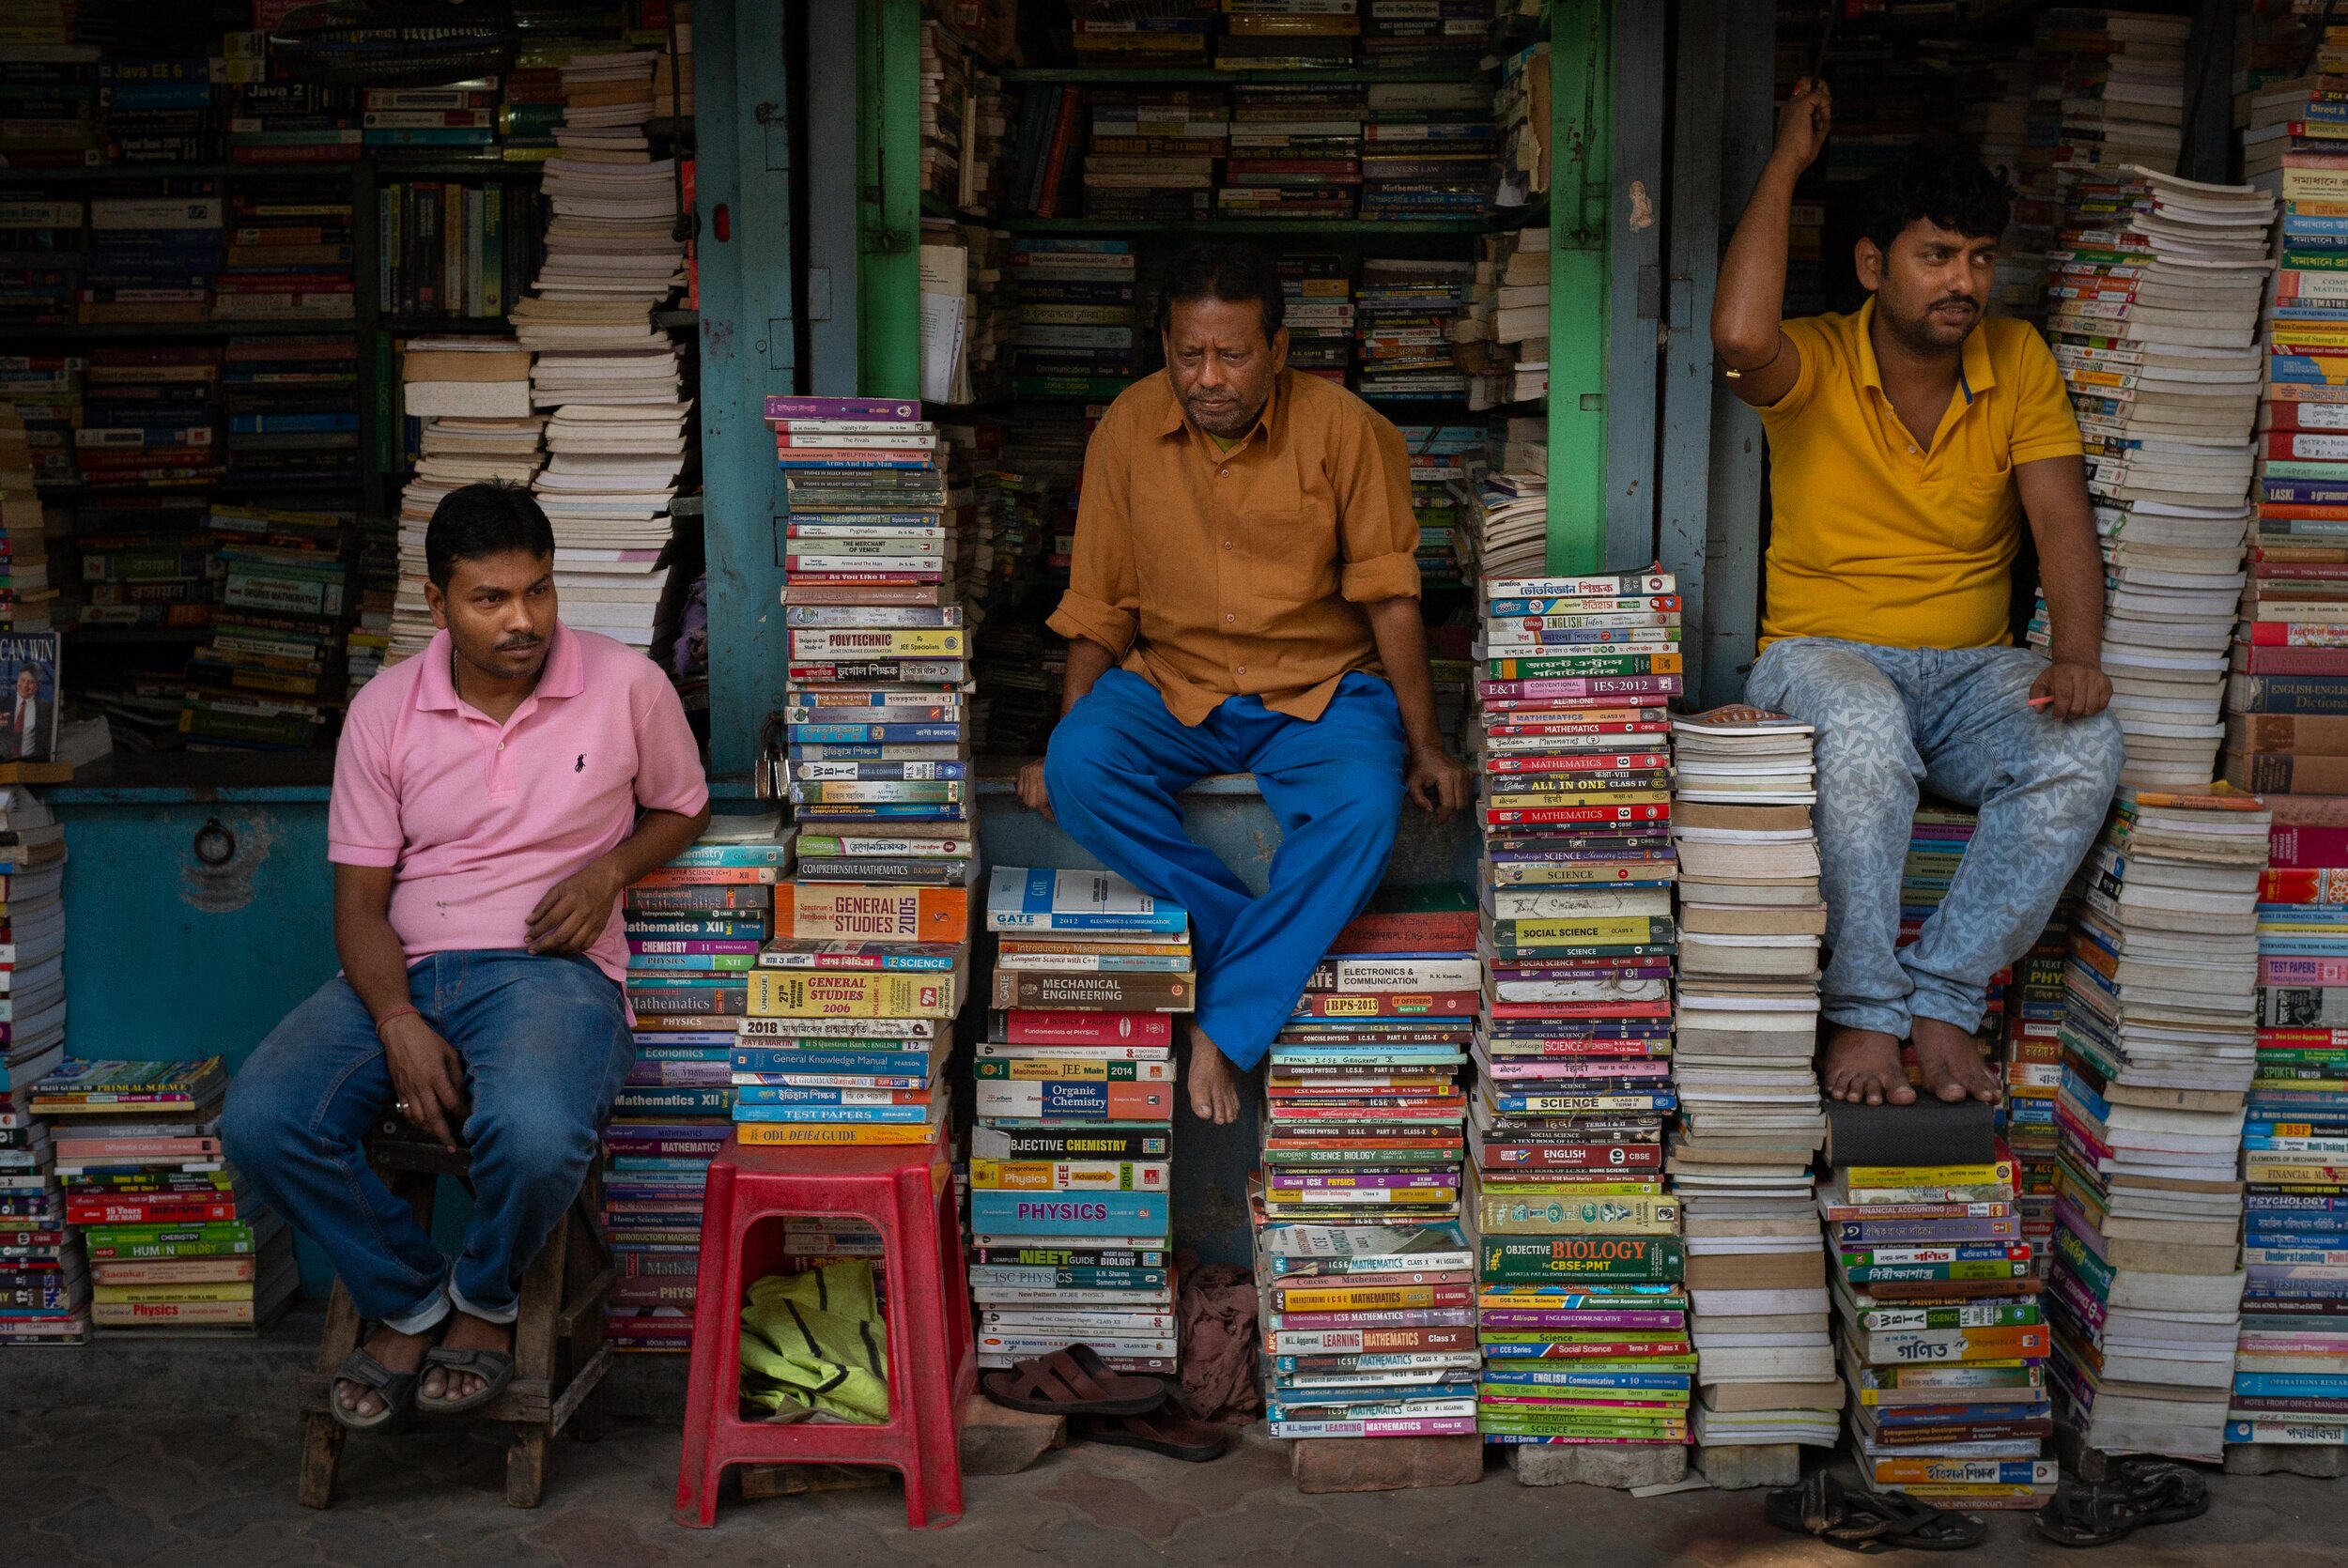
Each one of these images required effort, patience and thought. The subjects were well aware of me, so I had to let them become comfortable with my presence and camera before getting the shot. It’s a lot more work to get this kind of shots, but the results can really be rewarding.
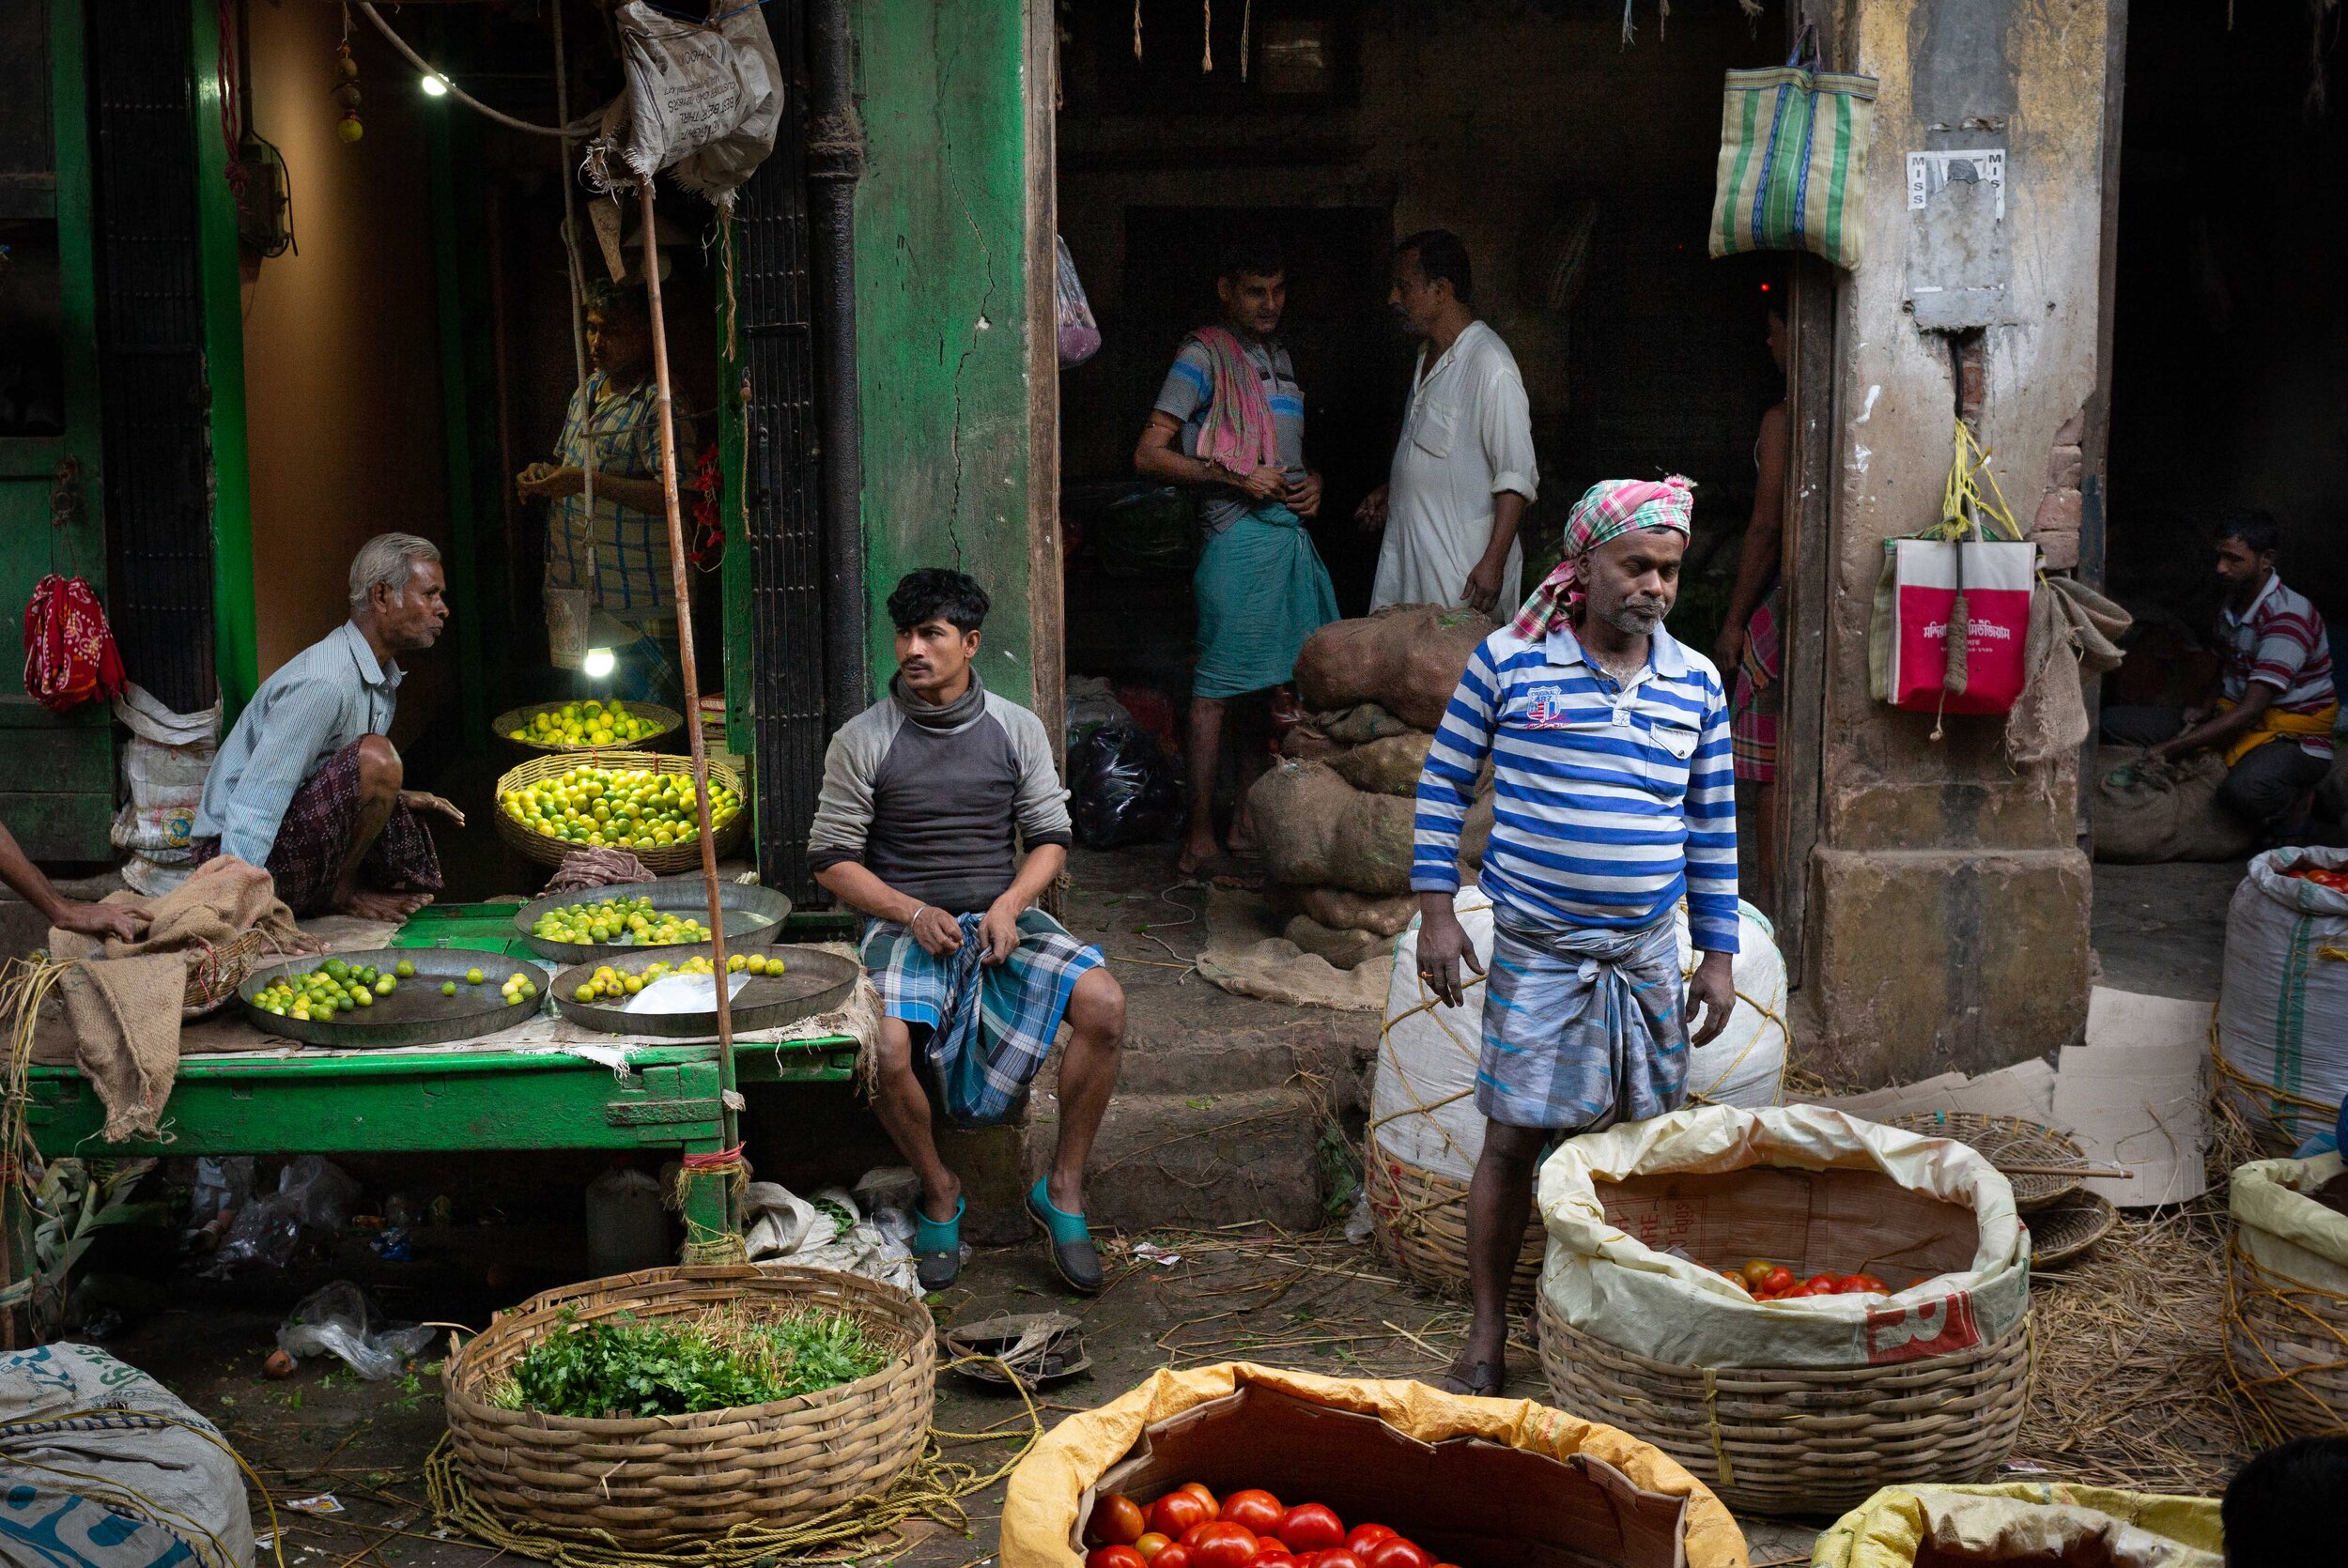
You might now be saying: but they are all shots from India! Of course the backgrounds and the subjects are more interesting!
Yes and no.
They look exotic to us, but they certainly don’t look that interesting or special to the people that live there. Put yourself in their shoes: they would think our neighbourhood might be looking interesting! And they would easily find interesting backgrounds and scenes there.
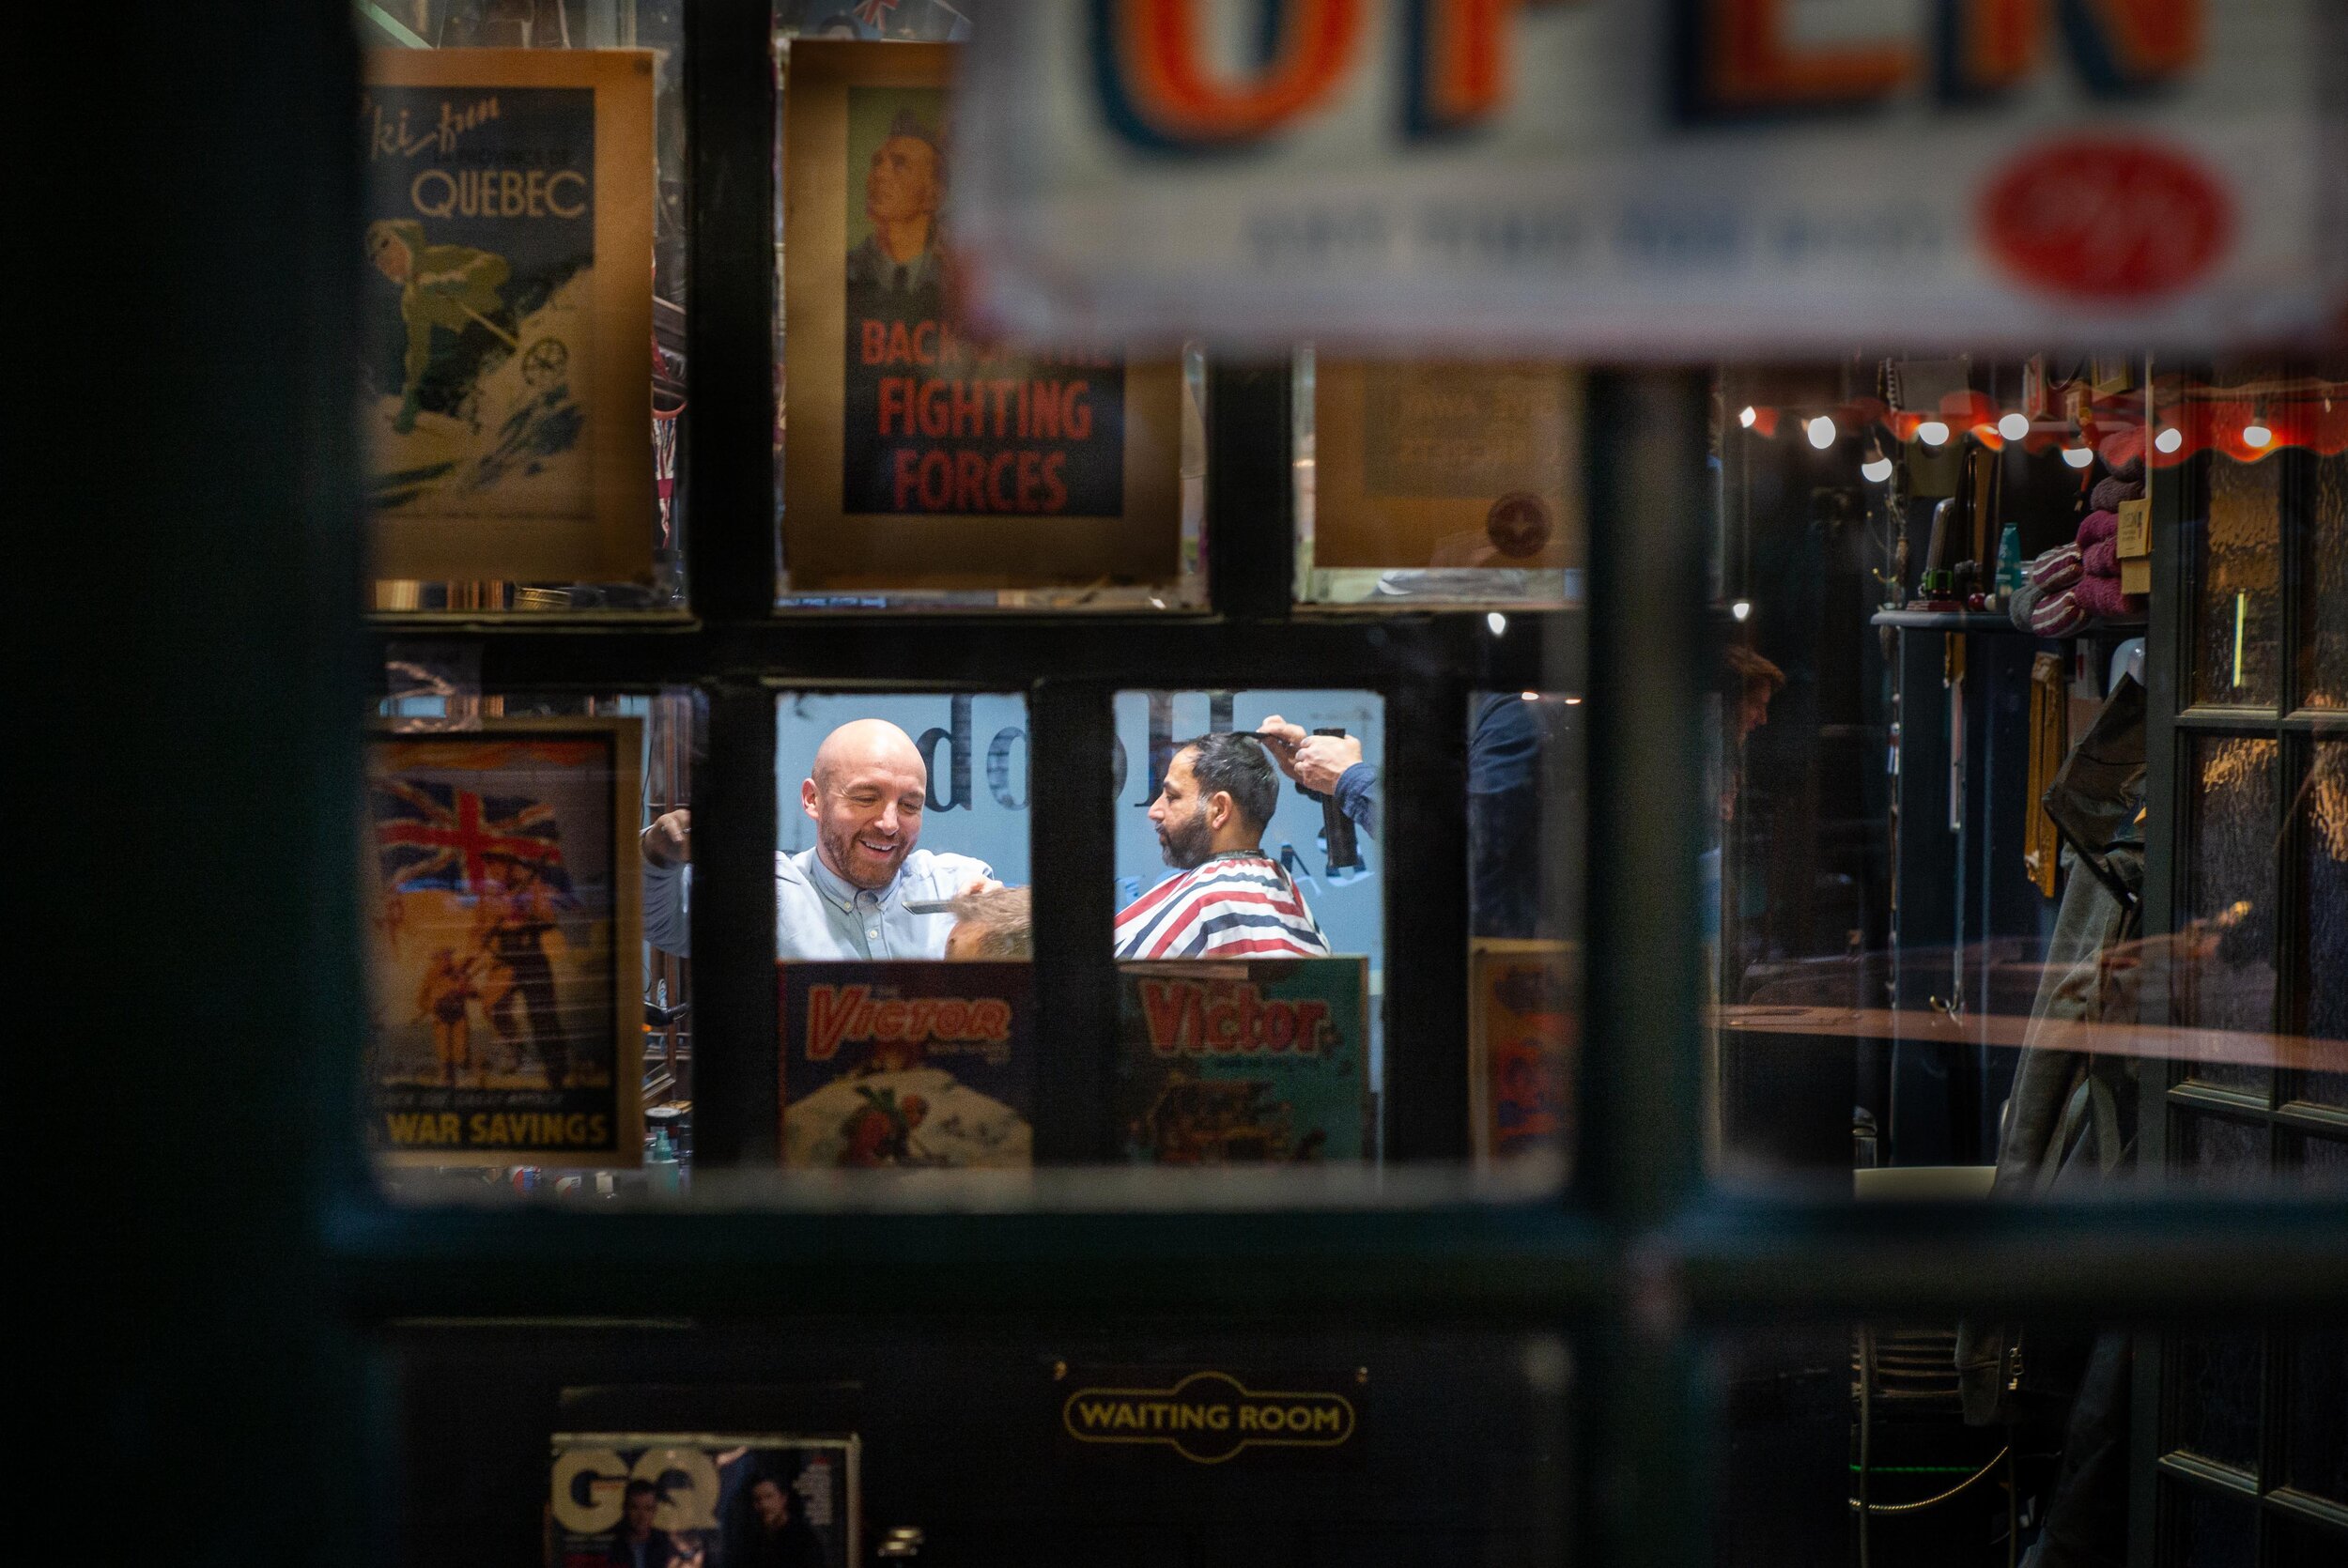
It’s a matter of concentrating and keeping our eyes open for possibilities and then having the patience for our scene to develop. Like in these pictures:
To conclude, the Fishing technique in Street Photography is a widely used one that can yield very refined pictures and compositions. Have a look at the website of my friend Mark Seymour for brilliant examples of this technique. He is a master in micro composition and layering, and a fantastic workshop leader: the India pictures were shot in Kolkata during a workshop led by Mark.
Stay tuned for the next two articles on the Following technique and the F**k technique (if we can call that a technique!).
Thanks for reading, and please let me know your thoughts i the comments.